Deploying Your Applications
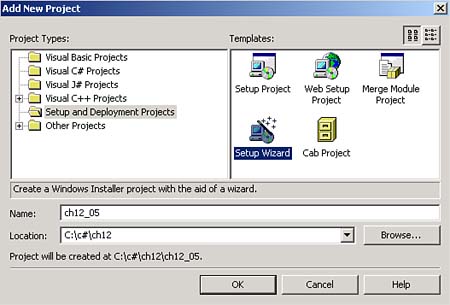
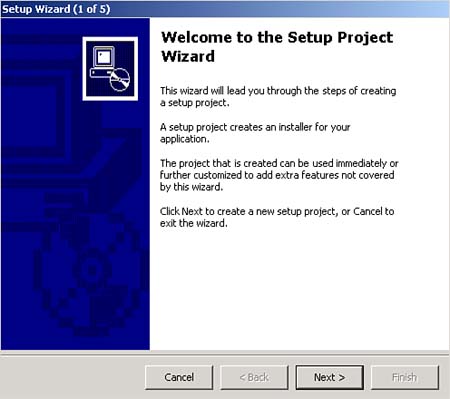
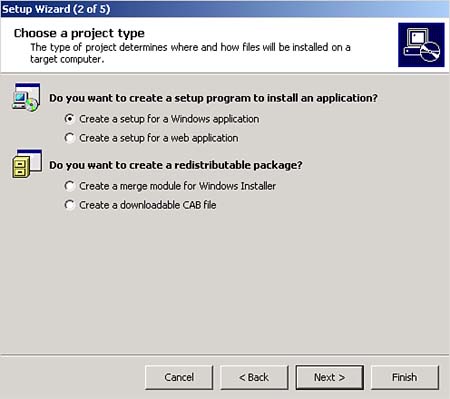
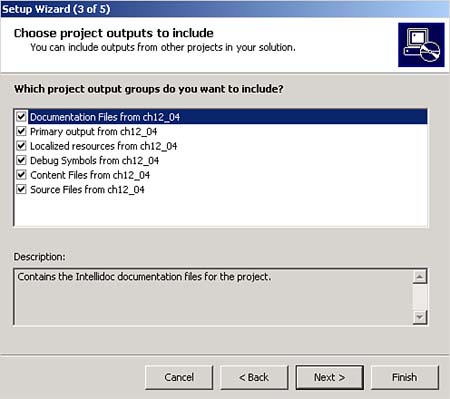
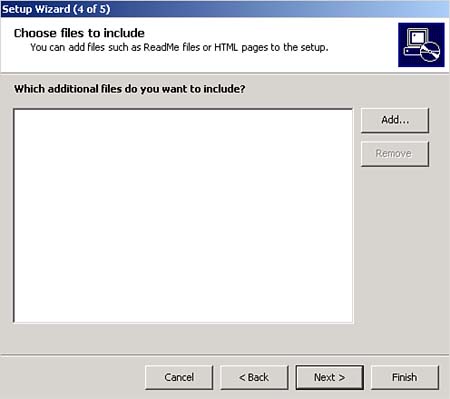
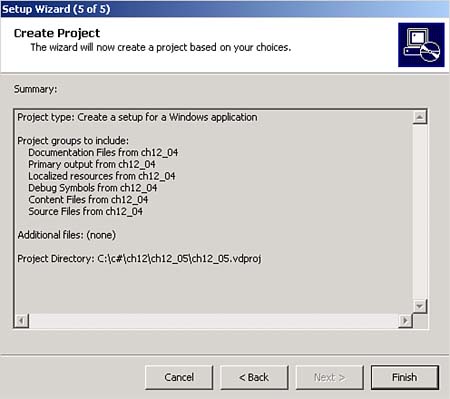
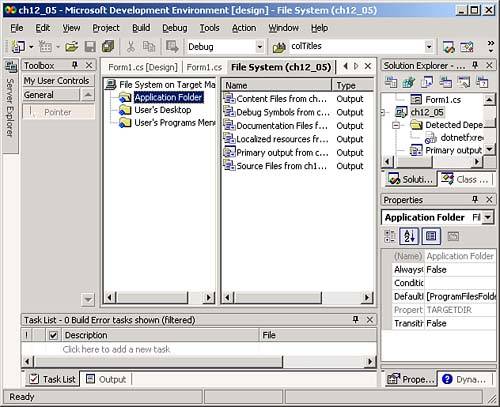
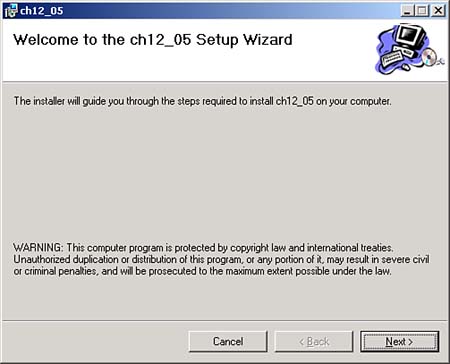
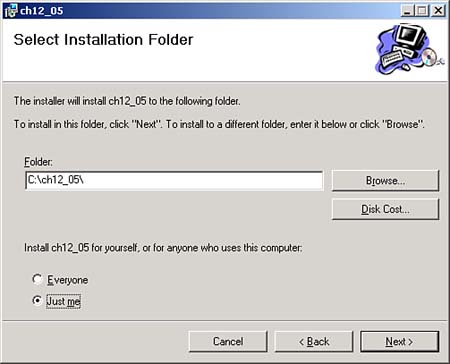
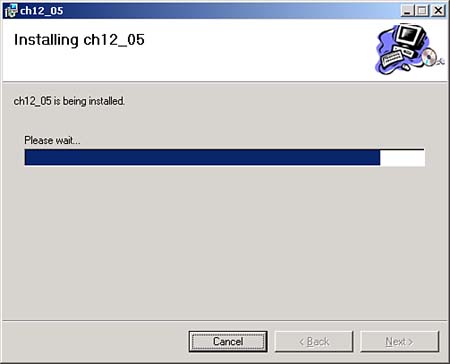
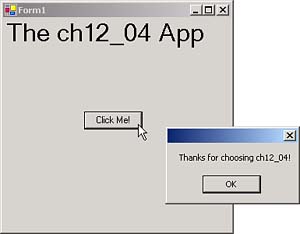
| When you create a .NET application, you can often copy it to another .NET machine simply by copying the .EXE file. On the other hand, installing most real applications isn't that simple; there's usually much more to install than just an .EXE file. You might want to add items to the machine's Start menu, and so on. The best way to install C# applications on .NET machines is to create a Microsoft Installer (.MSI) file, and we'll see how to create such a file here. To install an application, all you have to do is to copy the .MSI file to the target machine and double-click it. The Microsoft Windows Installer will do the rest, as we'll see. You can also use a setup.exe program, which we'll also create here, to run the .MSI file for you. Creating a Deployable ApplicationThe IDE lets you create deployment files easily. To see how this works, we're going to create an .MSI file for a Windows application, ch12_04. This super-advanced application displays a message box with the text "Thanks for choosing ch12_04!" when the user clicks a Click Me! button. That's all ch12_04 does: private void button1_Click(object sender, System.EventArgs e) { MessageBox.Show("Thanks for choosing ch12_04!"); } This application appears in Figure 12.12 at design time, where you can see the Click Me! button in the main form. Figure 12.12. The ch12_04 application. To create a deployment package for ch12_04, we'll need an .EXE file for the application, so select Build, Build ch12_04 to create ch12_04.exe. The goal is to create an .MSI file for this application, and to deploy it. Creating an Installer FileYou can create an installer file with a new type of project, a deployment project, which we'll call ch12_05. To create ch12_05 and add it to the current solution (which contains only ch12_04 at the moment), select File, Add Project, New Project, opening the Add New Project dialog box, which you see in Figure 12.13. Figure 12.13. Creating a deployment project with the Add New Project dialog box. The ch12_05 project is going to be a deployment project, not a standard C# project, so select the Setup and Deployment Projects folder in the Project Types pane of the Add New Project dialog box, and the Setup Wizard icon in the Templates pane. There are various options for deployment projects, but the Setup Wizard lets you create them in the quickest way. We'll give this new deployment project the name ch12_05, as you see in Figure 12.13. Click OK to open the first pane of the Setup Wizard, as shown in Figure 12.14. Figure 12.14. The Setup Wizard, first pane. The first pane of the Setup Wizard introduces the wizard; click Next to move to the pane you see in Figure 12.15. As mentioned , the Setup Wizard supports various types of deployment projects, including those for Windows and Web applications. We're going to deploy a Windows application, so select the Create a Setup for a Windows Application radio button. Figure 12.15. The Setup Wizard, second pane. Click Next to open the third pane in the Setup Wizard, which appears in Figure 12.16. Figure 12.16. The Setup Wizard, third pane. The third pane lets you specify what files you want to deploy. You can deploy just the application (the check box labeled Primary Output from ch12_04), or the application and its documentation, or just the source code, and so forth. In this example, we will deploy all items for the ch12_04 application, so select all the items, as shown in Figure 12.16. Clicking Next again moves you to the fourth pane of the Setup Wizard, shown in Figure 12.17. In this pane, the Setup Wizard lets you add other files to be deployed, such as additional documentation, license information, contact information, and so on. Figure 12.17. The Setup Wizard, fourth pane. In this example we're not going deploy any additional files, so just click the Next button to move to the fifth and final pane of the Setup Wizard, shown in Figure 12.18. This pane of the Setup Wizard summarizes what the wizard will do; click Finish to create the installer file. Figure 12.18. The Setup Wizard, fifth pane. Clicking Finish closes the Setup Wizard, and you'll see the file structure of the setup project, as shown in Figure 12.19. It's easy to move files around to different target locations in the user's machine just by dragging them. You can specify the name of the application that the Windows installer displays by setting the setup project's ProductName property, and you can also set the Manufacturer property to the name of your company. Figure 12.19. The setup project in the IDE. We've now created our deployment project. To create the .MSI file, select Build, Build ch12_05 in the IDE, creating ch12_05.msi. This is our deployment file; all you need to do is to copy it to the target machine. Double-clicking that file on the target machine opens the Windows installer, as you see in Figure 12.20. Figure 12.20. The Windows installer, first pane. Besides creating the .MSI file, building the deployment project also creates the files setup.exe and setup.ini in the same directory as the .MSI file. If you copy all three files to the target machine and place them in the same directory, the user only has to run setup.exe, which will launch the .MSI file automatically. Click Next in the Windows installer, making its second pane appear, as shown in Figure 12.21. This pane lets you indicate where to install the application. Figure 12.21. The Windows installer, second pane. Clicking Next twice more installs the application, as you see in Figure 12.22. That's it; you've now installed the application, ch12_04, using the installer file ch12_05.msi. Figure 12.22. Installing ch12_04 using the ch12_05 installer project. To complete the test, double-click the newly installed ch12_04.exe file, running that application as you see in Figure 12.23. Figure 12.23. Running ch12_04. At this point, we've created a Windows application, an installer for that application, and used the installer to install the application on a target machine. In this case, we installed a Windows application, but the whole process is much the same for Web applications. To create an installer for Web applications, select the Create a Setup for a Web Application option in the second pane of the Setup Wizard. |

EAN: 2147483647
Pages: 181