| Depending on the filter or effect you choose and the size of your image, your computer can take a while to apply and display these changes. Of course, computing power increases dramatically every year, along with the typical amount of RAM installed in most new machines. Both the speed of your processor and amount of RAM contribute to faster processing of these transformations. Fortunately, almost all of the filters include a preview window, which allows you to see the result of the filter before you decide to apply it to your image. Effects don't include a preview window, but you'll find useful examples of each effect on the Effects palette, as well as in the Effects Gallery later in this chapter. For many filters and effects, a good approach is to select a small area of your image and apply the change to see the resultsthat way, you don't waste a lot of time waiting for your computer to process changes to the entire image. The exceptions are effects like Frames or Photo Corners, where the effect is designed to be applied to your entire image. A few effects (such as the Cutout and Recessed frame effects) require you to make a selection before you can apply the effect. The Filter Dialog Boxes Given the sheer number of filters in Photoshop Elements, there's no way to cover the specific steps for each filter in the space of this book. Fortunately, the vast majority of these filters work the same way. So once you've used a couple of them, you can figure out the rest pretty easily. Most filters use the same Filter Options dialog box with a preview window and slider bars that allow you to control the level and intensity of the filter. When using a filter for the first time, you should preview the default filter setting and apply it by clicking OK. Not what you wanted? Just press Ctrl+Z to undo your changes and start over. When you're back in the filter's dialog box, you can experiment by adjusting the sliders to preview more dramatic results in your photo. |
To apply a filter 1. | To apply a filter to an entire layer, select the layer on the Layers palette to make the layer active. To apply a filter to just a portion of your image, select an area with one of the selection tools (Figure 7.7).
Figure 7.7. Filters and effects can be applied to an entire layer or to a selection. 
| 2. | Do one of the following:
- Double-click a filter on the Filters palette (Figure 7.8).
Figure 7.8. To select a filter on the Filters palette, just double-click the filter. 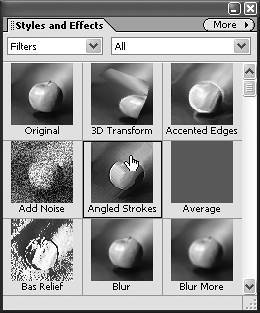
The Filter Options dialog box appears (Figure 7.9).
Figure 7.9. The Filter Options dialog box includes a large preview window and sliders you can use to adjust a filter's settings. 
- From the Filter menu, choose a filter from one of the filter submenus.
If you look at the Filter menu, you'll see that filters with additional options include ellipses (…) after their names (Figure 7.10).
Figure 7.10. To see which filters include dialog box options, refer to the Filter menu. Filters with options include an ellipsis (…) after their names. 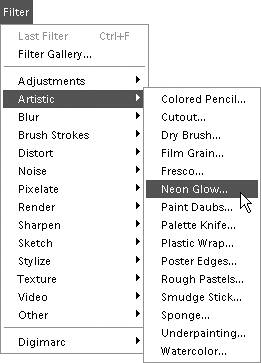
- Drag any filter from the Filters palette onto your image in the image window.
| 3. | When the Filter Options dialog box opens, experiment with the available values and options until you get the look you want.
| 4. | In the dialog box preview window, you can change the view by doing one of the following:
- To zoom in or out, click either the Zoom In (plus sign) or Zoom Out (minus sign) button (Figure 7.11).
Figure 7.11. The Filter Options dialog box includes Zoom buttons to change the magnification of the preview image. 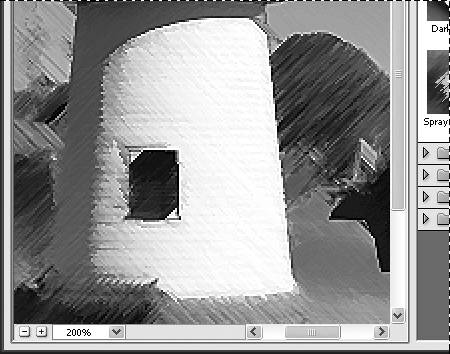
- To see a specific area of your image, click and drag within the preview window (Figure 7.12).
Figure 7.12. To move around (or pan) the preview image, just move your pointer over the preview window until the pointer changes to the Hand tool. Then click and drag to move the image. 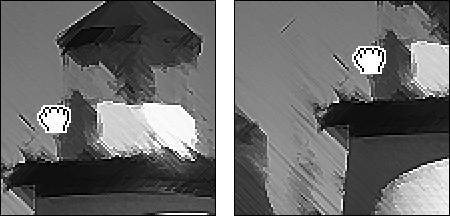
| 5. | Click OK to apply the filter.
The filter is applied to your image (Figure 7.13).
Figure 7.13. Click OK to apply the filter to your image. 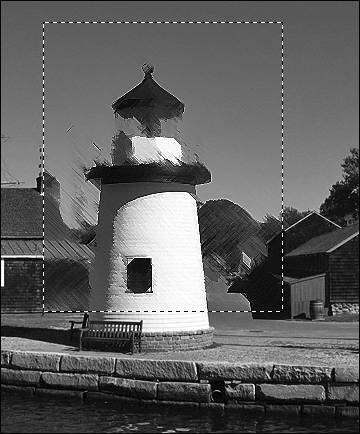
If you're not happy with the result, choose Edit > Undo or select the previous state from the Undo History palette.
|
 Tips Tips
To view a collection of filter "recipes" you can apply to your own images, see the color plate section of this book. As you add filters, you'll notice that you're presented with two different types of Option dialog boxes. The Add Noise filter, for instance, opens to a dialog box specific to just that filter. But filters contained in the Artistic, Brush Strokes, Distort, Sketch, Stylize, and Texture groups open to an Option dialog box where you can not only adjust the settings for the filter you've selected, but also choose a completely different filter from a filter sets menu in the center of the dialog box. Just click any of the filter set names to open them, and then choose a new filter by clicking its thumbnail. A preview window changes to reflect the new filter you've selected.
To apply effects 1. | To apply an effect to an entire layer, select the layer to make it active. To apply an effect to just a portion of your image, select an area using one of the selection tools.
| 2. | In the Effects palette, double-click the chosen effect (Figure 7.14).
Figure 7.14. Double-click any effect in the Effects palette to apply it to an image or selection. You can also drag an effect or filter from the palette into the image window. 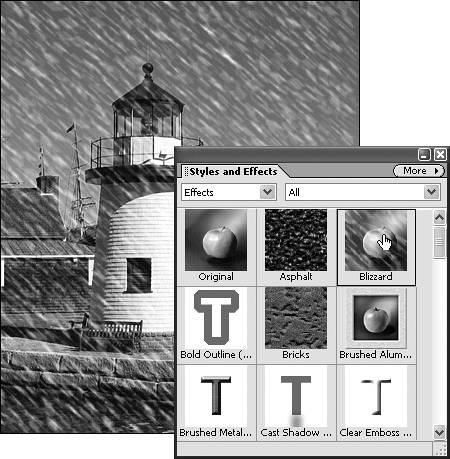
If you prefer, you can also drag any effect from the Effects palette directly onto your image in the image window.
When you apply an effect, it creates one or more new layers immediately above the selected layer (Figure 7.15).
Figure 7.15. When you apply an effect, it generates one or more layers above the selected layers. The number of new layers depends on the series of actions required to create the specific effect. 
|
Tips To reduce the visible impact of an effect, change the opacity of the effect layer using the slider on the Layers palette. Sometimes the filter and effect names, and their thumbnails, don't represent the variety of results you might get by applying them to an image. Experiment by pushing the filter and effect options to extreme limits. You'll often be surprised by the results. Print a copy of your image for future reference and to use on other photos. It's also a good idea to rename the layer with a descriptive name related to the effect you used: for instance, Bliz zard 30%. To change the look of an effect, experiment with the various blend modes on the Layers palette.
|