| Tags are little markers that you attach to groups of photos that share a common feature or theme. Tags operate independent of where photos are located on your computer, so you can attach a tag to different photos in different folderseven on different hard drivesand then use that tag to quickly find and view those photos all at once. And since you can attach more than one tag to a photo, they serve as a great cross-referencing tool. For instance, if your daughter plays softball for the college she attends, a photo of her pitching on her home field might have a tag called "Emily"; but could also have additional tags like "Softball" and "UCSD." To attach a tag to a single photo - Drag a tag from the Tags pane onto any photo in the Photo Browser, and then release the mouse button (Figure 13.36).
Figure 13.36. To attach a tag to a photo, simply drag it from the Tags pane to a thumbnail image in the Photo Browser. 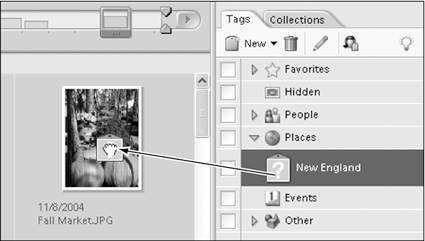
A category icon appears below the photo in the Browser window to indicate that it has been tagged; in the Tags pane, the tag assumes that photo for its tag icon (Figure 13.37).
Figure 13.37. When you use a tag for the first time, the photo you attach it to serves as the source for the tag icon. 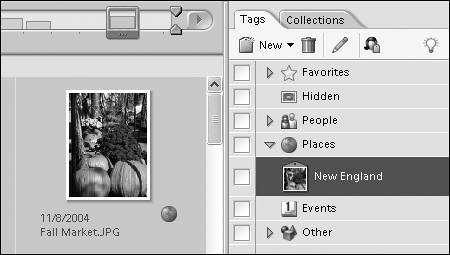
To attach a tag to multiple photos 1. | In the Photo Browser, Ctrl+click to select any number of photos, and then release the mouse button.
| 2. | From the Tags pane, drag a tag onto any one of the selected photos (Figure 13.38).
Figure 13.38. You can select multiple photos, and then tag them all at once by dragging a tag icon over just one. 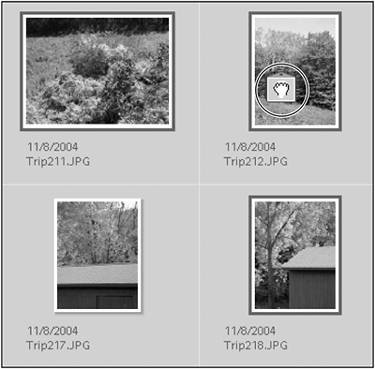
A category icon appears below all of the selected photos in the Browser window to indicate that they have been tagged.
|
To attach a tag to an import batch or folder 1. | From the Arrangement drop-down menu in the lower-left corner of the Photo Browser, choose either Import Batch or Folder Location (Figure 13.39).
Figure 13.39. You can easily select large sets of photos when you display them by their import batch or folder location. 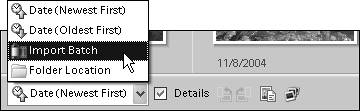
In the Photo Brower, your photos will be displayed in either batch or folder groups.
| 2. | Identify the import batch or folder group that you want to tag, and then click on either the import batch or folder icon for that group (Figure 13.40).
Figure 13.40. When you click on an import batch or folder icon, all of the photos in that batch or folder are selected at once. 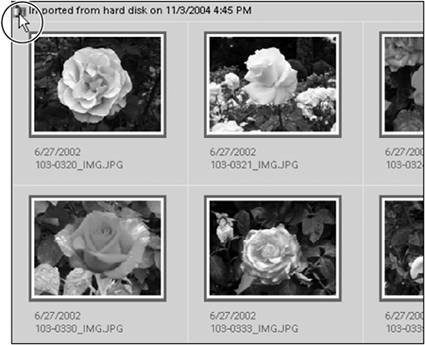
All of the photos in the group are automatically selected.
| 3. | From the Tags pane, drag a tag onto any one of the selected photos (Figure 13.41).
Figure 13.41. When you tag just one photo in a selected batch or folder, every photo in that batch or folder is tagged at the same time. 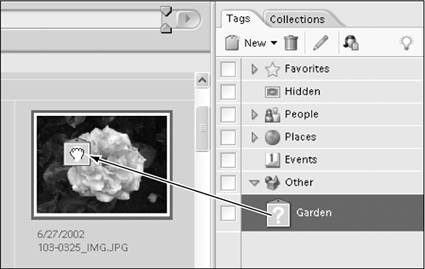
A category icon appears below all of the selected photos in the Browser window to indicate that they have been tagged.
If the tag you are applying does not already have an icon, the tag's icon will be selected from the first photo in the import batch or folder (Figure 13.42).
Figure 13.42. If you're using a tag for the first time, its tag icon will be based on the first photo in the batch or folder that you tag. 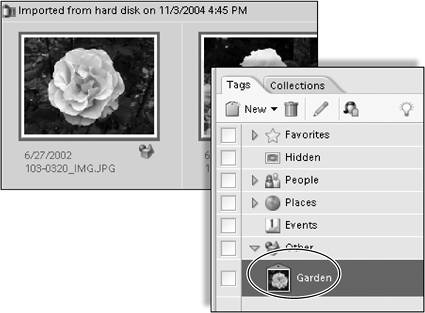
|
To view a set of tagged photos In the Tags pane, do one of the following: - Double-click on a tag.
- Click the blank box to the left of a tag.
A small binoculars icon will appear in the box, and the Photo Browser will change to display just the photo or photos that carry the attached tag (Figure 13.43).
Figure 13.43. When the binoculars icon is visible next to a tag in the Tags pane, only that tag's photos will appear in the Photo Browser. 
To return to the main Photo Browser window, click the Back to All Photos button, or click the binoculars icon in the Tags pane.
To remove a tag from a photo Select a photo thumbnail in the Photo Browser, and then do one of the following: - Right-click inside a photo thumbnail; then from the thumbnail pop-up menu choose Remove Tag > (name of tag) (Figure 13.44).
Figure 13.44. Thumbnail menus give you quick access to tasks such as attaching and removing tags. 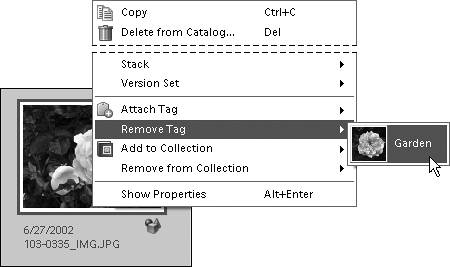
- Right-click on the category icon below the photo thumbnail and select Remove (name of tag) tag from the small pop-up menu (Figure 13.45).
Figure 13.45. Remove a tag from a photo with a single click on the category icon below the thumbnail in the Photo Browser. 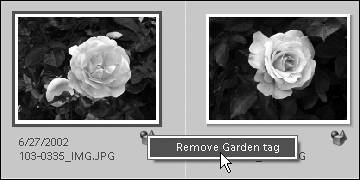
To change a tag's icon 1. | In the Tags pane, right-click on the tag whose icon you would like to change.
| 2. | From the tag drop-down menu, choose Edit (name of tag) tag (Figure 13.46).
Figure 13.46. Open the Edit Tag dialog box from a tag drop-down menu in the Tags pane. 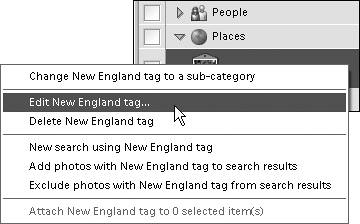
| 3. | In the Edit Tag dialog box, click the Edit Icon button (Figure 13.47).
Figure 13.47. Click the Edit Icon button to open the Edit Tag Icon dialog box. 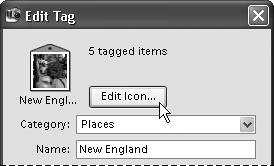
To assign a new icon image in the Edit Tag Icon dialog box, you can select from any of the photos that the tag has been applied to, or you can import a completely new photo.
| 4. | To select a different tagged photo, click the Find button in the Edit Tag Icon dialog box (Figure 13.48).
Figure 13.48. Use the Find button in the Edit Tag Icon dialog box to browse for a new photo to use as the source for your tag icon. 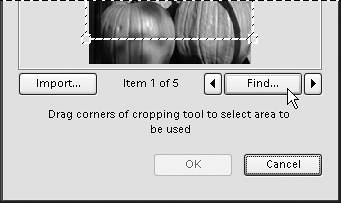
| 5. | In the Select Icon for (name of tag) Tag window, click to select a photo thumbnail and click OK (Figure 13.49).
Figure 13.49. The Select Icon dialog box. 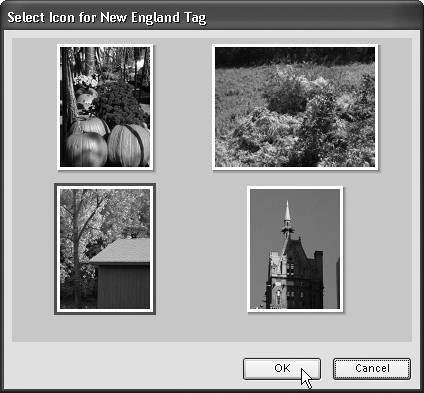
The new image appears in the preview window of the Edit Tag Icon dialog box.
| 6. | To crop the area of the photo that will appear on the tag icon, click and drag any of the four cropping handles in the image preview (Figure 13.50).
Figure 13.50. Resize the selection rectangle in the Edit Tag Icon dialog box to crop a tag icon. 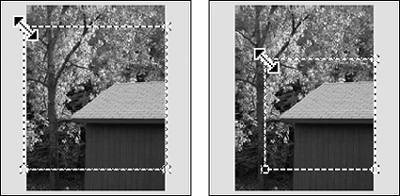
| 7. | To select a different cropped area of the photo to appear on the tag icon, click inside the crop box and drag it in the preview window (Figure 13.51).
Figure 13.51. Move the selection rectangle to choose a different area of a photo to use for your tag icon. 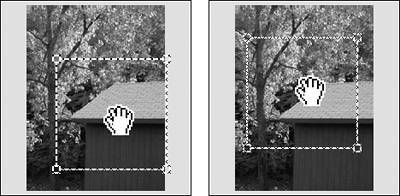
Any changes you make in the preview window are reflected in the tag icon preview at the top of the dialog box (Figure 13.52).
Figure 13.52. The tag icon preview shows you how your final tag icon will appear. 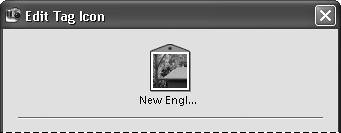
| 8. | When you're satisfied with the look of your icon, click OK to close the Edit Tag Icon dialog box, then click OK again to close the Edit Tag dialog box.
The new icon will appear on the tag in the Tags pane.
|
 Tip Tip
If you'd like to use an image for your icon different than any of the photos that you've tagged, click the Import button in the Edit Tag Icon dialog box. In the Import Image for Tag Icon window, you can browse through your computer to select an image. Once you've selected an image, click Open to return to the Edit Tag Icon dialog box. From there just follow the steps for cropping and adjusting the icon image.
Hidden Tags In addition to the tags that you create, Photoshop Elements provides you a single tag with a very specific function (Figure 13.53). As its name implies, you use the Hidden tag (located near the top of the Tags pane) to make photo thumbnails in the Photo Browser invisible. If you have a set of photos that you're not yet ready to part with, but that you feel are cluttering up the Photo Browser, you can use the Hidden tag to keep them out of sight until you need them. Figure 13.53. You can use the Hidden tag to make photo thumbnails "disappear" from the Photo Browser until you're ready to use them. 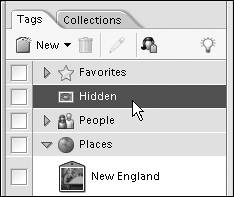
You assign the Hidden tag to a photo just as you would any other tag. In the Photo Browser, either drag it onto a single photo thumbnail, or onto a series of selected thumbnails. A closed eye icon will appear on the face of the photo thumbnail as well as below it, but won't be hidden just yet. In the Tags pane, click the blank box to the left of the Hidden tag. A small binoculars icon will appear in the box and the Photo Browser will change to display just the photo or photos that carry the Hidden tag (Figure 13.54). To return to the main Photo Browser window, click the Back to All Photos button, or click the binoculars icon in the Tags pane. The hidden photo will not appear in the Photo Browser with the other thumbnails until you remove the Hidden tag. Figure 13.54. Photos with the Hidden tag attached are only visible when the binoculars icon is turned on. 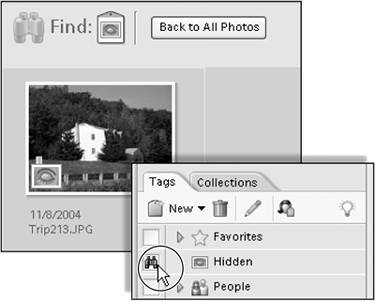
|
Using Face Recognition to Apply Tags to Photos The Find Faces for Tagging feature provides a quick and easy way to sort, identify, and tag photos based on the people pictured in the photos. Simply click the Find Faces for Tagging button at the top of the Tags pane to open the Face Tagging window, whose unique browser fills with faces cropped from your Organizer photos (Figure 13.55). The Face Tagging window has its own Tags pane from which you can create tags for all of the people represented in its browser. As you assign tags to faces, they vanish from the Face Tagging browser, so you can't mistakenly tag the same face twice. Once you've finished with your tagging, click the Done button to return to the main Photo Browser. There you'll find that all of the photos containing the tagged faces have been tagged, and the new tags you created appear in their proper place in the Organizer Tags pane (Figure 13.56). Figure 13.55. The Find Faces for Tagging button opens the Face Tagging window. 
Figure 13.56. Any tags that you assign in the Face Tagging window are automatically assigned to the proper photos in the Organizer's main Photo Browser. 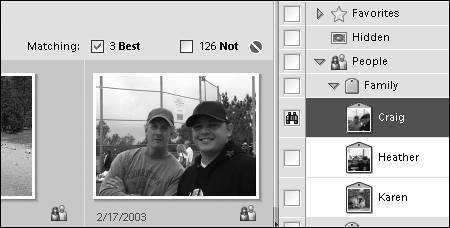
|
|