Adding and Removing Programs and Packages
| While Ubuntu already includes most of what people need, sometimes you need something extra such as a desktop publishing application for school or a game to pass the time. The easiest way to add these is with Add Applications, which is extremely simple to use but has a few limitations. Installing and Using Add ApplicationsBy far the easiest way to install desktop applications is Add Applications, available at the bottom of the Applications menu. Like Synaptic and the other tools discussed in this chapter, Add Applications installs from the same online repositories. Thus, using one tool will cause the other tools to be able to recognize the same change. To launch Add Applications, simply click on it like any other program in the menu. When it first runs, and occasionally afterward, it will initialize itself. This may take a few moments, so be patient. Eventually you will see the main screen shown in Figure 4-1. Figure 4-1. Add Applications main screen.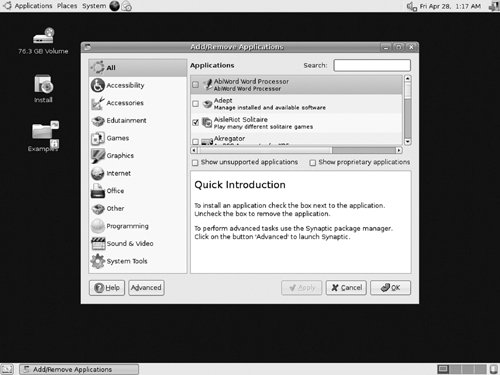 The interface is divided into three parts. On the left is a list of all the various types of applications, laid out in the same way as the menu. Select a category to see a list of all the applications in that category in the upper right. Selecting an application in the upper right section will display a description of what that program does in the lower right section. Add Applications also allows you to search, either by the program name, the "package" name, or in the description of the program. Enter the search term into the text box in the upper right, and hit Enter. Figure 4-2 shows an example of search bar results. Figure 4-2. Search bar with results.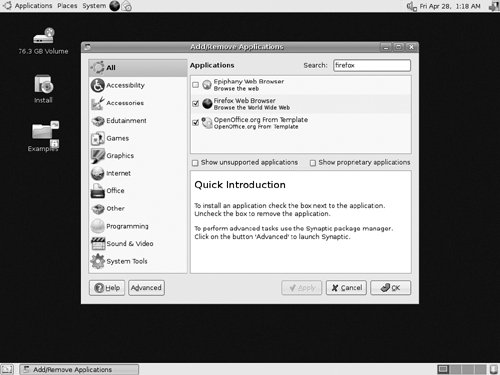 By default, Add Applications will only show applications that are supported. These are applications in the main and restricted component (see Appendix B for an explanation of the different components of Ubuntu). While this is a large list, there are even more to find. By checking the box labeled Show Unsupported Applications in the lower left you will be able to see all the programs in the community-supported sections. After checking this option, the applications are available to view but will still need the actual online repository to be turned on. Simply selecting an application in the community-supported section will turn the repository on. Figure 4-3 presents the sequence of events involved in installing a universe application. Figure 4-3. Sequence of events involved in installing a universe application.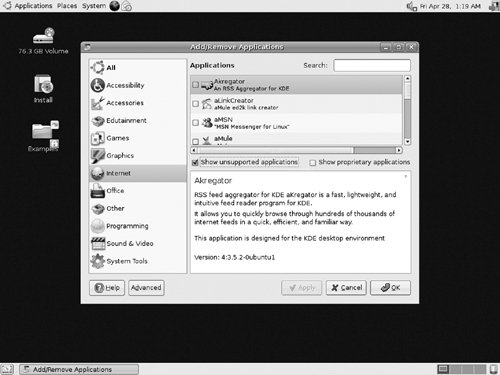 Additionally, Add Applications can list proprietary applications: those applications that are not released under a free Open Source license. Check the box, and they will become visible both via the listing and through search. As with any other application they can be clicked to install. TerminologyThere are a few terms you might need to know before you start, such as words used to describe how the software gets installed on your machine as well as how the system works.
Installing Using SynapticSynaptic is a powerful graphical tool called a package manager. While Add Applications deals with packages that contain applications, Synaptic deals with all packages, including applications, system libraries, and other pieces of software. Changing the system on this level is more difficult but allows more detailed control. For instance, you can choose to install a specific library if you need it for a program not available in a package format. To find Synaptic, look under the System menu and then the Administration menu. It is listed as Synaptic Package Manager. Start the program, and you will see the main window, as shown in Figure 4-4. Figure 4-4. Synaptic main window.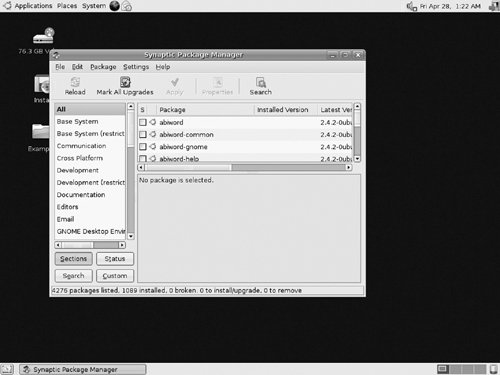 Tip: What's in a Name? Why the name Synaptic? Synaptic is a play on words, based on the word apt, which is the Debian package management system. Ubuntu is based on Debian and also uses APT. Synaptic is a graphical package manager and works slightly differently than Add Applications. Unlike Add Applications, Synaptic deals directly with packages, which allows for a greater level of control while exposing the details of how package management works. Installing a PackageAs with Add Applications, installing packages with Synaptic is fairly easy. After you find the package you wish to install, click on the gray box on the right, and choose Mark for Installation. A dialog box will pop up (see Figure 4-5) showing you what needs to be installed (if anything else is needed). After you have selected the packages you wish to install, click Apply to start downloading and installation. Figure 4-5. Pop-up on Mark for Installation.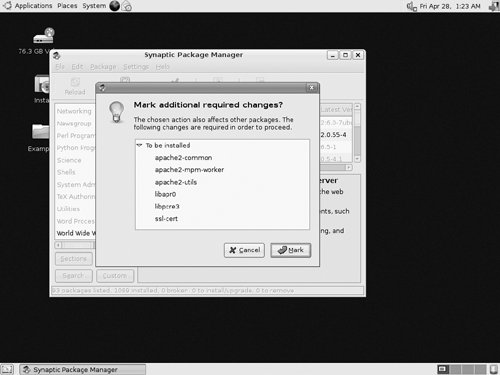 Removing a PackageTo remove a package, click on the green box, and choose Mark for Removal (see Figure 4-6). If you wish to remove all the configuration files too, choose Mark for Complete Removal. After you have selected the packages you wish to remove, click Apply on the toolbar to start the actual process of removing the package. Figure 4-6. Mark for Removal.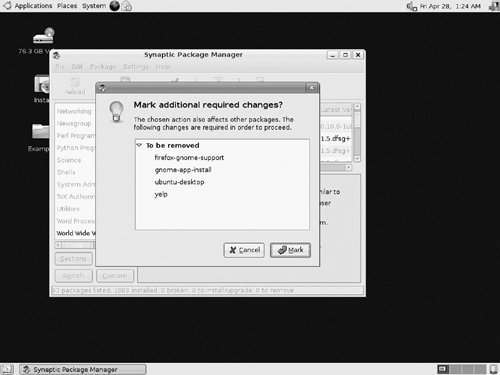 Updating Your SystemSynaptic provides an easy way to update your system. Look in the toolbar, and first click Reload to make certain the package information is up-to-date. Then click Mark All Upgrades to mark all new versions for updating. Finally, click Apply to actually download and install the updates (see Figure 4-7). Figure 4-7. Updating takes three button clicks.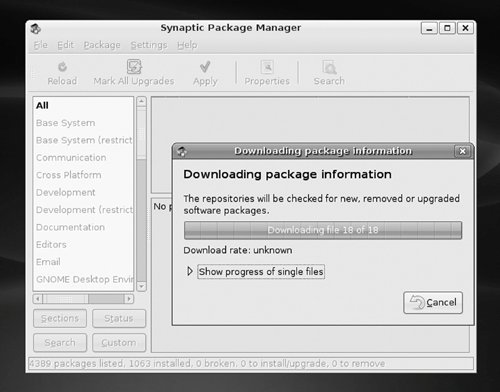 Finding That PackageSo you are looking for a package but don't know where to start? The fastest and easiest way is to simply click the Search button on the toolbar or type Ctrl-F. That will launch a search dialog box. By default it searches both the package name and description, but it can also search just by name or a number of other fields. If you know what section the package is in, select it in the left pane (you may need to go back to the Sections pane). Select the button in the lower right labeled Sections, and browse through the packages in that section. The upper right pane also has a neat feature called Type-ahead (see Figure 4-8). Simply select any package, and then start typing the first few letters of the package name. The cursor should jump right to that section. Figure 4-8. Type-ahead.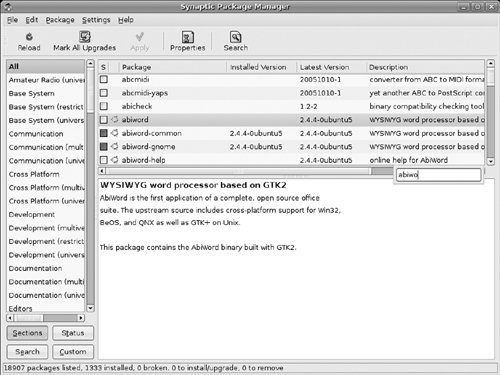 Often a package will require other packages, called dependencies, in order to install. (See the beginning of this chapter for a more detailed look at programs, packages, and dependencies.) If more packages are needed, a pop-up will come up and list what changes are to be made. Sometimes installing a package can cause another package to be removed. Accept the changes by clicking Mark. Synaptic will not actually change anything until you click Apply on the toolbar. This is to allow you to line up a number of changes and then apply them all at once. After you click Apply, you will be warned about which packages are going to be changed. Click the Apply button, and watch Synaptic install what you want. |
EAN: 2147483647
Pages: 133