Section 5.5. Stylesheets
5.5. StylesheetsCurrently, to change the styling of the application, you have to change each individual HTML element. If you've used much HTML, you know that our current design will make design work tedious and error prone. Before we get too far along beautifying our Photo Share application, we should start using stylesheets to keep all styling in one place. First, we'll create an overall application stylesheet where we will move the styles for our navigation bar and set a background color for all pages. Then we'll create a special stylesheet for specifying styles for our photos and thumbnails. Rails creates a scaffold .css file that contains the basic styling used by generated scaffolding code. Let's use this as a starting point for our application's overall stylesheet. Copy the file public/stylesheets/scaffold.css and name this copy public/stylesheets/application.css . First, change the background color to a very light gray by adding background: #eee; to the section starting body, p, ol, ul, td { . Then add a .navbar section to style the navigation bar. When you're done, the beginning of application.css should look like this: body { background-color: #fff; color: #333; } body, p, ol, ul, td { font-family: verdana, arial, helvetica, sans-serif; font-size: 13px; line-height: 18px; background: #eee; } .navbar { padding: 7px; padding-bottom: 12px; margin-bottom: 20px; background-color: LightBlue; } pre { Now you need to edit the standard layout file ( standard. rhtml ) and replace the styling information for the navigation bar with a reference to the stylesheet. Edit app/views/layouts/standard.rhtml to look like this: <html> <head> <title>Photo Share</title> <%= stylesheet_link_tag 'application' %> </head> <body> <div> <p class="navbar"> <%= link_to 'Photos', :controller => 'photos', :action => 'list' %> <%= link_to 'Categories', :controller => 'categories', :action => 'list' %> <%= link_to 'Slideshows', :controller => 'slideshows', :action => 'list' %> </p> </div> <p style="color: green"><%= flash[:notice] %></p> <%= @content_for_layout %> </body> </html> The two changes are highlighted in bold. stylesheet_link_tag creates a link to the application.css file; adding class="navbar" to the paragraph tag displays it with our .navbar styles. Let's see how this looks. If you browse to http://127.0.0.1:3000/; it should look like Figure 5-5. Now let's style the photo thumbnails to have a visual frame. Create the file public/stylesheets/photos.css containing this: #thumbnail { padding: 1em; background: #ddd; border: thin solid #333; } Figure 5-5. Using a stylesheet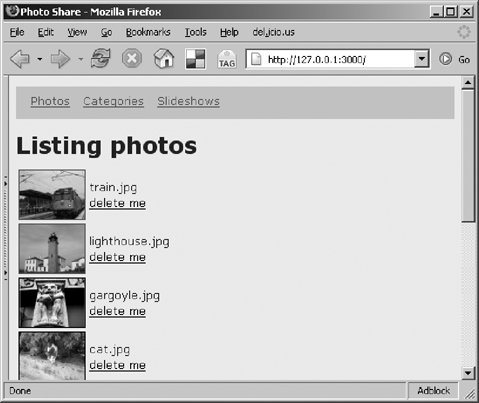 Edit app/views/layouts/standard.rhtml and add <%= stylesheet_link_tag 'photos' %> right after the existing stylesheet tag. Then edit app/views/photos/list.rhtml and add an :id => 'thumbnail' attribute to the image tag. That part of list.rhtml should look like this: <%= link_to(image_tag("photos/#{photo.thumbnail}", :size => '75x56', :border => 1, :id => 'thumbnail'), url_for(:action => 'show', :id => photo) ) %> Browse to http://127.0.0.1:3000/ and it should look like Figure 5-6. Figure 5-6. Using a stylesheet to display borders on the pictures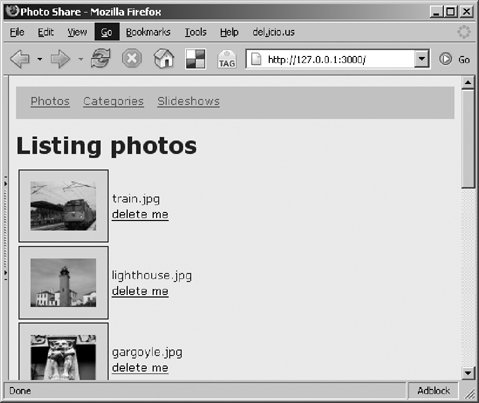 Things are starting to look pretty good. [*] Now we need to assign photos to categories. Also, we must be able to create and edit categories.
|