| Data varies: some runs long, some short (Figure 7.7). To eliminate wasted field space, create a neater printoutand keep Al and Beauregard happyyou want to use a feature FileMaker calls "sliding." With sliding, FileMaker automatically closes up unused space either to the left or above any fields you select. The great thing about sliding is that FileMaker only applies it when necessary. If you have a field with a long text entry, it gets the room it needs. Figure 7.7. The problem with fixed field size printouts: Giving Beauregard enough room makes Al space out. 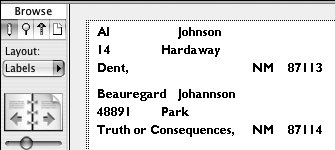
To remove unwanted spaces 1. | Switch to Layout mode ( in Windows, in Windows,  on the Mac). on the Mac).
| 2. | Use the Pointer Tool to select all the fields you want to make sure are closed up properly. Choose Format > Set Sliding/Printing ( on the Mac, no Windows equivalent) (Figure 7.8). on the Mac, no Windows equivalent) (Figure 7.8).
Figure 7.8. To remove unwanted space in fields or parts, choose Format > Set Sliding/Printing. 
| 3. | When the Set Sliding/Printing dialog box appears, check the Sliding left box (Figure 7.9). (Check Sliding up based on to control vertical spacing in a layout, especially within layout parts.) Click OK.
Figure 7.9. Within the Set Sliding/Printing dialog box, check Sliding left to close horizontal gaps or Sliding up based on to close vertical gaps in fields or parts. 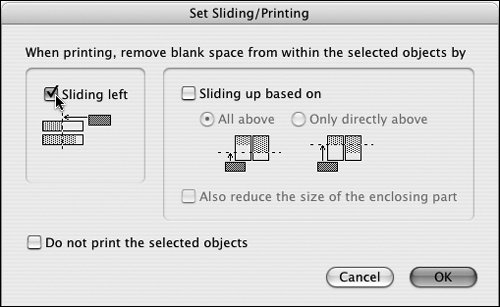
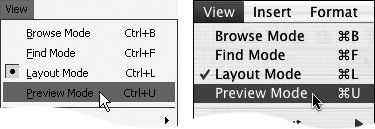
| 4. | Switch to Preview Mode ( in Windows, in Windows,  on the Mac) to see the change (Figure 7.10). on the Mac) to see the change (Figure 7.10).
Figure 7.10. With sliding activated, the field size printouts match their entries. 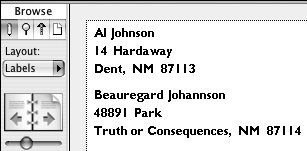
|
 Tips Tips
Sliding can be applied to objects, along with layout items that aren't in a field, such as lines you've placed in a layout for visual effect. In both cases, just select the item and apply sliding using the Format menu. Sliding only works on the body; headers and footers won't slide. Instead, see To resize a part on page 169.
To preview a printout To print 1. | Switch to the layout you want to print from and run any needed Find Requests or Sorts. Choose File > Print ( in Windows, in Windows,  on the Mac). on the Mac).
| 2. | When the Print dialog box appears:

| Use the Print drop-down list (Figure 7.12) to determine whether you print all the records being browsed (the found set), only the current record, or a blank record with the fields showing. |
Figure 7.12. In Windows, the Print drop-down list lets you choose which FileMaker records you print. 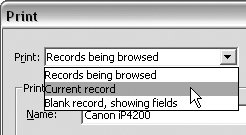 
| Use the drop-down menu to choose FileMaker Pro (Figure 7.13). When the FileMaker settings appear in the lower portion of the Print dialog box (Figure 7.14), use the radio buttons to choose whether you print all the records being browsed (the found set), only the current record, or a blank record with the fields showing. A drop-down menu for the blank record option lets you choose whether you want fields in blank records printed as formatted, with boxes, or with underlines. |
Figure 7.13. Use the Print dialog box's drop-down menu to reach the FileMaker settings. 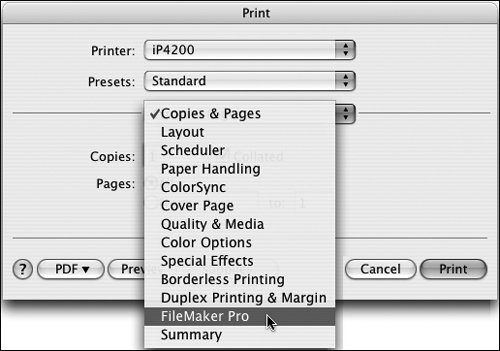 Figure 7.14. When the FileMaker settings appear in the lower portion of the Print dialog box, use the radio buttons to control which FileMaker records print. 
| 3. | Once you've set your other choices (print range and number of copies), click OK (Windows) or Print (Mac).
|
Tip
|