| A big part of creating a DVD involves choosing which menu theme you want. iDVD includes menu themes for many types of occasions and subjects: weddings, parties, vacations, kids, and more. Many of these themes have motion menus containing beautiful animations and background music. In iDVD, all themes are now designed for widescreen presentation. Although iDVD can't yet burn high-definition discs, you can take advantage of the more cinematic 16:9 aspect ratio if you shot widescreen video. Your design options don't end once you've chosen a theme. Many of iDVD's themes provide drop zones, special areas of the menu background into which you can drag photos or movies. Drop zones make it easy to customize a theme with your own imagery. Most drop zones have special effects that iDVD applies to the photos or movies that you add to them. For example, the Reflection White theme puts your imagery in a set of 3D panels that glide like a moving art gallery. The Road Trip theme puts your imagery in a scrapbookand if you look closely, you'll see that the pages cast shadows on each other. Most themes provide "dynamic" drop zones that move around the screen. And as the following pages describe, you have more options for managing the contents of drop zones. Choosing a Theme Step 1. | If the list of themes isn't visible, click the Themes button.
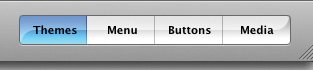 | Step 2. | Choose the theme you want by clicking it.
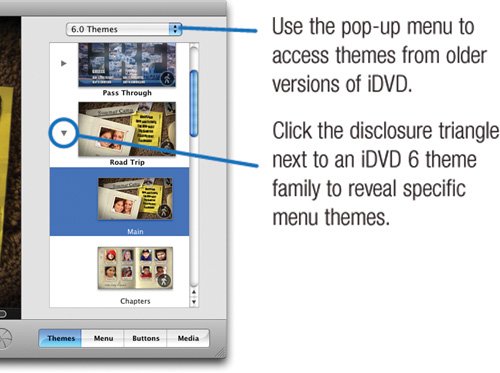 Tip 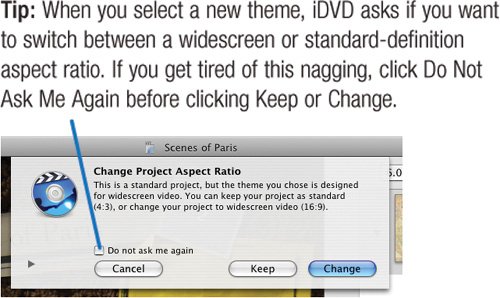 Note In order to see a theme's motion, you must have motion turned on. To turn motion on or off, click the Motion button. As you work on your DVD, you'll probably want to turn motion off since iDVD performs better this way.  |
Adding Items to a Drop Zone iDVD provides several ways to add items to drop zones. Here's the technique you're likely to use most often. For details on more drop zone techniques, see the following pages. Step 1. | Click the Media button. Then, to access photos in your iPhoto library, click the Photos button. To access movies, click Movies.
| Step 2. | In the photo or movie media browser, select the item or items you want to add. You can select multiple photos or an entire album. If you add multiple photos to a drop zone, iDVD displays them successively as the menu is displayed. You can add up to 99 items to a drop zone.
| Step 3. | Drag the selected items into the drop zone.
 | Step 4. | 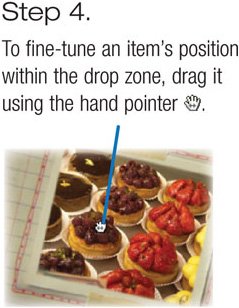 |
Previewing and Testing Your Work As you work on a DVD, you'll be anxious to see how the final product will look. To find out, use iDVD's preview mode. Click the Preview button, and iDVD turns itself into a DVD player and starts playing your DVD. In preview mode, an on-screen remote control lets you navigatechoose menu buttons, jump to chapters, and watch the movies and slide shows you've added to your DVD. 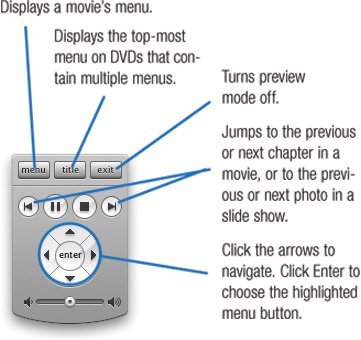 Preview mode plays back whatever is displayed in iDVD's window. If your main menu is visible, that's what plays back. If you're working on a slide show, the slide show begins playing. Using iDVD's preview mode is a great way to check your work, but you shouldn't rely on it as your only testing tool. As you near the end of your project, create a disc image and use Mac OS X's DVD Player program to test it (see page 310). Then burn a disc and test it in your DVD player. |
|