| You must download a copy of MySQL to install it to your computer system. Prebuilt binary versions of MySQL are available for all popular operating systems. To download a copy of MySQL, go to http://www.mysql.com/. From this Web site, you can access a download section that allows you to choose among several versions of MySQL. Notice that there are two main versions of MySQL. A full-featured version, named MySQL-Max, is the one you should download. The regular version of MySQL has no support for some of the more advanced features. For this book, we assume that you are using the Max version; we used MySQLMax 3.23. Once you download the Windows version of MySQL, you should have a file named something like mysql-3.23.48-win.zip. (This is a zipped file. If you are unable to unzip files, refer to the site http://www.winzip.com/.) Once you unzip the MySQL file, you'll find a standard installation program. Run the program named setup to install MySQL to your system. This process is shown in Figure C.1. 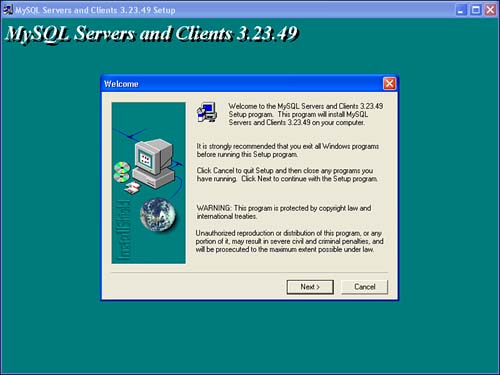
Now that MySQL is installed, you must expose its BIN directory to the system path. Doing this allows you to execute MySQL commands from any directory at a command prompt. By default, c:\mysql\bin is the directory where MySQL is installed. The procedure for adding the MySQL BIN directory to your system path differs, depending on which operating system you are running. If you're using Windows XP, Windows 2000 Pro, or Windows NT, you set the system path using the System Properties window in Control Panel, shown in Figure C.2. 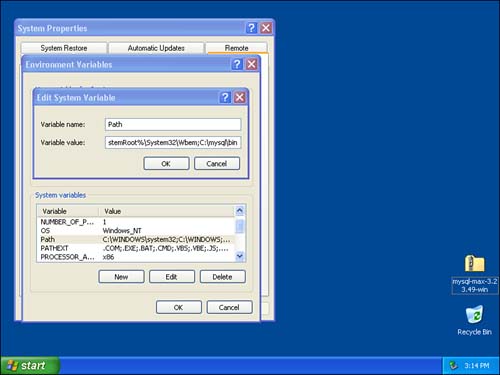
Figure C.2 shows the System window for Microsoft Windows XP. Although this window will look slightly different in older versions, the procedure is the same. You must add the c:\mysql\bin directory to the end of your PATH environment variable. If there is already a path in your PATH environment variable, you must separate the new path with a semicolon (;), as shown in Figure C.2. If you are using an older version of Windows, such as Windows 95, Windows 98, or Windows ME, you must modify your autoexec.bat file in order to change the system path. In your autoexec.bat file, you should see a PATH statement. The exact layout of your autoexec.bat file depends on what other software has already been installed on your computer system. Once you locate the PATH statement, you must append the path c:\mysql\bin\to the end of the specified PATH statement. Of course, you should use a semicolon (;) to separate the new path. When you installed the Java JDK, you also modified the system path. It is important that you do not change the JDK path information that you set up before. Make sure that you just append the MySQL path information to the end of what is already there. If you've followed these steps properly, you now have the MySQL software installed on your system. Now you have to set up the database so that it is ready for use. In the next section, we look at that process. | 