| Creating files for special uses often requires special processing. These techniques are fairly elaborate, so the short overviews here are meant for a clearer understanding of possibilities. The creation of specialized formats for the Internet, professional printing, or video requires a mastery of several interconnected skills. Let's take a quick look at converting to special purpose files. Save For Web Preparing images for the Web is all about compromise. You must learn to balance appearance with file size. If a Web page takes too long to load, people will leavewhich defeats the purpose of running the site. Fortunately, Photoshop provides a powerful command for compressing images and previewing the results: the Save For Web command. Video Training  | Save for Web |
Let's give the Save For Web command a try: 1. | Open the file Board.tif from the Chapter 17 folder on the DVD-ROM.
| 2. | Choose File > Save For Web.
| | | 3. | The Save For Web dialog box offers several important options for optimization and preview:
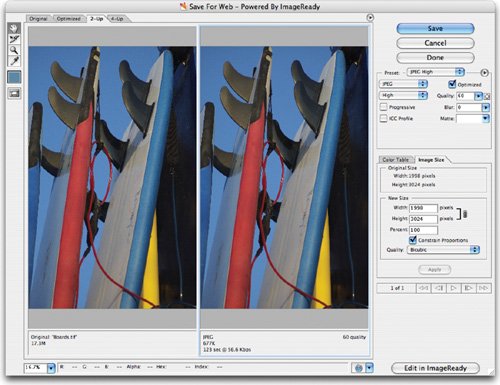 - Toolbox: If you can't see the entire image, you can use the Zoom tool to make the image more visible. Additionally, you can use the Hand tool (or hold down the Spacebar) to drag and navigate around the image. Alternatively, you can click the Zoom Level menu in the lower-left corner and choose a magnification level.
- Optimization tabs: By clicking the four tabs at the top, you can choose to view the Original image, an Optimized view, 2-Up to view two versions of the image side by side, or 4-Up to view four versions of the image side by side. Being able to compare optimized images helps choose the right format and compression settings. In the case of this image, choose 2-Up.
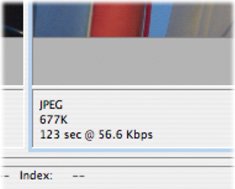
- Image Optimization Info: The area below each image in the Save For Web dialog box gives you optimization information. You can see the current optimization applied, the projected file size, and the estimated download time based on a selected modem connection speed. Choose the JPEG High preset and you'll notice that the file has been reduced from 17.3M to 677K (a significant savings). However, the download time is 123 seconds on a 56K modem (you can right-click the time to choose another speed).
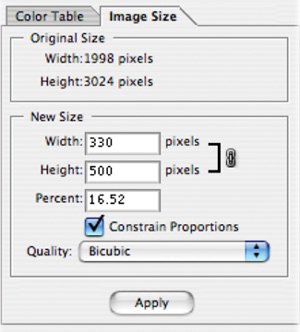
| 4. | We need to further reduce the file size for Internet delivery. The first area to tackle is the actual image size in pixels. Click the Image Size tab and you'll see that the image is almost 2,000 pixels wide (which is much wider than a typical Web page). Type in a Height of 500 pixels, so the image can integrate easily into our Web page (even with a screen resolution of 800 x 600, a height of 500 would allow the image to display without scrolling up and down). Click Apply to resize the image.
 | 5. | The file size has been significantly reduced, but it's hard to see the effects of the compression. Set the image magnification view to 100%.
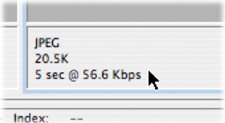
| 6. | Change the amount of Compression by either changing the preset (from High to Medium, for example) or adjusting the Quality slider. You will need to release the slider for the image to refresh. Try a setting of 45 to see the results, then experiment with other numbers. The image is now at just over 20K. This is more than a 99.9% reduction in file size and a fundamental change for Web delivery.
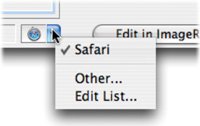
 | | | 7. | Towards the lower-right corner, you have the ability to choose to preview the image in a Web browser. If you don't see your browser of choice, just choose to Edit List.
 | 8. | Click Save to process the image and save a compressed Web-ready version. The original file will remain untouched, and its resolution and quality will be identical to its state when you launched the Save For Web command.
| 9. | Experiment with other file formats such as GIF and PNG to see their benefits and limitations.
|
Convert to CMYK While CMYK conversion is an everyday process for many users, several authors and trainers have developed some useful techniques. What I offer here is a proper workflow that will work for most users, on most images, in most environments. I encourage you to continue to explore prepress production through further reading. CMYK conversion can be a very tricky process, and it is essential that you have access to the color profile used by your output device. With all of these caveats said, let's take a look at the process: 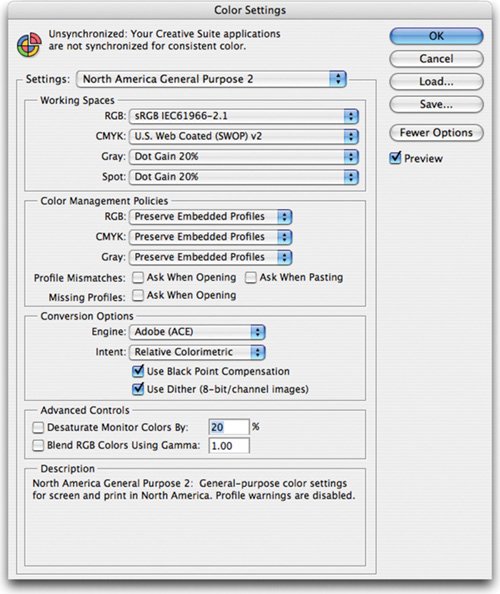 1. | Check your color management settings by choosing Edit > Color Settings or pressing Shift+Cmd+K (Shift+Ctrl+K). Choose North America General Purpose 2.
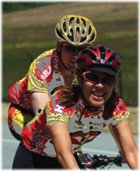
| | | 2. | Open the file Bikers.tif from the Chapter 17 folder.
| 3. | Choose View > Gamut Warning or press Shift+Cmd+Y (Shift+Ctrl+Y). Areas that are too bright or saturated for CMYK printing will be highlighted in gray. This is because the RGB space can represent a wider ranger of visible colors based on the additive method of color. CMYK printing instead uses the subtractive model, and it has a narrower range.
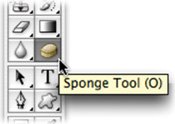
 | 4. | Select the Sponge tool (O) from the Toolbox. Adjust the brush to a large size with soft edges. Set the flow to a lower value such as 20% and the mode to Desaturate. This will gently soak up the color in the oversaturated areas.
 | 5. | Carefully paint over the oversaturated areas with the Sponge tool. It may take multiple strokes, but you'll see the gamut warning go away. Repeat for other problem areas in the photo.
| 6. | When all of the gamut warning has been removed, choose Image > Mode > CMYK. There should be no visible shifting in the colors.
| 7. | Save the image in a print-ready format such as TIFF.
 |
Add an Alpha Channel We explored saving selections as channels much earlier in the book (Chapter 5, "Selection Tools and Techniques"). The alpha channel can be used to store transparency information, and it is particularly useful for video and multimedia users. If you are using Photoshop CS2, there are new actions for the video professional that I cowrote with Daniel Brown. These can speed up certain tasks for a video workflow. Two of these actions can create an alpha channel for multilayered graphics with transparency. 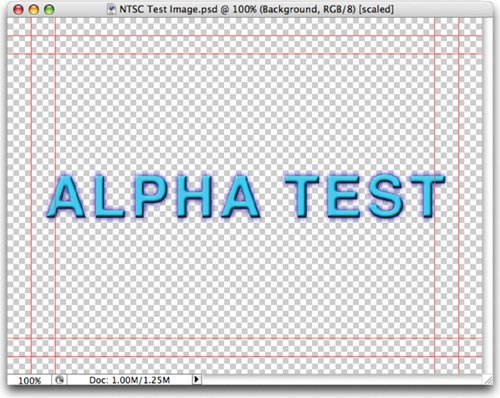 1. | Open the file NTSC Test Image.psd from the Chapter 17 folder.
| 2. | Make sure the Alpha Test layer is visible and others are turned off.
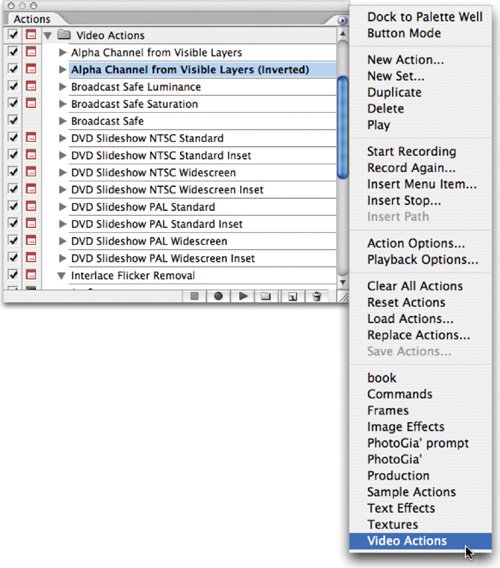
| 3. | Call up the Actions palette and load the Video Actions by clicking the submenu. Choose the Video Actions set (you must have CS2 or later to access them).
| 4. | Choose the Create Alpha Channels from Visible Layers action. You must see Photoshop's transparency grid for it to work.
| 5. | Click the Play Selection button to run the action. A dialog box comes up with instructions. Read it and click Continue.
 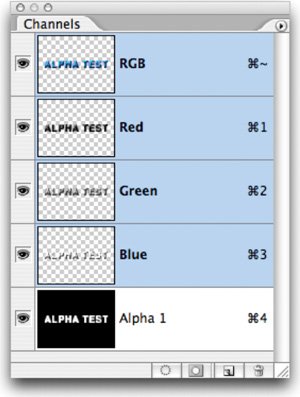 | 6. | A new alpha channel is added to the document. Save the file as a PICT, TIFF, or Targa file and choose to embed the transparency by including the alpha channel
|
There are many other issues related to creating graphics for use in video. I invite you to check out my reference site, www.PhotoshopForVideo.com. You'll find free training movies and links to my DVDs and other books for the video industry. Include a Clipping Path If you are preparing an image to import into a page layout program (such as Adobe InDesign or Quark Xpress), you may want to embed a clipping path. The clipping path embeds the transparency information into the file. 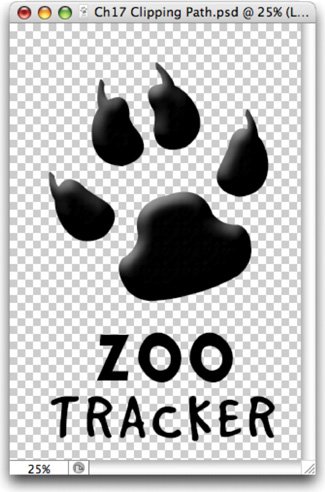 It's important to note that paths are vector-based; therefore, they have hard edges (and do not preserve softness or a feathered edge). Features like a drop shadow cannot be preserved when creating a clipping path (but can often be added in the page layout program). An alternative to clipping paths is to use an alpha channel (which can include a feathered edge). Photoshop offers a few ways to create accurate clipping paths; we'll explore the easiest. Photoshop has a built-in wizard to help with the creation of clipping paths: 1. | Open the file Ch17 Clipping Path.psd from the Chapter 17 folder.
The Export Transparent Image Assistant only recognizes one layer, so it is a good idea to have a little human intervention.
| 2. | Create a new, empty layer at the top of the layer stack.
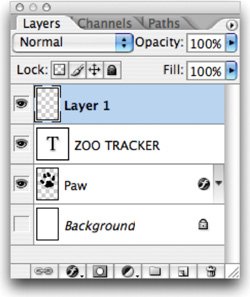 | 3. | Make sure only the needed layers are visible (in this case the type layer and the paw print).
| 4. | Hold down the Option (Alt) key and choose Layer > Merge Visible. This will create a flattened copy on the recently created blank layer.
| | | 5. | Choose Help > Export Transparent Image. A window opens displaying the interactive wizard.
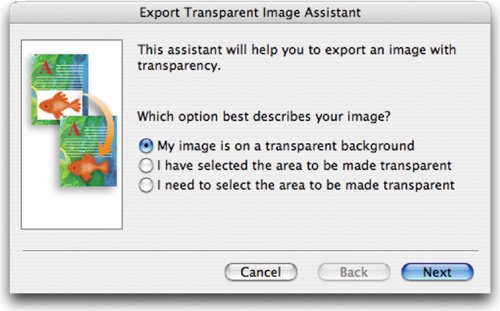 | 6. | You now must tell Photoshop how to determine transparency. The easiest method is to have the image on a transparent background, but you can also make a selection using any of your selection tools as well. The sample image is already on a transparent background.
| 7. | The next window asks you to choose from Print or Online. For this purpose, choose Print.
| 8. | Another window opens displaying advanced options. Choosing to embed Vector Data (if you have any) is usually all you need to select.
| 9. | Name the file and set a destination. Photoshop automatically creates the path and saves the image in the right file format for PostScript printers (an EPS file). If you are using a non-PostScript printer, save the file as a TIFF.
|
This path is functioning as a clipping path. When the path's name appears outlined, it is being used as a clipping path.  Feel free to visit the Adobe Help Center (Help > Photoshop Help) for more information on clipping paths. You'll find advanced options on controlling the creation of work paths (which become clipping paths). |