Understanding the Interface
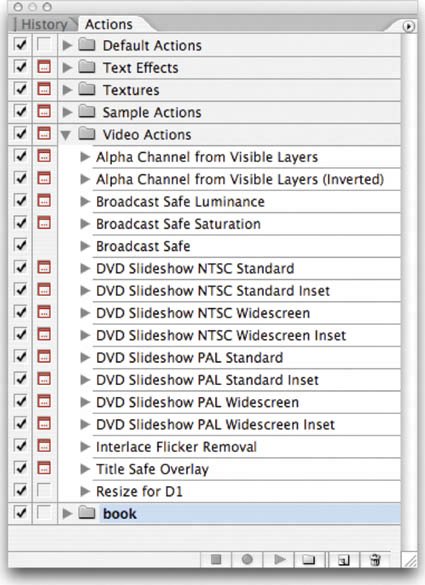
| So let's start with a quick tour of the Photoshop interface. Since many of these windows will be new to you, we'll tackle them in alphabetical order. The goal here is to get the "lay of the land" and just learn what each tool is used for. Throughout the rest of the book we'll dig much deeper into how (and when) to use these tools. However, in our learning process, we'll need to use tools before we've had a chance to go into them in depth, so a basic knowledge right away is very important. ActionsActions are among the least-used features of Photoshopand the most powerful. Actions allow for visual scripting, which means you can record commands or adjustments that you need on one image, and play them back on other images. For example, you could record an action that adjusts the size of an image, runs an adjustment to lighten the image, then converts it to a TIFF file for commercial printing. Then you could play that series of commands back on another image or even batch process an entire folder of images (which can eliminate boring, repetitive work). Actions can be very useful for both design and production tasks. So why don't more people use them? There are a few hitches when creating actions (they are very literal and record exactly what you do). Learning to use keyboard shortcuts in Actions allows the action to be more flexible and work on several images and situations. However, learning to harness Actions can save you hours of time on complex jobs. I speak from personal experience having used them in my video and multimedia company from the technology's inception; I have saved thousands of hours through the years. I'm such a fan of Actions that I cowrote the Video Actions that ship with Photoshop CS2. While we'll explore Actions fully in Chapter 15, "Actions and Automation," let's whet your appetite by running a built-in action:
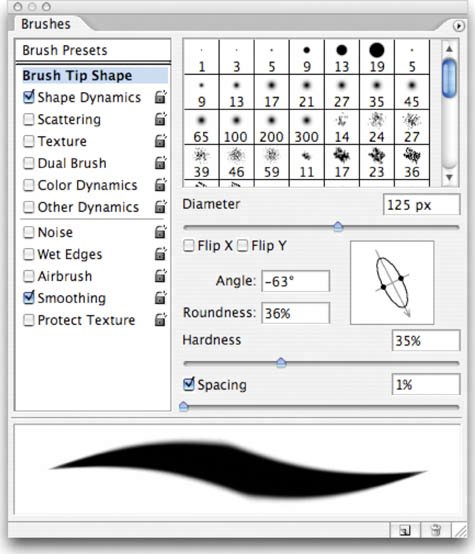
 Animation (Introduced in Photoshop CS2)Photoshop has a companion program called ImageReady that began its life as a stand-alone Web graphics tool. Then with Photoshop 5.5 it got bundled in. The Animation window has always been a part of ImageReady. With the release of Photoshop CS2, ImageReady development has virtually stopped and its features appear to be rolled into Photoshop.  You can use the Animation window to create a frame-based animation (such as a banner ad for a Web site). We'll explore these techniques in greater depth later in the book. BrushesYou don't have to be a painter to appreciate the power of brushes in Photoshop. Brushes are a part of image touchup, masking, and design projects. Press F5 or choose Window > Brushes to view the Brushes palette. Depending on the version of Photoshop you are using, the window may vary. What is important is to click the Brush Preset area and view the built-in brushes. Try your hand at using the brushes:
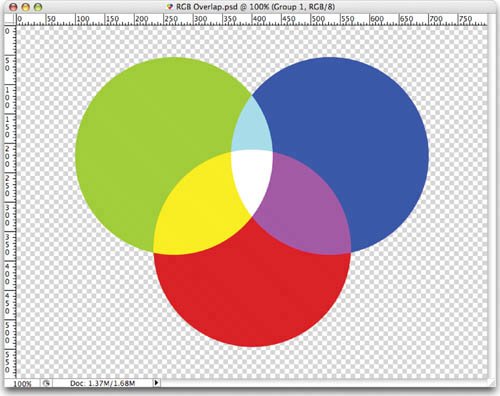
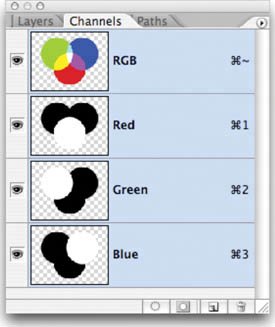
Continue to experiment. For more on brushes be sure to see Chapter 6, "Painting and Drawing Tools." ChannelsIn the previous chapter we discussed different image modes that a computer graphic could occupy. In the Channels palette you can view the individual components of color. The brighter the area in the individual channel, the more presence there is for that color. Let's look at a simple example of an RGB graphic. Video Training
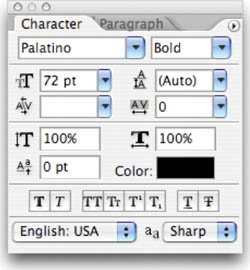
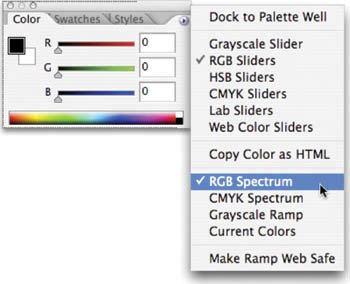
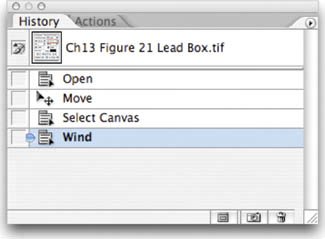
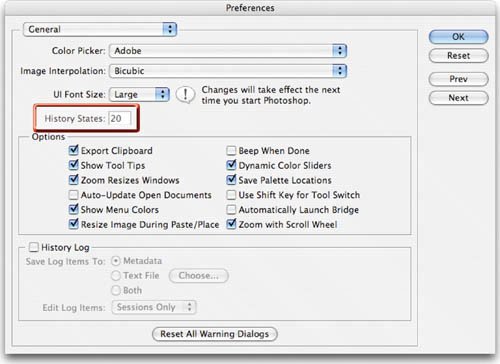
Fully understanding Channels unlocks a wealth of image-processing power. Harnessing color's individual components is difficult at first, but well worth the effort. We'll delve much deeper into Channels in Chapter 10, "Color Correction." CharacterWhile Photoshop began its life as an image editor (essentially a digital darkroom), it has greatly evolved over the years. Many people start and finish entire designs right inside of Photoshop. These include advertisements, posters, packaging, and DVD menus. A powerful text tool is essential and Photoshop has truly matured over the years. A close look at the Character palette will reveal complex control over the size, style, and positioning of individual characters within a word. The type tool is explained in significant depth in Chapter 12, "Using the Type Tool." ColorDon't confuse the Color palette with the color mode of the document. The Color palette allows you to modify and select colors using six different color models. You can choose colors using RGB sliders, or the more intuitive Hue Saturation and Brightness (HSB) model. To adjust color, move the sliders for the corresponding value. Sliding the Red slider to the right increases the amount of red in the new color. Choosing colors is independent of image mode in that you can use a CMYK model for an RGB image. However, picking a color to use in a grayscale document will not introduce color into that image. Spend some time exploring the Color palette and find a mode that works best for you. Clicking on a color swatch opens the powerful Color Picker, which unlocks a larger visual interface for exploring color, and enhances the use of the Eyedropper tool to sample color from a source image. We'll use color in several of our chapters and the Color palette and Color Picker are fairly easy to understand. The Histogram palette has been set to Show All Channels view. You can choose this interface by clicking the triangle in the upper-right corner and choosing All Channels view. The top histogram is a composite histogram for the red, green, and blue channels combined; the next three show them individually.  Histogram (Introduced in Photoshop CS)While color-correcting or adjusting exposure, the histogram can be a great help. This graph illustrates how the pixels in the image are distributed across intensity levels. To read a histogram, start at the left edge, which shows the shadow regions. The middle shows the midtones (where most adjustments to an image are made), and to the right are the highlights. We'll cover image touchup and enhancement in Chapter 10. You may want to leave the Histogram palette open as you work, as it is an easy way to learn to read the graphical details of a digital image. HistoryThe History palette will quickly become your best friend. It's here that Photoshop keeps a list of what you have done to the image since you opened it. By default, Photoshop keeps track of the last 20 steps performed on an image but you can modify this number. A higher number means more levels to Undo:
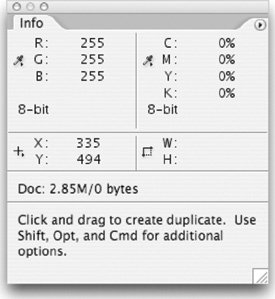
Info The Info palette is a useful place to find a plethora of information, even using the default options. However, by customizing the palette, you can make it truly useful:
Layer Comps (Introduced in Photoshop CS)A Layer Comp is essentially a snapshot of a state of the Layers palette. New users may not be able to fully appreciate the power and flexibility that Layer Comps brings to a designer. Their usefulness comes from their ability to store multiple designs or options (also known as comps) within one document. You can record three kinds of layer options:
We'll spend more time on Layer Comps in Chapter 8, "Compositing with Layers." LayersIn Photoshop, a layer can contain artwork and transparency information. This allows you to combine (or composite) multiple images into a new piece (such as a postcard or advertisement). Originally, Photoshop did not have layers. You could open a picture to process it, but that was about it. However, over time the demands placed on Photoshop by its users led to its evolution. As Photoshop moved beyond a mere touchup tool, the flexibility of layers emerged to meet the demand. By isolating discrete elements to their own "layers," designers can make several changes and freely experiment with their design. You can explore this layered file by opening Surf Card.psd in the Chapter 2 folder on the DVD-ROM. 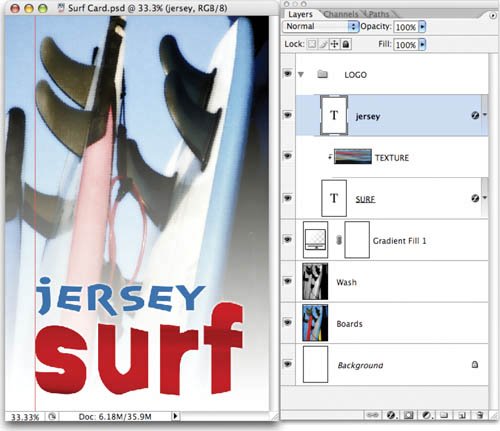 Without sounding like a zealot, layers mean everything to a designer in Photoshop. You will spend much of this book (and your early career using Photoshop) getting comfortable with layers. With that said, always leave your Layers palette open while you work (press F7 to open); this is where most of the action takes place. The Layers palette is like the steering wheel of a car. We'll dig much deeper into layers in Chapter 7, "Layer Masking," and Chapter 8, "Compositing with Layers." NavigatorWhile working with photos, you'll often need to zoom in to touch up an image. While it may sound cliché, it's easy to lose your perspective when working in Photoshop. When you zoom in to a pixel level for image touchup, you often won't be able to see the entire image onscreen. This is where the Navigator comes in handy: 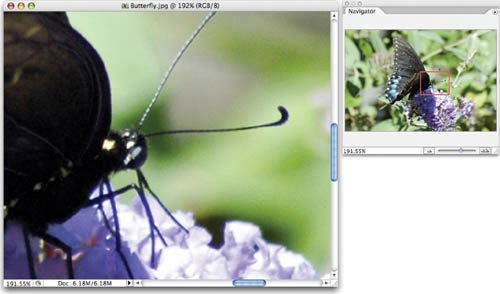
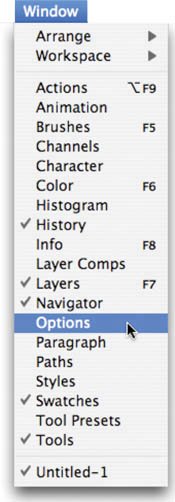
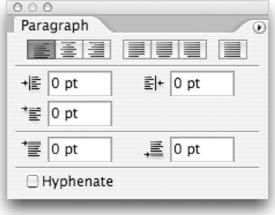
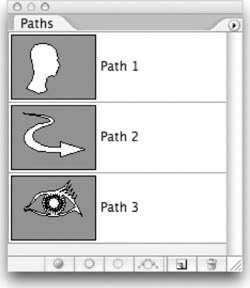
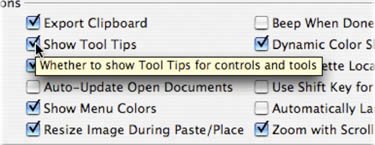
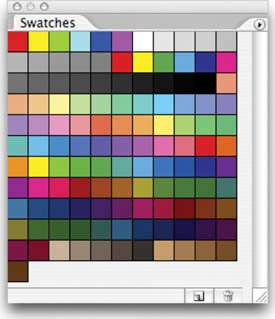
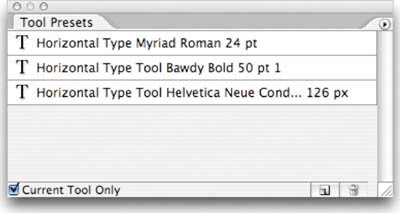
OptionsThe Options bar is essential, as it contains the majority of controls for the active tool. It consolidates the most used (and useful) options for the active tool and moves them up front for easy access. The Options bar is visible by default. It runs the length of your monitor and is docked directly below your menus. Be certain to keep the Options bar open, as you'll always need it. If you accidentally close it, you can bring it back by choosing Window > Options. ParagraphThe Paragraph palette contains controls that impact Paragraph text. When using the Type tool, you can click and type, which creates Point Type. Or, for more control, you can click and drag to create a text block and have access to Paragraph Type. This will cause the text to have boundaries and wrap when it hits a margin. Within this text block, you can have a significant level of control on how your type is aligned and justified. For much more on text see Chapter 12. 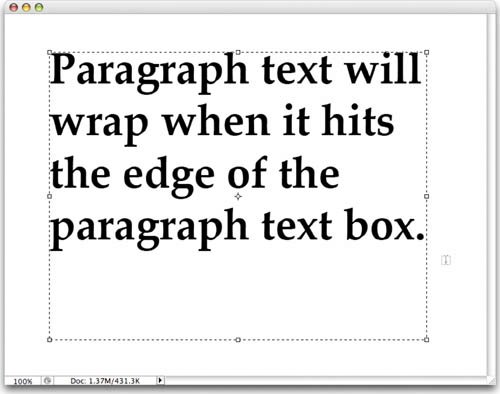 PathsWhile Photoshop is known as a raster-editing tool (because of its several pixel-based functions), it does contain several vector tools as well. Vectors use lines that are defined by math equations; as such, they can be scaled indefinitely, and always remain crisp. Several of those vector tools can create paths, which are useful for complex selections. You can create a path with the Pen tool. By clicking around the image, anchor points are created, then Photoshop connects the dots with vector lines. Paths can also be created using the vector shape tools The Paths palette is where you can select which path you want to update. For more on complex selections, see Chapter 5, "Selection Tools and Techniques." SHAPES BY GRAPHIC DESIGN AUTHORITY. ToolboxYour hands-on tools are all contained in the Photoshop Toolbox. Photoshop groups similar tools together. You can access these hidden tools by clicking and holding on a particular tool. Whenever you see a triangle in Photoshop, click it to open additional options. The first keyboard shortcuts you'll want to master are those for the Toolbox. Frequently, the first letter of the tool is the keyboard shortcut. If you can't remember the shortcut, click the tool while holding down the Option (Alt) key to cycle through the available tools. An alternative method is to press the keyboard shortcut multiple times while holding the Shift key (for example Shift+M will cycle between the Rectangular and Elliptical Marquee tools.) If you'd like to simplify things, then call up the Preferences dialog by pressing Cmd+K (Ctrl+K). Disable the Use Shift Key for Tool Switch option. You can now tap a shortcut key (such as G for Gradient Tool) and cycle through the tools contained in that tool's drawer. This speeds up your ability to switch tools. While you are in your General Preferences area, enable the Show Tool Tips feature to assist in learning common keyboard shortcuts. 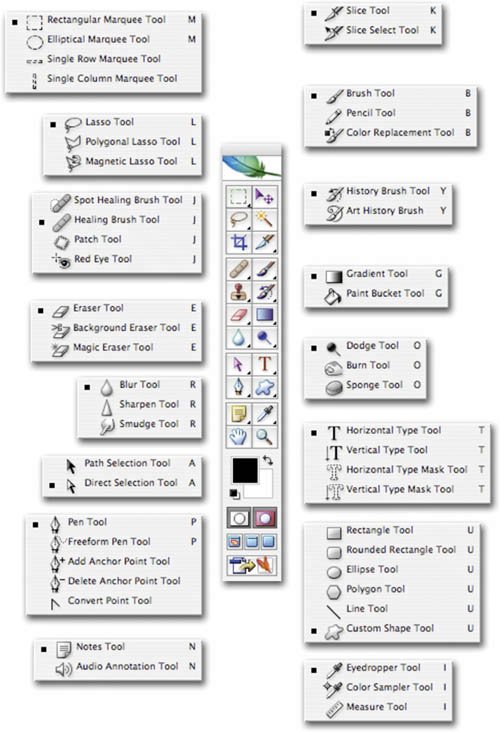 The Tool Tips will teach you the proper name, as well as keyboard shortcut, for each tool. There are many tools and each has multiple purposes (as well as strengths and weaknesses). Throughout this book, we'll address how to effectively use these tools. With patience, you'll get the most from Photoshop's powerful feature set. StylesThe Styles palette is where you can visually access Layer Styles. These are the combination of Layer effects (which can be applied singularly to create effects such as beveled edges, drop shadows, or glows). Effects are most useful in combination, however, and advanced photorealistic effects can be achieved. Photoshop ships with several built-in styles, and many more are available for download from Adobe's Web site (www.adobexchange.com) as well as many other Photoshop sites. Layer Styles are frequently used for text and image effects, but can also be harnessed for Web rollover effects for buttons. For more on Layer Styles, be sure to read Chapter 13, "Layer Styles." 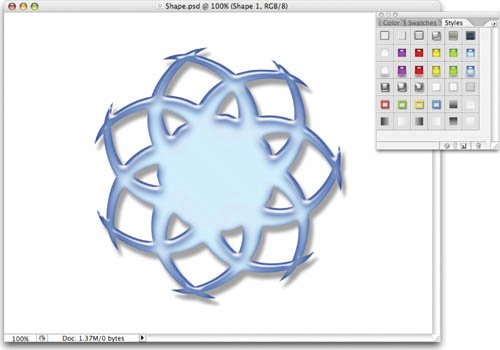 SwatchesThe Swatches palette is like a painter's palette in that it holds several colors ready to use. There are several colors loaded by default, which are useful when painting or using filters that utilize those colors. If you click the palette's submenu, you'll discover many more swatch books to load for specialty purposes like Web browser colors, spot color printing, or thematic color swatches (such as a blue saturated range). Tool PresetsTools in Photoshop are much like a socket wrench set. With little effort, you can quickly swap out a piece and have a different tool. For example, you can create a specialized brush then adjust its size, hardness, opacity, and color. Then, for a different task, you might choose to modify the brush again. Tool Presets enable a user to save tool setups to make it easier to jump back and forth between tools. We'll use Tool Presets in later chapters, and you can learn more about them in the Adobe Help Center. |

EAN: 2147483647
Pages: 129