The theme file is prepped and can now be applied to an existing presentation. The text content for this exercise has already been entered on slides. However, the slides are generic and need styling and images.
1. | Choose File > Open, navigate to the Lesson 05 folder, and open the file 05Desert Starter.key.
|
2. | Choose File > Save As and rename the presentation Arizona Wildlife and save it in your Lesson 05 folder.
You can now apply a theme to the presentation.
|
| |
3. | Choose File > Choose Theme to open the Theme Chooser. Select Desert Theme and click Choose.
Custom themes appear at the bottom of the Theme Chooser.
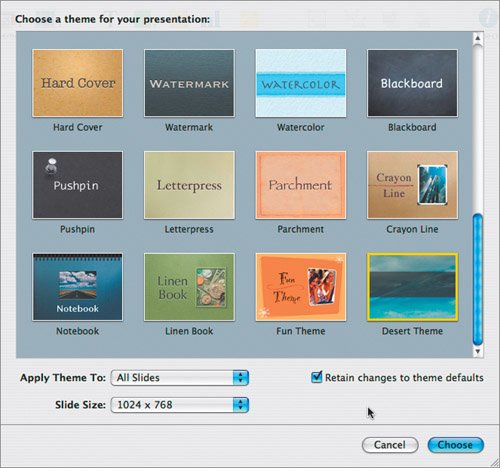 The Desert Theme custom theme is applied to your presentation. Because the slide masters of both presentations used the same names (Bullets… Blank), the program matches the new formatting to the appropriate slide. The Desert Theme custom theme is applied to your presentation. Because the slide masters of both presentations used the same names (Bullets… Blank), the program matches the new formatting to the appropriate slide.
A few items need to be forced to properly format themselves as not all fonts and point sizes changed to match the new theme.
|
4. | Click Slide 1 in the slide organizer, choose Edit > Select All to select all slides, and choose Format > Reapply Master to Slide.
The slides now completely match the template. You can now customize the slides to complete the presentation.
|
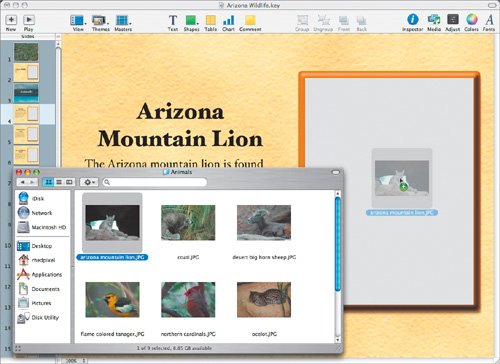
5. | Select slide 4 in the slide organizer (Arizona Mountain Lion).
|
| |
6. | In the Finder, navigate to the Lesson 05 folder and open the Animals folder. Drag the file arizona mountain lion.JPG into the photo cutout.
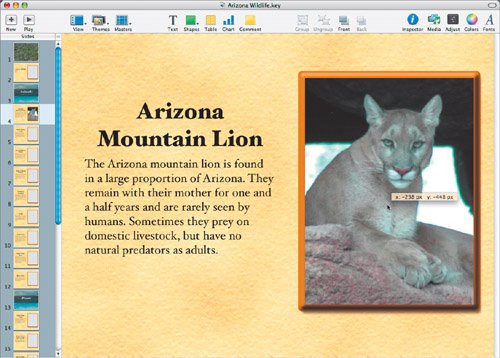
 You can drag the photo in the canvas if you need to reposition it. You can drag the photo in the canvas if you need to reposition it.
 |
7. | Drag in the photos for slides 5 to 12 using the photos in the Animals folder. Reposition or resize photos to taste and use the Adjust Image window if needed.
Tip You can use the Metrics Inspector to precisely size or flip an image if needed. |
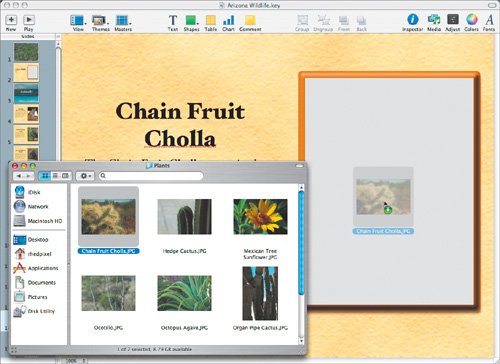
8. | In the slide organizer, select slide 14 (Chain Fruit Cholla).
Now you're going to build the next section of the presentation.
|
9. | In the Finder, navigate to the Lesson 05 folder, open the Plants folder, and drag the file Chain Fruit Cholla.JPG into the photo cutout.
 |
| |
10. | Select slide 15 in the slide organizer.
The title for the plant is partially cut off, so you must resize the text block to make it fit.
|
11. | Click the Hedge Cactus text block to select it. Hold down the Option key and drag the right edge of the text block to make the text block wider (the block scales in both directions).
 |
12. | Add the remaining plant photos to slides 15 to 20.
Size and position the photos to taste and make any adjustments you feel are needed.
|
13. | Select slide 22 and select the title text (it is cut off, as evidenced by the plus symbol at the bottom of the text block). Press Command- (minus) to reduce the font size 1 point at a time. Repeat until the text fits.
 |
| |
14. | Repeat the formatting for the next two slides.
The presentation is not complete, but you need to switch to Photoshop, iMovie, and Safari to finish preparing content.
|
15. | Choose File > Save to save your work in progress.
|