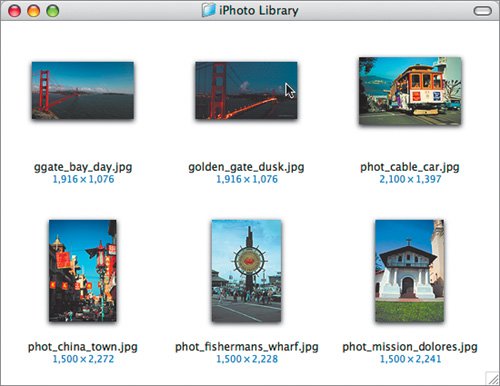
| One way to organize images for use in Keynote is to use iPhoto. This flexible application allows you to process, size, and organize your photos. As an added benefit, the changes you make to images in iPhoto are applied nondestructively, which means that you can change your mind and restore the original image (even after you close the program). 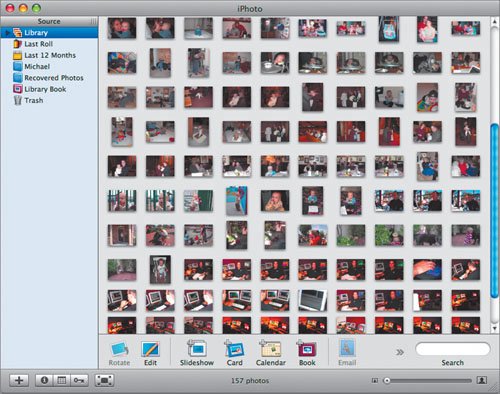 Adding Photos to iPhoto If you have images that you want use in your presentation, you can add them to iPhoto, so you can more easily manage and adjust them. While most users add photos to iPhoto by transferring them from a digital camera, there are other ways. Here, you'll add six images to iPhoto. 1. | Open the iPhoto Images folder in the Lesson 02 folder.
The folder contains six photos.
 | 2. | Select the six photos and drag them onto the iPhoto icon in your Dock.
 | | | 3. | Release the mouse button to complete the import.
iPhoto opens and becomes the active application.
 When the spinning progress circle stops, the photos are in your iPhoto library.
|
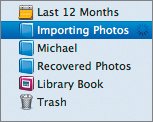
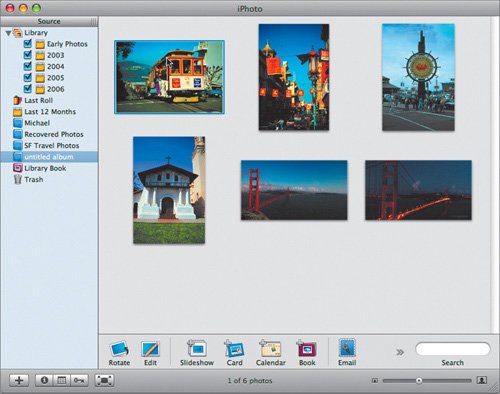
Creating an Album in iPhoto An iPhoto album is an excellent means of organizing your photos for use in Keynote. Albums are also easy to create. 1. | Click the Last Roll icon to see the last photos added to your library.
This icon lets you isolate the most recent photos for quick access.
 | 2. | Choose Edit > Select All to select all of the photos imported in the last roll.
| | | 3. | Drag the photos into an empty area of the Source pane and release the mouse button when the plus symbol appears.
If you have a lot of albums, it may be difficult to find an empty area. If so, simply choose File > New Album from Selection.
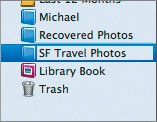
 A new album called Untitled Album is created. The name is highlighted and ready to be modified.
| 4. | Double-click and name the album SF Travel Photos and press Return.
iPhoto albums will show up in Keynote's Media Browser.
 |
Enhancing Photos with iPhoto In a perfect world, photos would never need touch-up. This, however, is not the case. Most imagesincluding those you're including in your Keynote presentationbenefit from a little digital attention. While professionals will often turn to applications like Aperture or Adobe Photoshop, several common image problems such as exposure and color balance can be tackled within iPhoto. 1. | Select the photo of the cable car in the SF Travel Photos library.
 | | | 2. | Click the Edit button at the bottom of the iPhoto window.
 iPhoto switches into Edit mode. This mode allows you to adjust the image as well as enhance or crop it.
| 3. | Click the Enhance button to automatically adjust the color and contrast of the photo.
 | 4. | At the top of the window, click the thumbnail for the China Town image.
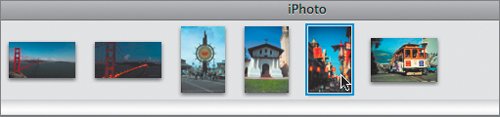 | | | 5. | Enhance the China Town image in the library using the same technique as before. Then click the Fisherman's Wharf image in the thumbnail list.
The third photo (of Fisherman's Wharf) is a bit dark and improperly color balanced. The whites in the image are not a clean white; in fact, they have a bit of a color cast to them.
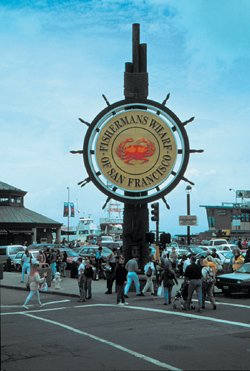 | | | 6. | Click the Enhance button to help neutralize the blue cast to the image.
 | 7. | Click the Adjust button to open the Adjust panel.
 | | | 8. | Adjust the Saturation, Temperature, and Exposure sliders. Notice how your image changes as you drag the sliders. Use values close to these.
Saturation: 70 Temperature: 7.8 Exposure: 15.5
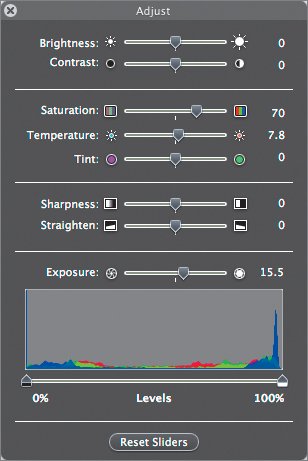 The image should be better exposed and color balanced.
| 9. | Adjust the remaining three images to taste with the Enhance button or the Adjust pane.
| | | 10. | When you're finished adjusting the images, quit iPhoto.
 |
|