| If you can believe it, all these cool deformations described above can be applied with one single tool! To see this tool in action, open a new 500x500, 72dpi image with a white background. Then follow these steps: -
In the Layer palette, click the Create Layer icon to add a new layer over the background layer. I know we haven't covered layers yet, but you don't really need to know how they work at this point. If the Layer palette is not visible choose View, Toolbars and, in the Toolbars dialog box that appears, place a check mark in the Layer Palette option. -
In the Layer Properties dialog box, click OK. -
Set the background color to black. This is the color with which your text will be filled. Also, set the Stroke Style to none. -
Select the Text tool and click in the middle of the image to open the Text Entry dialog box. -
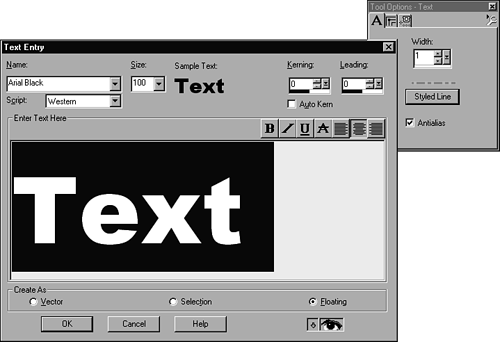
In the Text Entry dialog box, enter some text. The text you enter doesn't really matter; it could be your name , for example. Be sure the size is large (you'll see the text appear within your image so you can change the size as needed). Also, be sure you place a checkmark in the Antialias option and that you choose Floating for the Create As type so that you can move the text around within the image (see Figure 36.1). Figure 36.1. The Text Entry dialog box.  -
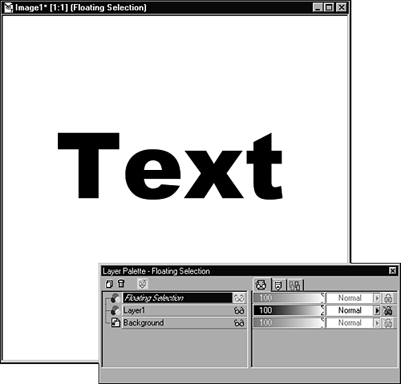
Click OK to place the text as a new floating selection over the new layer (see Figure 36.2). Figure 36.2. Text as a floating selection over a new layer.  -
With the text still "floating," you should be able to click and drag it into place. To do so, simply move the mouse over the text until the cursor changes to a four-headed arrow, and then drag the text into place. -
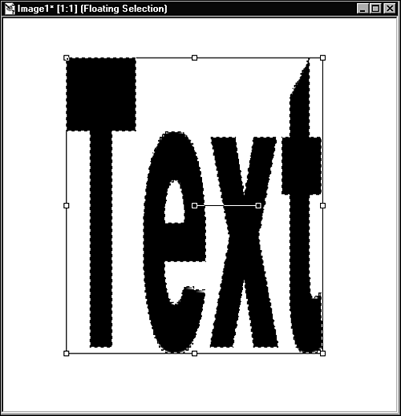
Select the Deformation tool. When you do, you'll notice a change in your image. A bounding box is added with several control handles (see Figure 36.3). Figure 36.3. The Deformation tool's bounding box and control handles with the Layer palette shown.  -
As you move the mouse over the bounding box and the different control handles, the mouse pointer changes, too. If you move the mouse inside the bounding box away from any of the control handles, the pointer changes to a cross with an arrowhead at each end. This pointer enables you to move the selection along with the bounding box. Try it; move the text around the image. As you move the pointer, the bounding box follows ; when you release the mouse button, the text snaps back inside the bounding box. -
Move the pointer over one of the corner or side handles. As you move over a side handle, the mouse pointer becomes a two-headed arrow with a small rectangle above it. As you move the pointer over a corner handle, the mouse becomes a four-headed arrow (different from the four-headed arrow described previously) with a small rectangle over it. Each type of control handle enables you to resize the bounding box, and the selection contained within it, interactively: -
With the side handles, you can adjust the width and height separately. -
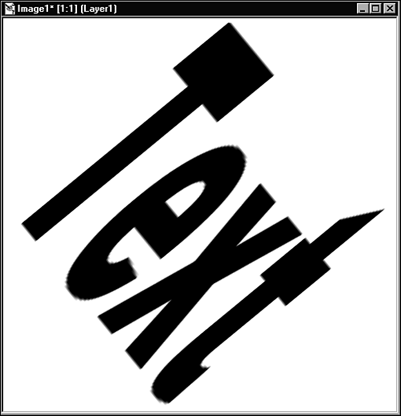
With the corner handles, you can adjust the width and height of the selection simultaneously . Try it. Move the mouse pointer over one of the handles and click and drag it. As you do, release the mouse button, the text resizes so that it fits into the box again. If the resizing moves the text from the center of the image, just grab the text (or the bounding box, actually) and move it back into position (see Figure 36.4). Figure 36.4. Text enlarged with the Deformation tool.  Rotating Text With the text resized, try rotating it. Simply grab the right side of the center control handle and give it a spin. When you move the pointer over the control handle box, the mouse becomes a crosshair in the box and two circular arrows appear. When you get it into position, double-click the mouse. You should see the selection marquee appear around the text again and should have something similar to Figure 36.5. Figure 36.5. Text rotated with the Deformation tool.  Using the Perspective, Shear, and Distort Options In this section, I'll use a practical application of the Deformation tool to demonstrate the Perspective, Shear, and Distort options. Follow these steps: -
Open a new 500x500, 72dpi image with the background set to white. -
Create a new layer by clicking the New Layer icon located in the top left corner of the Layer palette. -
Select the Text tool. -
Set the background color to a mid-to-dark gray and add some text as you did in the preceding example. -
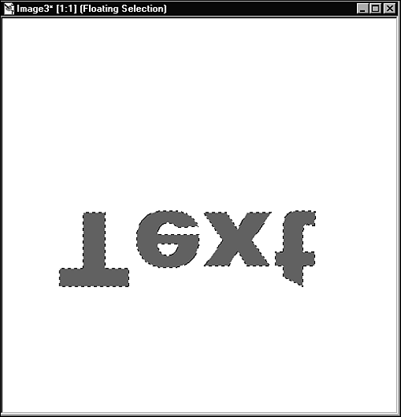
Choose Image, Flip to flip the text (see Figure 36.6). Figure 36.6. Text flipped with Image, Flip.  -
Select the Deformation tool and move the text a little to the right. -
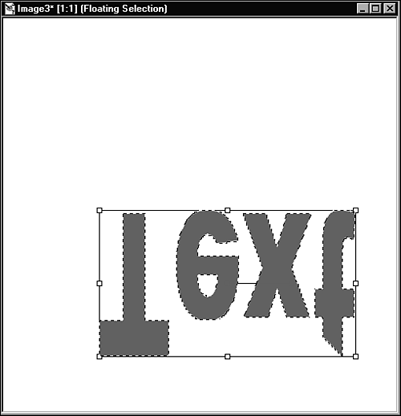
Grab the middle control handle along the bottom of the bounding box and drag down to resize the text vertically (see Figure 36.7). Figure 36.7. Text resized with the Deformation tool.  -
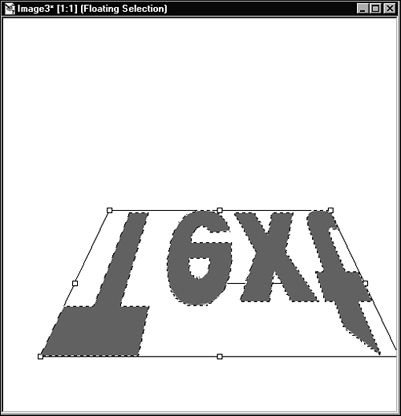
Hold down the Ctrl key and drag the bottom-left corner to the left so that the bottom of the text gets larger while the top remains the same (see Figure 36.8). This is how you can add perspective to an image. If the text seems to be running off the right side of the image, just drag the text toward the center with the mouse. Figure 36.8. Perspective added with the Deformation tool.  -
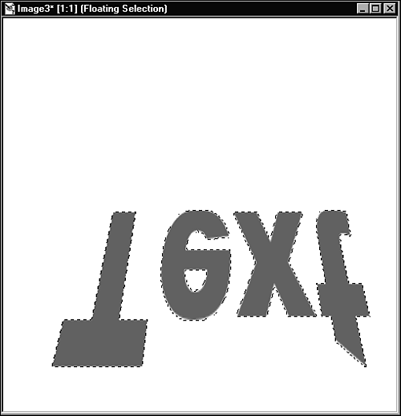
Add a little shear to the text by holding down the Shift key while you drag any of the corners. I've sheared both bottom corners to the right a little (see Figure 36.9). Figure 36.9. Shear added with the Deformation tool.  -
With the deformations complete, double-click within the bounding box to apply the deformations. Choose Selections, Select None to deselect the text. -
Select the Text tool and enter the same text with the same size and font settings that you used for the deformed text. Make sure that you choose a color other than white or the color you used for the deformed text. -
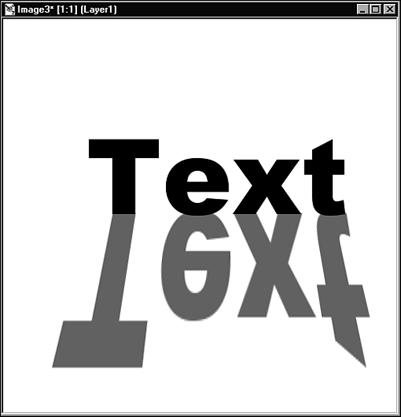
Position the text directly over the deformed text, as shown in Figure 36.10. Figure 36.10. Text with a perspective shadow.  Amazing! You've just created a much sought-after effect. You've created text with a perspective shadow. Adding a Shadow Effect If you're daring enough, you can finish up this chapter by making the shadow seem a little more realistic. To do so, you'll have to employ a technique from Chapter 34, "Creating Your First Image," and use a new technique as well. Follow these steps: -
Access the Command History command and up to the point just before you added the new text. You should be at the point where you just finished deforming the text. -
Click the foreground color swatch and set the color to white. Click the background color swatch and set the color to a medium gray. -
Set the Stroke style to Foreground Gradient. -
Select the Flood Fill tool. -
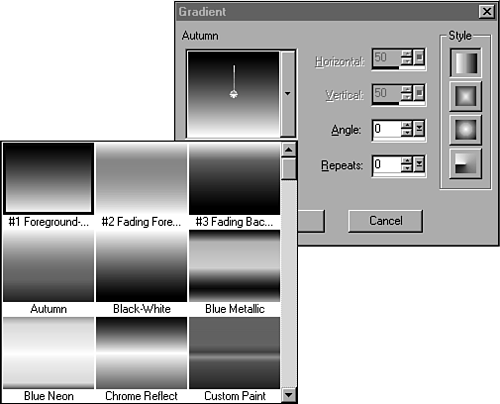
Click the Stroke Style to open the Gradient dialog box. -
Set Fill Style to Linear Gradient and set the gradient to Foreground-Background. You can do so by clicking the flyout menu next to the gradient thumbnail and choosing the gradient from the list (see Figure 36.11). Figure 36.11. The Tool Options window, showing the Gradient Fill options.  -
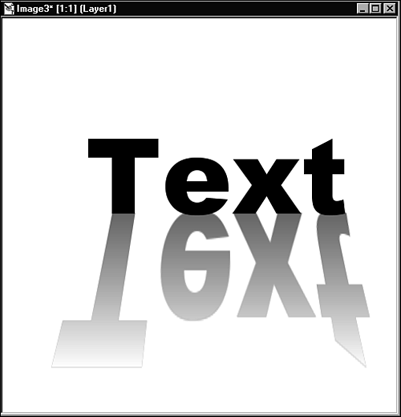
Click anywhere in the selected text to fill it with the gradient. The letters should get more faded as hey get closer to the bottom of the image. -
Use the Text tool to add the same text as before. -
Maneuver the text into place over the perspective shadow (see Figure 36.12). Figure 36.12. Text with fading perspective shadow.  Wow! Now that is amazing! I consider this to be a fairly advanced technique, and here you've done it after only a few hours with the program. Some other deformations are available under the Image, Deformations menu. I'll cover these later, though, in Chapter 40, "Applying Filters."  |
