| There are two kinds of information that you might want to use from Microsoft Excel on your Web pages. First, you may want the information in the worksheetthe data and calculations that make up all or part of the worksheet. Second, you may wish to place a graph taken from an Excel worksheet on a Web page. In both cases, you'll copy and paste the information from Excel into your Dreamweaver document. Unfortunately, it's a bit harder to transfer a chart, so there are some extra steps, and there are different methods to get the job done on Windows and Mac. To import Excel worksheet data: | 1. | In the Excel worksheet, select the information you want to bring into Dreamweaver ( Figure 14.16 ). 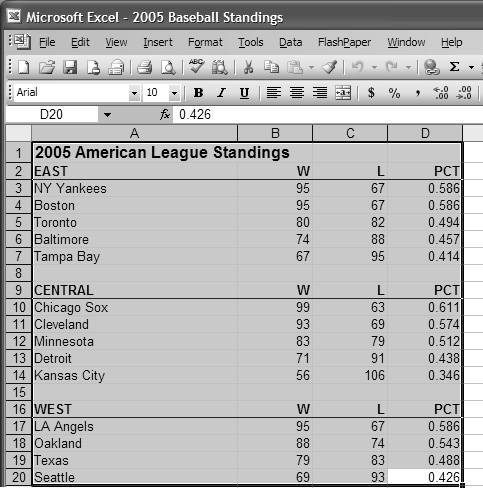 | | 2. | Choose Edit > Copy, or press Ctrl-C (Cmd-C).
| | 3. | Switch to Dreamweaver.
| | 4. | Click in the document at the insertion point where you want the Excel information to appear.
| | 5. | Choose Edit > Paste Special. The Paste Special dialog appears ( Figure 14.17 ). This dialog has four choices. The first choice, "Text only," pastes all the information from the worksheet into a single line. This jumbles all the information together, so don't use it. The next three choices paste the worksheet information as a table, retaining increasing amounts of formatting information from the original worksheet. In most cases, you'll find that the best choice is "Text with structure plus full formatting." 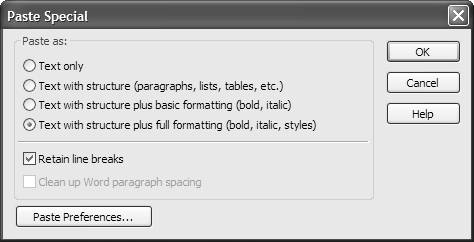 | | 6. | Choose the formatting option you want.
| | 7. | Click OK. Dreamweaver pastes the Excel information into the document as a table ( Figure 14.18 ). 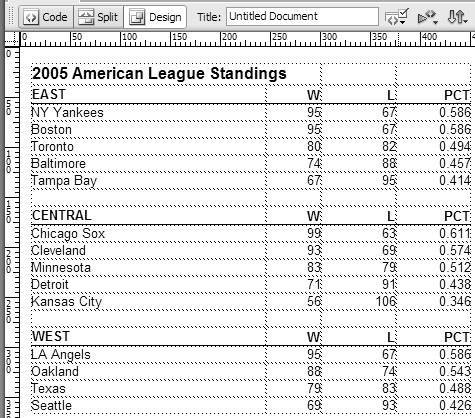 |  Tips Tips -
If you want to style the worksheet in Dreamweaver after import, you should use the "Text with structure plus basic formatting" choice in the Paste Special dialog. The reason is that the "Text with structure plus full formatting" choice creates CSS styles in your Dreamweaver document that make it difficult to restyle the table. -
If you want to use the Commands > Format Table command (see Chapter 9 for more information) to restyle a table after import from Excel, you may get an error message that tells you the command can't work on the table. That's because Dreamweaver inserts some code in the table that interferes with the Format Table command. To remove this code, switch to Code view, then look for one or more lines at the top of the table that begin with the <col> tag. Select those lines, then press Backspace (Delete) to get rid of them. Then switch back to Design view. You will now be able to use the Format Table command.
To import an Excel chart on Windows: | 1. | In the Excel worksheet, select the chart you want to bring into Dreamweaver ( Figure 14.19 ). 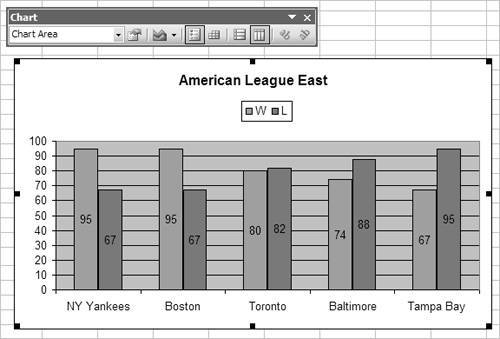 Dreamweaver can't accept a pasted graphic directly from Excel, but it can accept a pasted graphic from Word, so we'll use Word as an intermediary. | | 2. | Launch Microsoft Word.
A blank Word document appears.
Both Excel and Word must be running before you start copying and pasting the Excel chart.
| | 3. | Back in Excel, make sure the chart is still selected, then choose Edit > Copy, or press Ctrl-C.
| | 4. | Switch to Word.
| | 5. | Choose Edit > Paste, or press Ctrl-V.
The chart appears in the Word document.
| | 6. | In Word, select and copy the chart again by choosing Edit > Copy, or pressing Ctrl-C.
| | 7. | Switch to Dreamweaver.
| | 8. | Click in the Dreamweaver document to set the insertion point where you want the Excel chart to appear.
| | 9. | Choose Edit > Paste, or press Ctrl-V. The chart appears in the Dreamweaver document ( Figure 14.20 ). 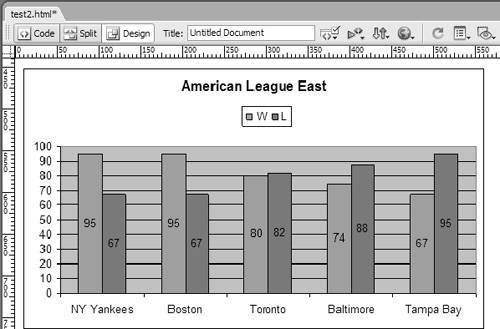 | To import an Excel chart on the Mac: | 1. | In the Excel worksheet, select the chart you want to bring into Dreamweaver ( Figure 14.21 ). 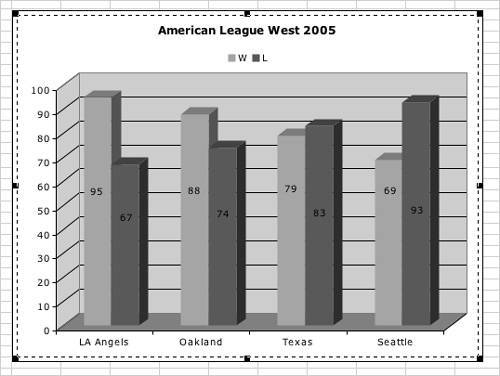 Dreamweaver on the Mac cannot accept pasted graphics from other programs, so you must use a graphic program to create a GIF, JPEG, or PNG file. I used Fireworks, but you can use Photoshop or any other image editor. | | 2. | Launch your image editor.
| | 3. | Switch back to Excel, make sure the chart is still selected, then choose Edit > Copy, or press Cmd-C.
| | 4. | Switch back to your image editor.
| | 5. | Choose Edit > Paste, or press Cmd-V.
or
If your image editor has a New from Clipboard command, use it; you will get a new image perfectly sized to the chart that is on the Clipboard.
The chart appears in the image editor's document window.
| | 6. | Make any adjustments to the image that may be necessary. For example, the chart appeared in Fireworks with a resolution of 300 dpi, which created a too-large image. I reduced the resolution to 72 dpi, which shrank the image to a reasonable size .
| | 7. | Save and name the image in GIF, PNG, or JPEG format.
The first two formats will probably look best.
| | 8. | In Dreamweaver, insert the chart image as you would add any image. See Chapter 8 if you need more information. The chart appears on the page ( Figure 14.22 ). 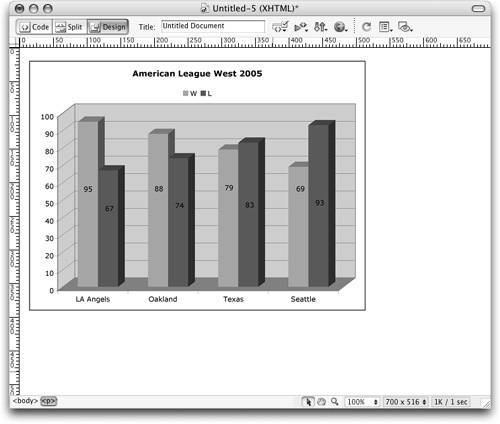 | |