Creating Necessary Resources in Production
| < Day Day Up > |
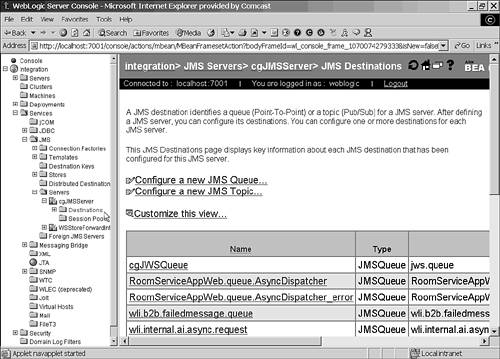
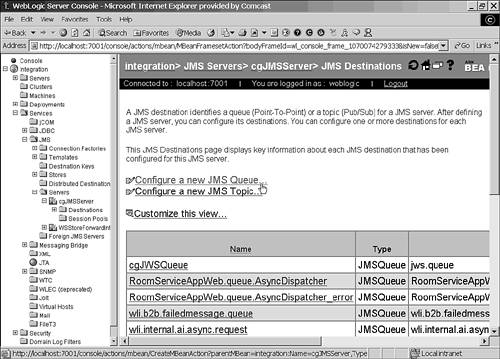
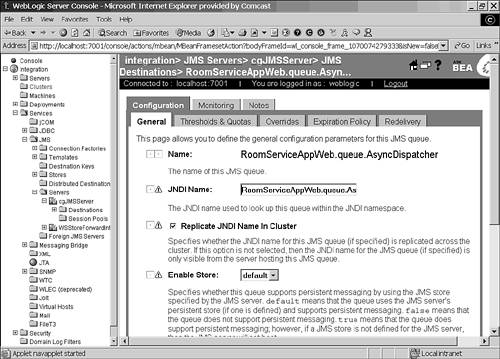
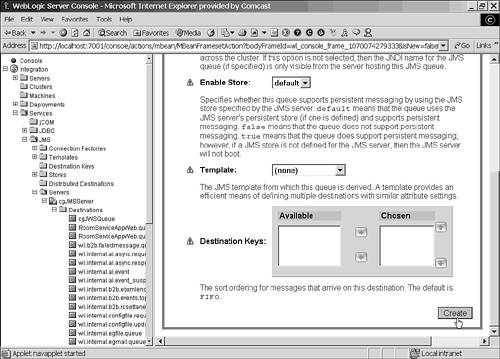
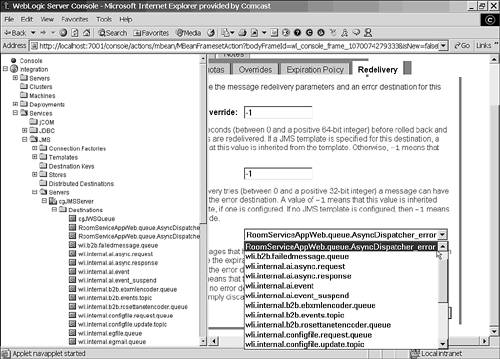
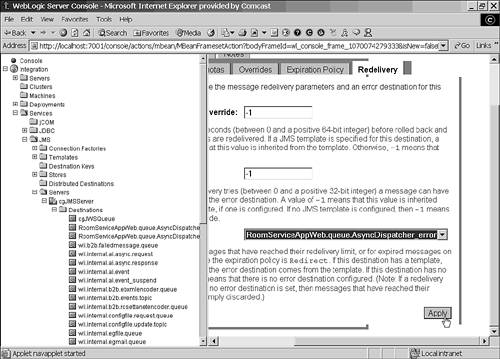
| The wlw-manifest.xml file has tags to specify the resources that need to be created. Listing 15.1 shows the wlw-manifest file created for the Process application from Chapter 11, "Working with Workflows." Listing 15.1. The wlw-manifest.xml File<?xml version="1.0" encoding="UTF-8"?> <con:wlw-manifest xmlns:con="http://www.bea.com/2003/03/wlw/config/"> <con:project name="RoomServiceAppWeb"> <con:async-request-queue>RoomServiceAppWeb.queue.AsyncDispatcher </con:async-request-queue> <con:async-request-error-queue>RoomServiceAppWeb.queue.AsyncDispatcher_error </con:async-request-error-queue> <con:top-level-component class-name="processes.process" component-type="JPD"> <con:conversation-state-table table-name="JPD_CEAPPWEB_PROCESSES_PROCESS"/> <con:external-callbacks/> </con:top-level-component> </con:project> </con:wlw-manifest> Database TablesDatabase tables are used to store conversational state. For each <con:conversation-state-table> element, a corresponding table must be created. Listing 15.2 is an example of the SQL statement for creating the table specified in the wlw-manifest.xml file from Listing 15.1. Listing 15.2. SQL for PointBaseCREATE TABLE JPD_CEAPPWEB_PROCESSES_PROCESS ( CG_ID varchar(768) not null, LAST_ACCESS_TIME bigint, CG_DATA BLOB(4M), CONSTRAINT PK_JPD_CEAPPWEB_PROCESSES_PROCESS_ID PRIMARY KEY(CG_ID) CG_ID stores the conversation ID generated by the server, and CG_DATA stores all the information used during this conversation. JMS QueuesJava Messaging Service (JMS) queues are used for asynchronous Web services and processes. For each <con:async-request-queue> and <con:async-request-error-queue> element, corresponding queues must be created. These JMS queues are always in pairs. The association is made by using the ErrorDestination attribute in the <con:async-request-queue> JMS queue. To create these queues using the Administration Console, follow these steps
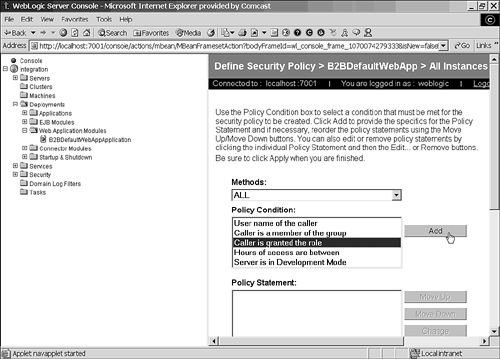
Security Role Restrictions for ControlsSecurity role restrictions are placed on controls that can receive external callbacks. Listing 15.3 shows an example of the elements that specify this information for the Process application used as an example earlier. Listing 15.3. An Example of <con:external-callbacks/><con:top-level-component class-name="processes.process" component-type="JPD"> <con:external-callbacks/> <con:security-roles> <con:role-name>Managers</con:role-name> </con:security-roles> </con:top-level-component> To define a new security policy, you use the Administration Console. Right-click the name of the Web application under Deployments, Web Application Modules, and choose Define Security Policy. In the Policy Condition drop-down list, select the Caller Is Granted the Role condition and click Add (see Figure 15.8). This opens a dialog box where you can supply the role name defined in the wlw-manifest.xml file. You can also use the other conditions in this list, depending on your needs. Figure 15.8. Selecting the condition to add to the security policy. |
| < Day Day Up > |
EAN: 2147483647
Pages: 138