Design Corner: Rearranging Toolbars
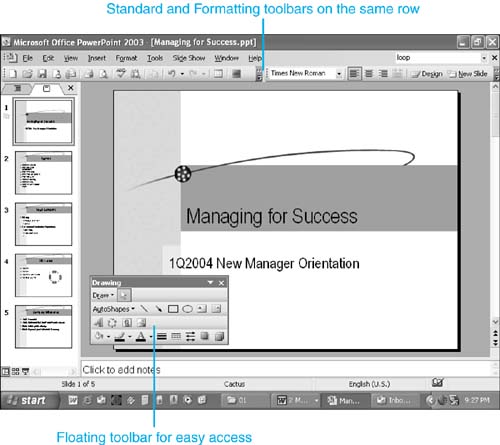
Design Corner: Rearranging ToolbarsOne of the nice things about PowerPoint is its flexibility. Even if you don't yet have strong knowledge of how to customize PowerPoint, you can still rearrange your basic work tools to better suit your needsin just a few seconds. For example, you can easily arrange toolbars to make working with PowerPoint easier. Let's say that the Standard and Formatting toolbars currently appear on two separate lines at the top of your screen and the Drawing toolbar appears at the bottom. You would like to have more screen space and make the drawing tools accessible in another location on the screen. To accomplish this quickly, follow these steps:
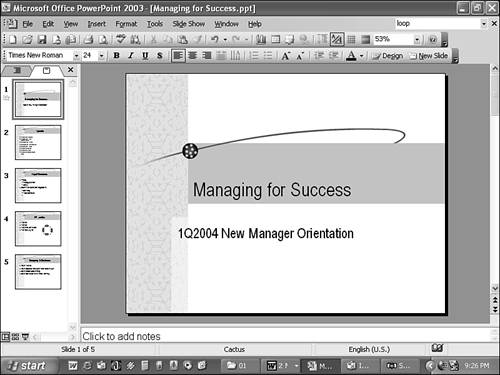
BeforeFigure 1.32. AfterFigure 1.33. |
EAN: 2147483647
Pages: 261