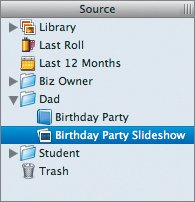
| In Lesson 4, Christopher created a slideshow at his daughter's party in just a few minutes. It's the most traditional kind of slideshow, the kind families have enjoyed for generations, huddled around a projector, maybe with a carousel of slides and a screen Dad pulled out of the closet. In a conventional, manual slideshow, the person holding the clicker decides when to take you to the next slideeffectively deciding on the duration of each slide. By contrast, a quick iPhoto slideshow automatically moves you through slides, held rigid onscreen like slides, but each for a preset amount of time. Traditionalists can use certain tools to take the car out of automatic and get hold of the stick shift, so to speak. In this lesson, we'll explore how to do that with iPhoto. Before you learn to control how long images get displayed, let's look at a way to make them dynamic. The key is to make the images move onscreen, which is exactly what you can do with the Ken Burns Effect. The Automatic Ken Burns Effect Imagine that you have an enormous photograph, and that you also have a video camera. You can use your camcorder to look around at the photograph (panning side to side or tilting up and down as you take it in); you can also zoom in or out. Well, the Mac is your camcorder, and the Ken Burns Effectan iPhoto feature that moves your photos around onscreencreates the video you'd make with your camcorder. Depending on the duration of your slide onscreen, you can move around quickly or slowly. Slowly is almost always better. And even if you have no patience for creating this sort of effect, one click can revolutionize your presentations. | | 1. | Click Christopher's Birthday Party Slideshow.
With luck, you placed it in the Dad folder at the end of Lesson 4.
 | 2. | Click the Settings button in the bar of buttons at the bottom of the window.
 | 3. | Select the Automatic Ken Burns Effect checkbox in the settings window.
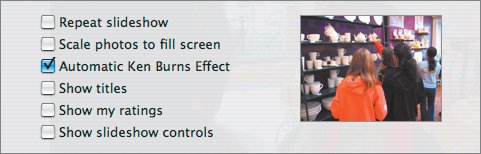 | 4. | Click OK.
iPhoto returns you to the main window.
| | | 5. | Without changing anything else, go ahead and play the slideshow.
Like magic, the photos are moving dynamically, zooming, panning, radically shifting the nature of a slideshow.
What you should notice is that now that the slides move, they seem to go by a little too quickly. While 3-second shots were plenty for an automatic and static slideshow, once the camera starts moving around, shots need to be longer. About 5 seconds would be better.
| 6. | Click Settings again and change the slide duration.
Experiment with different settings, but in the end, choose 5 seconds.
| 7. | Click OK and play the slideshow again.
Tip As a rule of thumb, moving shots must be longer than their static counterparts. |
Adding the Ken Burns Effect, even when you have absolutely no control over the zooming and panning process, produces a remarkably dynamic and interesting slideshow. It's almost always worth the few extra moments of your time. Note Ken Burns is an innovative documentary filmmaker who has created a number of popular movies (The Civil War, Baseball, Jazz). He often uses the visual effect of moving the camera slowly across still images to tell stories. He didn't invent it, but he sure is good at it. Burns has excited many young filmmakers about movies in general and, in particular, documentaries.
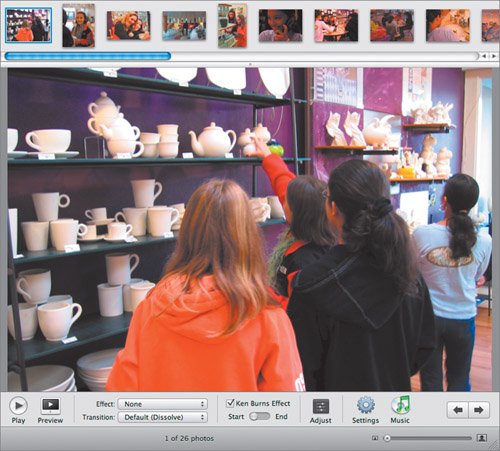
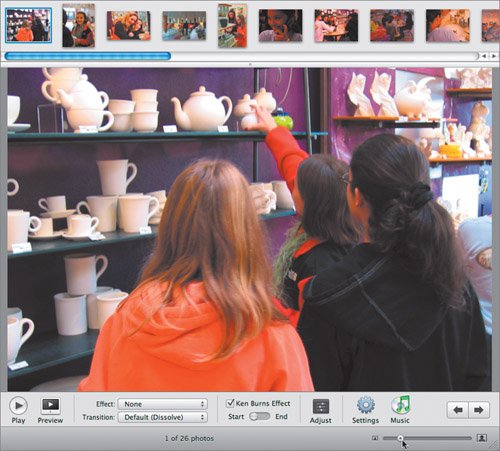
The Real Ken Burns Effect You've used iPhoto to set the duration of every slide to the same number of seconds, and used the Ken Burns Effect to gaze around at your photos without regard to what was in them. But using the controls at the bottom of the slideshow window, you can manually override these functions on a slide-by-slide basis if the Mac doesn't display a slide the way you think it should. | | 1. | Start by selecting Preview in the button bar.
 The preview window shows you the selected slide in your show and the slide after it, just as the images will play in your slideshow. The preview window shows you the selected slide in your show and the slide after it, just as the images will play in your slideshow.
| 2. | Select the Ken Burns Effect checkbox in the button bar.
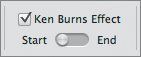 You can now override the automatic effect. This won't affect any of the other images in your slideshow; it is a slide-by-slide adjustment. Here's how it works: You use the Start/End switch and adjust the framing of the image to set where the camera starts and finishes on your photo.
Christopher wants to adjust the effect on the first shot.
| | | 3. | Click the first shot in the slideshow.
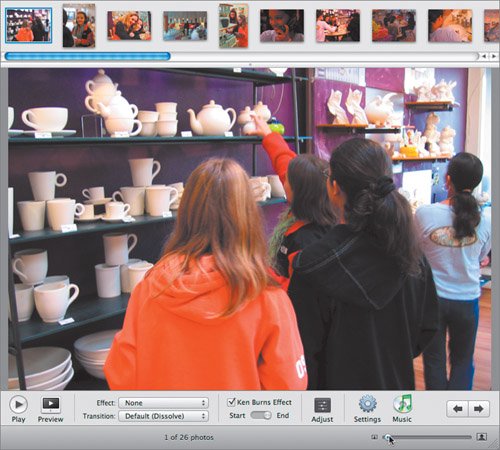
 In the bottom-right corner is the Zoom slider. When you make the image larger or smaller with this, iPhoto remembers the scale for the start position of the Ken Burns Effect. In the bottom-right corner is the Zoom slider. When you make the image larger or smaller with this, iPhoto remembers the scale for the start position of the Ken Burns Effect.
 | 4. | Zoom in slightly on the photo.
Once you zoom in, you can reposition the image onscreen to reframe it. Since it's larger than the window, you can move left or right, up or down. Move the cursor over the picture. It turns into a hand. Simply press and hold to drag the image around.
 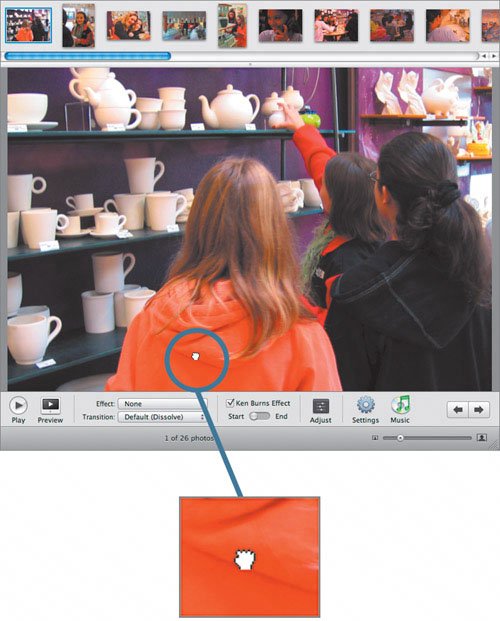 | 5. | Drag the image around the screen until the framing looks good to you.
Framing an image is a subtle process. And it's one of the reasons this might be considered slow and meticulous work. There is no right answer as to how much to zoom in and how to reframe the image. It's a creative decision based on personal taste, a sense of composition, and storytelling. What do you want to see first? What would be interesting to reveal as this shot remains onscreen? Should it reveal something surprising?
| | | 6. | Once you have chosen a starting position, switch the Ken Burns Effect position to End.
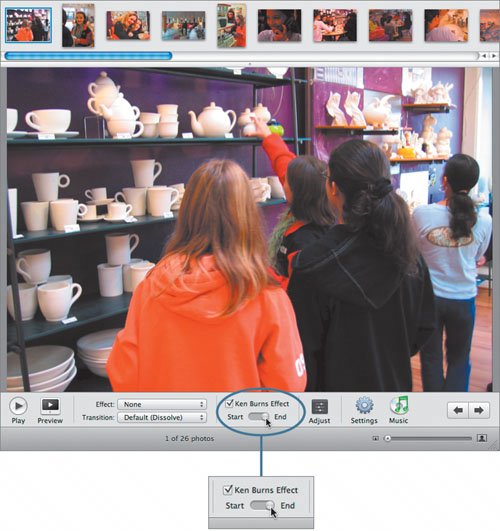 The screen will reframe to show the whole photograph, giving you the opportunity to choose how you'd like this shot to look at the end of the camera move. The screen will reframe to show the whole photograph, giving you the opportunity to choose how you'd like this shot to look at the end of the camera move.
| | | 7. | Using the Zoom slider and dragging the frame to reposition it, find where you want the move to end.
You could leave the framing at the iPhoto default, which is what you see when you click End, if you want the image to zoom all the way out. But it looks a little better if you zoom in just until the image fills the screen.
 It can't be overstated: If you're using this effect correctly, it is going to feel like you're barely moving the photo. The natural tendency is to zoom too much, move too muchin other words, you'll tend to make the difference between the start and end frame gigantic. Much more impressive camerawork usually involves very slight, subtle shifts of the imagepulling back just a bit, or panning a little from side to side. You'll be amazed: Using tiny-but-smart Ken Burns Effects will make you look like a professional. It can't be overstated: If you're using this effect correctly, it is going to feel like you're barely moving the photo. The natural tendency is to zoom too much, move too muchin other words, you'll tend to make the difference between the start and end frame gigantic. Much more impressive camerawork usually involves very slight, subtle shifts of the imagepulling back just a bit, or panning a little from side to side. You'll be amazed: Using tiny-but-smart Ken Burns Effects will make you look like a professional.
| | | 8. | Click Preview to see what you have done.
Since the movement should always be slow and steady, the more you move the camera (the farther apart the start and end points are), the longer the shot needs to be to compensate for it. But waityou established the duration of this shot, like all the slides, in the Settings window. You will need to override that and adjust this slide's duration individually.
| 9. | Click Adjust in the button bar.
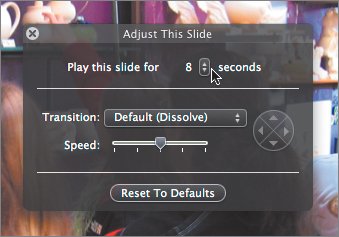
 A dark, transparent window pops up over the slide. In a slideshow, the Adjust button does not allow you to adjust the image's exposure or photographic qualities, just its duration. (You can also adjust the kind of transition that ends the shot and begins the next shot, but we'll get into transitions later.)
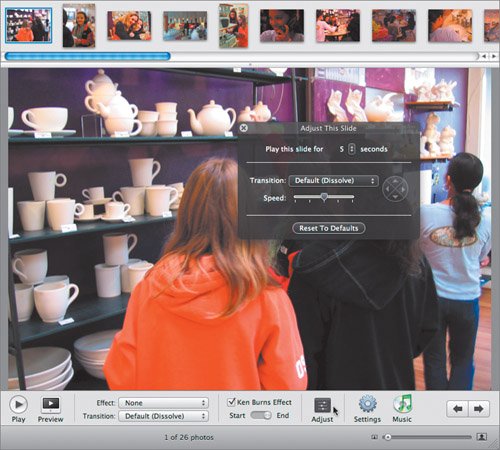 | | | 10. | Adjust the slide duration by setting the "Play this slide for" value to 8 (seconds).
 | 11. | Go through the slideshow slide by slide, using the Preview button, and decide whether you like the automatic Ken Burns Effect, or whether you want to tweak the shot for better-looking results.
|
|