Sending Messages
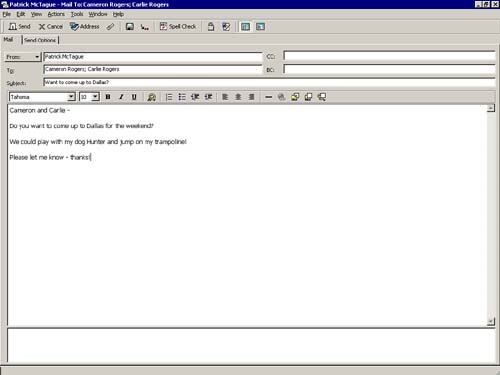
| The GroupWise dialog box for sending messages is very easy to use. The Message dialog box is essentially a form you complete for each message you send. Although the different message types may have different fields to fill in, several fields are common to all message types. In this section we focus on sending email messages, but the concepts are basically the same for all GroupWise message types. To send a message, you must enter someone's email address. This might be an Internet email message, such as jimbo@shicktools.com, or another GroupWise user in your company, such as srogers . GroupWise also has a neat feature known as Name Completion. If you begin typing someone's name in the To, CC, or BC line, GroupWise looks at the Address Book and tries to finish the name for you automatically. For example, if you were sending a message to Susan Alexander, you might type "Susan Al" and GroupWise would automatically finish the name for you. TIP Any name or address field in GroupWise will use Name Completion. Perhaps the most common method is to use the Address Book or Address Selector to enter one or more user addresses. (Chapter 4, "The Address Book and the Address Selector," covers the Address Book in depth.) Figure 3.5 shows the new email message screen. Figure 3.5. Sending a new email is as easy as filling out a form. To send an email message, follow these steps:
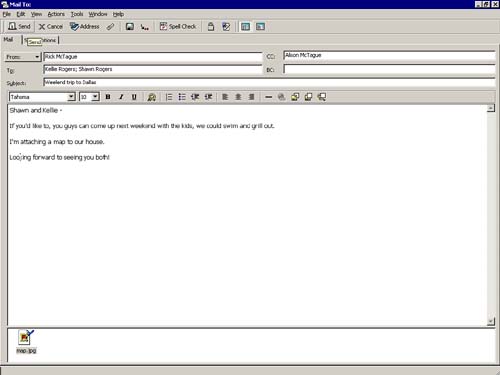
NOTE The Send Options tab is for adding additional features to the message, such as high priority. These are discussed in Chapter 8 . The recipients listed in the To field are the primary recipients of the message. Recipients listed in the CC field are the carbon copy recipients, and the BC field holds blind copy recipients. Recipients in each of these fields can see the recipients listed in the To and CC fields. However, none of the recipients can see recipients listed in the BC field; even blind copy recipients themselves cannot see the others listed in this field when they receive the message. If you want to send a message to multiple people, but you don't want any of them to know who else received the message, make them all blind copy recipients. For example, you could use this technique to inform job applicants that a position has been filled if you don't want the applicants to know who else applied for the job. Because a name in the To field is required, you can insert your own name. Attaching a File to a MessageYou can share documents, spreadsheets, database files, and other types of files by sending them to other users as file attachments to a GroupWise message. You can attach files to any GroupWise message, even if the message type does not include a file attachment field in the dialog box. To attach a file to an email message, follow these steps:
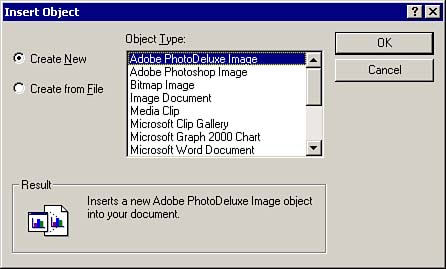
TIP Instead of using the dialog box method described previously for attaching a file, you can attach files using Windows Explorer. Open Windows Explorer; open a new mail message, complete the address, subject, and message body areas, and arrange the New Mail Message window where you can also see Windows Explorer. Click to highlight the file (or files) in Windows Explorer and drag them to the attachments area of the new message. With a little practice, you should find this to be a powerful method of attaching files. You can also attach document references and object linking and embedding (OLE) objects, such as charts and spreadsheets, to GroupWise messages. In Chapter 9 we explain how document references work. To attach an OLE object to a GroupWise message, follow these steps:
The object you either selected or created is displayed as an icon in the attachments area of the new message. The attached file or object travels along with your message to the recipient. The From Drop-down ListOne thing you might notice in the new message screen is a drop-down list (selection list) on the From field. This allows you to change who you are sending the message as. For example, if your manager has given you proxy rights to send messages on his or her behalf (discussed in Chapter 8), you can select your manager's name in the From drop-down list. The message will appear to the recipients no differently than if your manager had actually sent the email. If you have access to multiple email accounts, your other accounts will also be listed as possible "From" candidates. Using Internet AddressesEntering an Internet recipient's email address in the To, CC, or BC field is as simple as typing it in directly or selecting it from the Address Book. If you have an entry in the Address Book for an Internet recipient, you can also enter the "display name" (usually first name/last name) until Name Completion finishes the name. This method avoids forcing you to type out the sometimes cumbersome Internet email addresses. Saving Draft Messages in the Work In Progress FolderAs you compose a message, you might find a need to save your work and resume your message later. You can save messages you are working on in the Work In Progress folder. This is especially handy for long, complex email messages. To save a message in the Work In Progress folder, follow these steps:
TIP An alternative way to save a message in the Work In Progress folderwhen you decide you need to work on a message lateris to click the Cancel button or press the Escape key on your keyboard. You are prompted to save the message. Choose Yes, and save the message in the Work In Progress folder. To resume working on a draft message, follow these steps:
A message can be saved as a draft message at any point during its composition. You can also attach files to a message; they are saved along with the message in the Work In Progress folder. NOTE If you modify a file that is attached to a message in the Work In Progress folder, be sure you delete the file attachment icon and reattach the message. Otherwise, the file's original version is sent. |
EAN: 2147483647
Pages: 191