20.1 Creating setup.exe-Based Installations
| < Day Day Up > |
20.1 Creating setup.exe -Based Installations
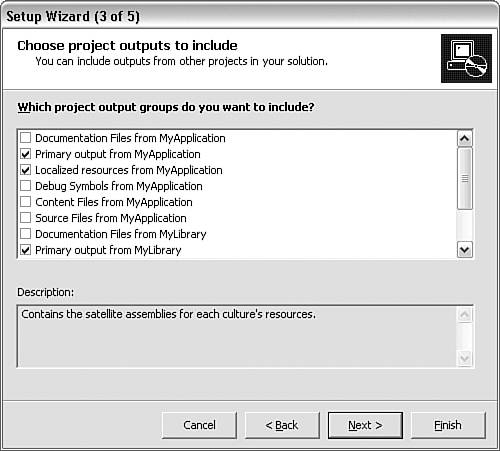
TechniqueThe usual technique involves adding a deployment project to the VS.NET solution that contains the projects to be deployed. Use the VS.NET menus in the usual way to add a new project, and select Setup Wizard as the type of project to create. The wizard guides you through a couple of steps, including asking what type of application you want to create a setup project for. In this chapter, we work with a Windows application. The wizard then asks what parts of the solution need to be deployed. To illustrate this, we created a solution that contained two projects called MyApplication and MyLibrary and added a setup project to this solution. Figure 20.1 shows how we indicate that both of these generated assemblies must be deployed. In general, to deploy the assemblies that are built from your solution, you select Primary Output for each of the projects in the solution (in other words, the emitted assembly for each project), as well as any localized resources associated with each project. Figure 20.1. Choosing the files to be deployed. Depending on the nature of the application you need to redistribute, you might also want the setup program to install documentation files (autogenerated documentation), as well as the source files, content files, and debug symbols. In an additional step, the wizard asks you to specify any files that are not part of the solution but need to be installed. The basic setup project is now complete, although you might want to change the product name as well as other basic information about the setup. You can do so by selecting the project in the VS.NET solution explorer. You then find that the Properties Window allows you to modify various information properties of the setup project, such as ProductName , Manufacturer , and ManufacturerUrl . Note that building the solution normally builds all the projects except the setup project. To build the setup project, you need to specifically tell VS.NET to build that project. If you select the setup project in the solution explorer, you then see a separate Build Setup Project Name menu item under the Build menu in VS.NET. When the setup project is selected in the VS.NET solution explorer, you also see that the VS.NET main Project menu contains Install and Uninstall menu items, which run the setup program on the developer machine; selecting these items will cause the setup program to run, either installing or uninstalling the other projects in the same way that they would be on the end user 's machine. CommentsFor a Windows application, building the setup project generates three files, called setup.exe , setup.ini , and Setup Project Name .msi :
To redistribute your project, all that is required is to redistribute these three files (possibly on redistributable media such as CD-ROM) and instruct the end user to execute the setup.exe file. In this chapter, although we work with Windows setup projects, most of the techniques are unchanged for the other types of setup projects. The other types of project you can create are
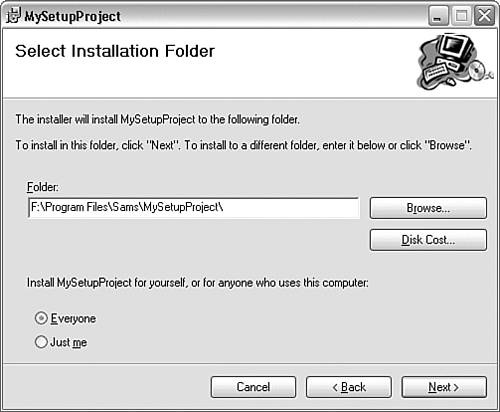
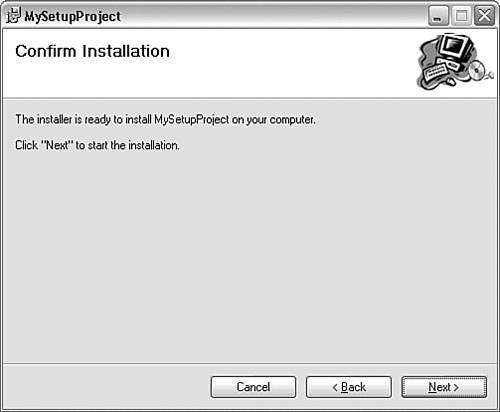
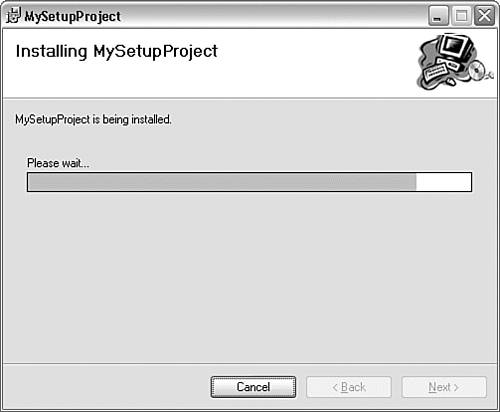
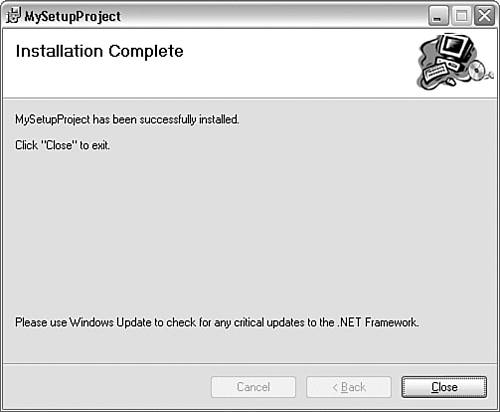
To create any of these projects, select the appropriate project type in the Setup Wizard. The default project Windows Forms setup project generated by VS.NET presents a standard user interface. Running the compiled setup.exe from this project results in the user seeing the following dialog boxes:
The setup program places all the assemblies and other files to be installed in the folder chosen by the user and adds the application to the list of installed applications so that it appears in the Control Panel's Add or Remove Programs dialog. Also, because the installation is controlled by Windows installer, Windows installer automatically repairs the application if, for example, someone accidentally removes installed files later. |

| < Day Day Up > |
EAN: 2147483647
Pages: 440