ASP.NET Authentication and Authorization
|
ASP.NET has rich support for both authentication and role-based authorization built in. You can configure your ASP.NET application by assigning users and roles to each directory (application or subapplication). In addition, you can use ASP.NET features to deny access to an application by user or role.
Use ASP.NET authentication and authorization to restrict access
In this exercise, you will use ASP.NET authorization to restrict access to a particular directory. You will create a simple application and look at the different settings. This exercise also assumes you know your own domain name and user name. This example uses WingTipToys\Ed, but you should replace this with your own domain name and user name. The only thing to remember is to separate them with a backslash. This exercise, like the previous one, assumes you are using a computer connected to a domain.
-
In Visual Basic .NET, create a new ASP.NET Web application named WinTrustWebApp. The project is provided in the CH02_RoleBased \WinTrustWebApp directory available for download from this book’s Web site.
-
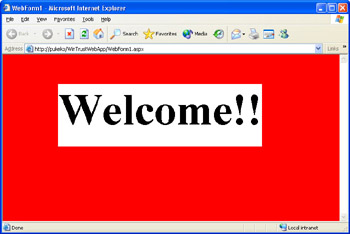
Add a label to the form, and set the text property to “Welcome!!” Lay out the form similar to the layout shown here:
-
Open the Web.config file, and change the Authorization section from
<authorization>
 <allow users="?" /> <!-- Allow all users -->

 <!-- <allow users="[comma separated list of users]"
 roles="[comma separated list of roles]"/>
 <deny users="[comma separated list of users]"
 roles="[comma separated list of roles]"/>
 -->
 </authorization>
to
<authorization>
 <deny users="?,*" />
</authorization> -
Now press F5 to run the application. ASP.NET authenticates you as the Windows user WingTipToys\Ed (or whatever your particular domainname\username combination is). However, you will fail to be authorized because both anonymous, represented by a question mark (?), and authenticated users, represented by an asterisk (*), are denied access. ASP.NET prompts you for your username and password, but no matter what you enter, you’ll see a Web Form like the one shown here:
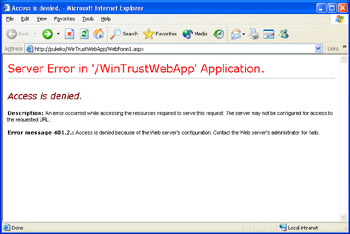
In ASP.NET authorization, the symbols ? and * have a special meaning. The ? symbol indicates an anonymous user, one that doesn’t need to be authenticated. As we’ll explain later in Chapter 4, if you allow access to an anonymous user, a special anonymous account will always be used to represent the user. This happens even if you present the user with a logon page. The username and password credentials used to log on are not used, and the special anonymous account is used instead. The * symbol indicates any authenticated user. So to restrict access to a particular group or user, in most cases you should explicitly deny access to ? and *—anonymous and authenticated users. Interestingly, as you will see soon, permissions are order sensitive.
-
Change the <authorization> section to the following, which denies access to everyone but yourself:
<authorization>
 <allow users="WingTipToys\Ed"/>
  <deny users="?,*" />
</authorization>
When you press F5 and run the application now, you will be authenticated and authorized, and the Web Form will open.
-
Change the authorization section to deny all users first before granting yourself permission.
<authorization>
 <deny users="?,*" />
 <allow users="WingTipToys\Ed"/>
</authorization>
When you press F5 and run the application, you will be denied access once again. You are denied access because permissions are order sensitive. If you deny authorization to ?,* before giving yourself authorization, you will not be authorized.
-
Change the authorization section to the following to grant access to everyone in the MyCompany\Domain Users group:
 <authorization>
 <allow roles="WingTipToys\Domain Users"/>
 <deny users="?,*" />
 </authorization>
When you press F5 and run the application, assuming you are a member of the Domain Users group, you will be granted access.
-
Change the authorization section to use the BUILTIN qualifier if you want to authenticate against a security group such as the Administrators group on the local machine:
<authorization>
 <allow roles="BUILTIN\Administrators"/>
 <deny users="?,*" />
</authorization> -
Press F5 to run the application. Assuming you are a member of the local Administrators group, you will be granted access.
|