| Subdiv surfaces can speed the modeling process because you can choose between viewing the surface in high-res with many points or low-res with just a few points. If you know how to model polygons, you can model subdiv surfaces as well, because they use many of the same tools. Standard mode is good for adding fine details, but polygon mode is essential for creating the basic structure of the surface. One common tactic is to model a polygon to get the rough form and then convert it to subdiv surfaces. This approach is helpful because it lets you work quickly, and the polygon primitive cube has a simpler construction than the subdiv primitive cube. It's good practice to finish all the manipulation you plan to do in polygon mode before you begin refining the surface in standard mode. You can lose changes made to the surface if you frequently switch between modes. To model a turtle out of subdiv surfaces using polygon mode: 1. | Choose Create > Subdiv Primitives > Sphere.
| 2. | Press  to select the Fine level of subdivision surface smoothness. to select the Fine level of subdivision surface smoothness.
| 3. | Scale the sphere down the y axis to make it flatter ( Figure 9.46 ).
Figure 9.46. The sphere is scaled flatter to resemble a turtle shell. 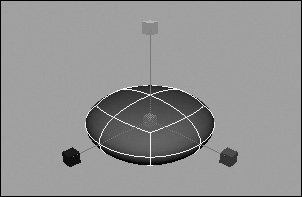
| 4. | Right-click the sphere, and select Polygon from the marking menu.
A rectangular polygon shell appears around the sphere.
| 5. | Right-click the sphere, select Face from the marking menu, and select the face on the front side of the polygon ( Figure 9.47 ).
Figure 9.47. The front face is selected. 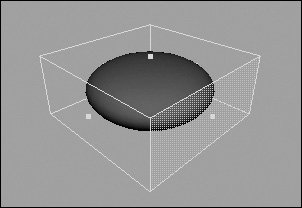
| 6. | Choose Edit Polygons > Extrude Face, and scale down the face ( Figure 9.48 ).
Figure 9.48. The face is scaled down. To get the proportional scale manipulator in the center, click any of the other scale manipulators. 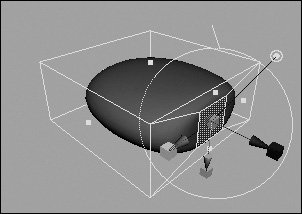
| | | 7. | Choose Edit Polygons > Extrude Face again, and move the face forward and up ( Figure 9.49 ).
Figure 9.49. The neck is formed by moving the face out and up. 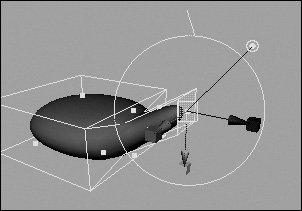
This is the turtle's neck.
| 8. | Choose Edit Polygons > Extrude Face, and proportionally scale the face up ( Figure 9.50 ).
Figure 9.50. The scale of this face determines the size of the back of the turtle's head. 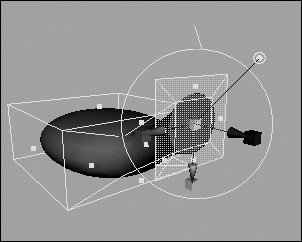
| 9. | Choose Edit Polygons > Extrude Face, and move the face forward ( Figure 9.51 ).
Figure 9.51. Move this face forward to give the head some length. 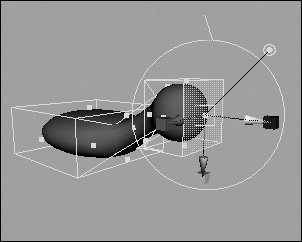
This is the turtle's head.
| 10. | Select the face on the bottom of the sphere.
| 11. | Choose Edit Polygons > Subdivide ( Figure 9.52 ).
Figure 9.52. Looking at the object from below, you can see that the bottom has been subdivided. 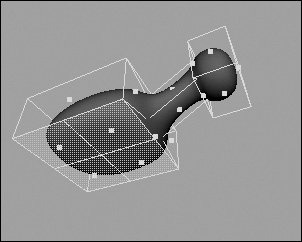
| | | 12. | Choose Edit Polygons > Extrude Face, and proportionally scale the faces smaller ( Figure 9.53 ).
Figure 9.53. The bases of the legs are scaled down simultaneously. 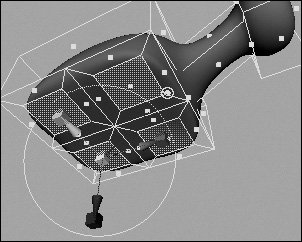
| 13. | Choose Edit Polygons > Extrude Face again, and move the faces down ( Figure 9.54 ).
Figure 9.54. Move these faces down to determine the length of the legs. A simple turtle shape is completed. 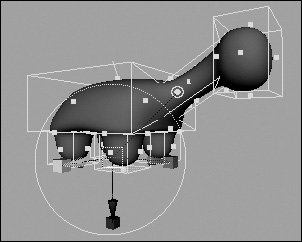
You've created a turtle!
|
 Tips Tips
You can add extra detail to your poly cage by using any of the polygon tools discussed earlier, such as Split Polygon, Split Edge Ring, Bevel, and more. You can flip back and forth between polygon and standard mode while working. However, if you make edits deeper than display level-1 in standard mode, splitting or extruding faces in polygon mode can cause the smooth surface to become jagged or otherwise distorted.
|