| The Maya Vector renderer allows you to render your scene to a vector-based format, as opposed to Maya's other renderers, which render each image as a bitmap. Bitmaps and vectors are two very different ways of storing images, each with their own advantages and disadvantages. A bitmap is a grid of pixels, each of which can be a different color. However, if you scale up a bitmap, these pixels become visibly blocky. A vector-based image, on the other hand, is constructed from lines and areas of color or color gradients that are calculated mathematically. Vector-based images can be scaled up easily without loss of image quality. However, because these blocks of color are much larger than a single pixel, vector images are generally less detailed and more stylized than bitmaps (Figure 16.89). Figure 16.89. The image on the left is a bitmap created using the Maya Software renderer, and the vector image on the right was rendered with the Maya Vector renderer. 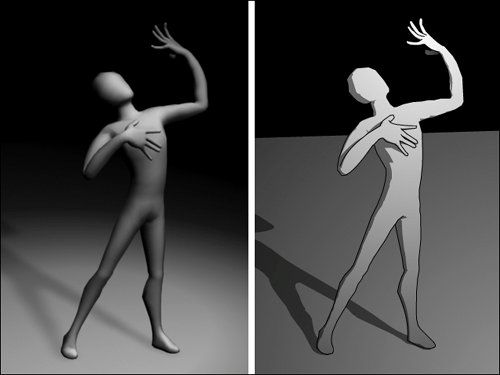
The Maya Vector renderer can be used to render the most common vector file formats, including SWF files for Macromedia Flash, AI files for Adobe Illustrator, Encapsulated Postscript (EPS) files, and Scalable Vector Graphics (SVG). To render an image as vectors: 1. | Open or create a scene to render as vectors. Use a point light to light the scene, because the Maya Vector renderer doesn't calculate other types of lights.
| 2. | Open the Render Settings window, and set Render Using to Maya Vector.
| 3. | From the Common tab, select Macromedia SWF (swf) for the Image Format (Figure 16.90).
Figure 16.90. The SWF format and other vector formats are only available when the Maya Vector renderer is set as the current renderer. 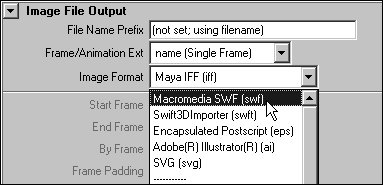
| | | 4. | Set the frame range for your animation, or change the Frame/Animation Ext option to name.ext (Single Frame).
| 5. | Select the Vector Renderer tab.
| 6. | In the Fill Options area, make sure Fill Objects is checked, and select the Single Color radio button (Figure 16.91).
Figure 16.91. Single Color is the simplest of the Fill Options, shading each object with a flat color. 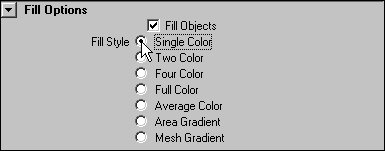
This option fills each object with a single flat color. You can select Two or Four Color for a more 3D effect, similar to a toon shader, or select Area Gradient to create a smooth gradient across each object.
| 7. | In the Edge Options area, check Include Edges to add outlines to your objects (Figure 16.92).
Figure 16.92. Outlines are off by default, but you can turn them on to add definition to your vector images. 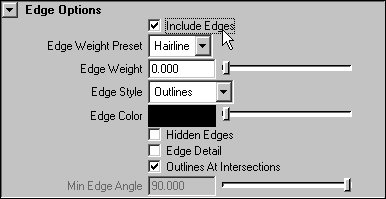
| 8. | Select Render > Batch Render.
The scene is rendered as a SWF. If you don't have Macromedia's Flash Player plug-in, you'll need to download and install it to view the SWF in your browser (Figure 16.93).
Figure 16.93. Using the Flash Player plug-in, you can view SWF files in your browser. 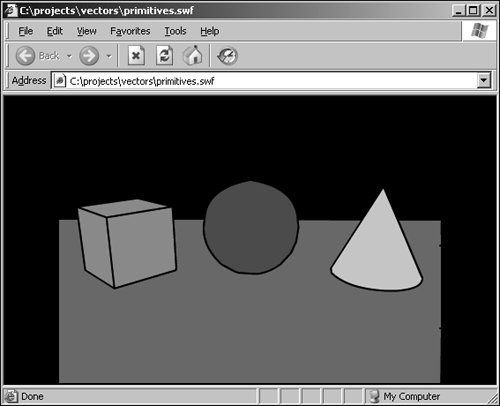
|
 Tips Tips
You can use Render Current Frame with the Maya Vector renderer to preview rendered images in Maya, but you can't save these preview images to a vector format. To create your final images, you'll need to batch render. When using the Two Color or Four Color option, your objects' shading is likely to appear blocky. You may be able to improve your results by increasing the resolution of your objects. The Full Color and Mesh Gradient settings, found under Fill Options, render your scene in more detail than the other settings. However, they tend to give surfaces a faceted appearance, which is generally undesirable.
|