| Thanks to broadband (for some of us lucky souls, at least), we can easily view movies online. And thanks to your .Mac account, you can upload your own movies for others to view. Creating a movie page follows the same basic process as creating a photo album. To create a movie page 1. | Upload the movie you want to share to your iDisk's Movies folder.
| 2. | Using a Web browser, go to www.mac.com and log in to your .Mac account (Figure 4.31).
Figure 4.31. Enter your .Mac member name and password in the appropriate fields on the login page. 
The main .Mac members' page loads.
| 3. | Click the HomePage link.
The main HomePage page loads.
| 4. | At the lower left side of the page, click the iMovie tab.
The iMovie templates load (Figure 4.32).
Figure 4.32. The iMovie templates page lets you choose from a number of templates for your uploaded iMovie. 
| 5. | Click the template you want to use (my fave is Retro-TV).
The "Edit your page" page loads (Figure 4.33).
Figure 4.33. On the "Edit your Page" page, you set up the specifics of your new iMovie page. 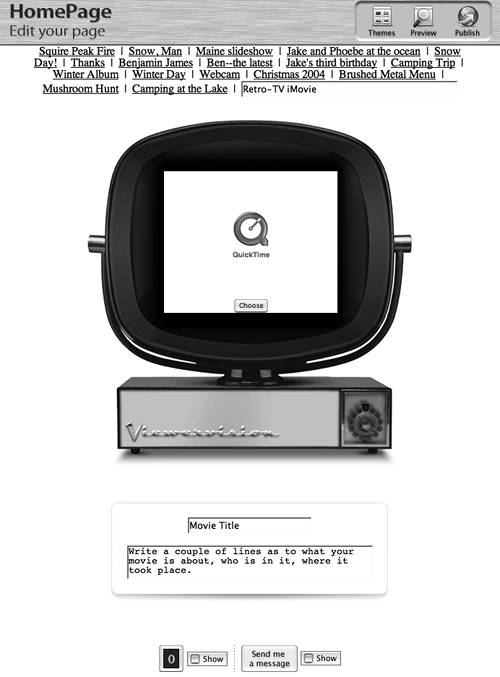
| 6. | Fill in the following fields (Figure 4.34):
- In the field at the top of the page, type a name for your Web page, which will serve as the page's link and appear at the top of your central .Mac homepage.
- Type a name for your movie.
- Type a brief description of what your movie is about.
Figure 4.34. To complete the iMovie page, give it a name and a brief description of the page, and choose whether to include counter and contact buttons. 
| 7. | If you want a hit counter, check the Show box to the right of the number 0 at the bottom of the page (Figure 4.35).
Figure 4.35. To have a hit counter included on your Web page, check the Show box to the right of the number 0 at the bottom of the page. 
| 8. | If you want to include a "Send me a message" button (which viewers can use to send you an e-mail message), check the Show box to the right of the "Send me a message" button, as shown in Figure 4.35.
| 9. | Just below the QuickTime icon, click the Choose button as shown in Figure 4.33.
The "Choose a file" page opens (Figure 4.36).
Figure 4.36. Select the movie you want to use on your iMovie page, and then click Choose. 
| 10. | Click a movie to select it, then click Choose.
You're returned to the "Edit your page" page.
| 11. | In the upper right corner of the page, click Preview.
The page displaying your movie loads (Figure 4.37).
Figure 4.37. After you've selected the movie you want to include on your new page and clicked Preview, the page loads as it would be seen by others. 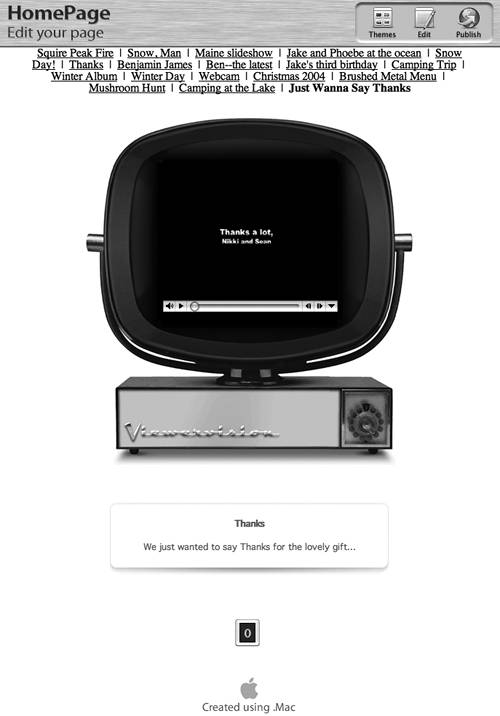
| 12. | If you need to make changes, click Edit in the upper right corner of the page (Figure 4.38).
Figure 4.38. Click the Edit button to make changes to your movie page or click Publish to post it. 
or
If you're satisfied with how it looks, click Publish.
A Congratulations page loads, containing the movie page's URL and giving you the opportunity to send an iCard announcing the new page (Figure 4.39).
Figure 4.39. When you've published your iMovie page, the page's URL is shown, and you're given the opportunity to send an iCard announcing it. 
|
 Tips Tips
Although the tab says iMovie, don't worry you can create your video using a different video editing package and still use it here, as long as QuickTime understands it. You can also select a movie from your Pictures, Public, or Sites folder.
|