| The general process of setting up Backup 2 to protect your important data is fairly easy, although there are a number of choices to be made during the processmostly revolving around where you want your backups to be made. You have three choices: Back up to iDisk. This creates a backup on your iDisk over your Internet connection. Choose this option if you have a high-speed Internet connection, and be sure to limit the number of files you back up, or you'll overwhelm your iDisk. Back up to CD/DVD. This creates a backup on recordable CDs or DVDs using your Mac's CD or DVD burner. Choose this option to create durable backups of your data, but rememberyou'll have to be by your Mac during the backup to provide it with blank discs. Back up to Drive. This creates a backup on another hard drive or network volume. Choose this option to back up your important data to another hard drive or network volume.
When you fire up Backup for the first time, you'll be presented with its default setup. Although Backup can be set up to back up just about any files to just about any location on a schedule, it's not set up that way when you launch it. It's your job to customize these settings to suit your needs. Doing so is a three-step process: choosing where you want the files to be backed up, selecting which files are to be backed up, and setting up a schedule of when backups occur. Deleting Items from the iDisk Backup If you've backed up files to your iDisk and you'd like to delete them, no problem. Simply open Backup, and in the pop-up menu in the upper left corner of the window choose Restore from iDisk. Next, check the boxes next to the items you want to delete from the online backup. Press Delete, confirm that you actually want to delete the backup, and the files are gone. If you want to nuke the whole lot, you can erase all of the items in your .Mac backup by opening the Backup application and, in Backup 3, selecting Remove iDisk Backups from the Backup menu. If you're using Backup 2, choose Clear iDisk Backup Folder from the Edit menu. In either case, you'll be asked if you really want to go through with it. Click Yes to do the job. |
To Back Up to iDisk with Backup 2 1. | In the Applications folder, double-click the Backup icon to launch the software. Backup checks for an iDisk server as it launches. If this is the first time you've launched Backup, you may receive a message saying that BackupHelper wants permission to access your keychain (Figure 12.38). This is OK. If you've already launched Backup, go to step 3.
Figure 12.38. If this is the first time you've launched Backup 2, you may be asked for access to your keychain. This is OK; click Always Allow. 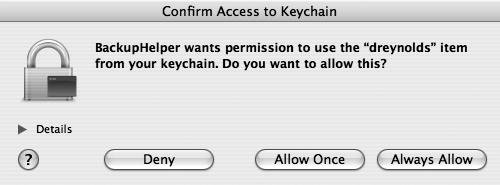
| 2. | Click Always Allow.
If this is the first time you've launched Backup, a dialog appears, thanking you for joining .Mac (Figure 12.39).
Figure 12.39. If this is the first time you've launched Backup 2, a dialog opens, thanking you for joining .Mac. 
| 3. | Click OK.
Backup displays its main window (Figure 12.40).
Figure 12.40. The main Backup window is a pretty simple affair. It asks where files should be backed up; it provides a graphical representation of how much space is available on your iDisk; it lists the items to be backed up; it provides some information on scheduling and file size; and it has some basic controls, including a Backup Now button. 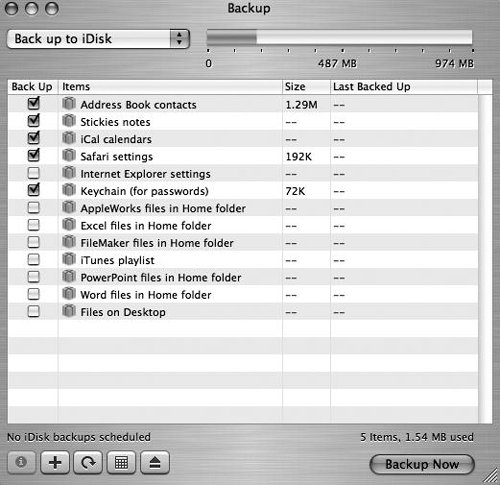
| | | 4. | From the pop-up menu in the upper left corner, choose Back up to iDisk (Figure 12.41).
Figure 12.41. The Backup window pop-up menu offers three backup choices: Back up to iDisk, Back up to CD/DVD, and Back up to Drive. You need to choose one of them to create a backup. 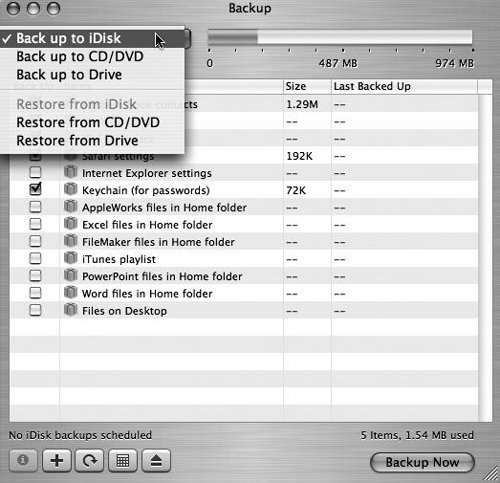
| 5. | In the Back Up column of the main window, check the boxes to the left of the items that you want to back up (Figure 12.42).
Figure 12.42. When you check the boxes to the left of the items you want to have backed up, Backup will scan your hard drive for those items and automatically include them. 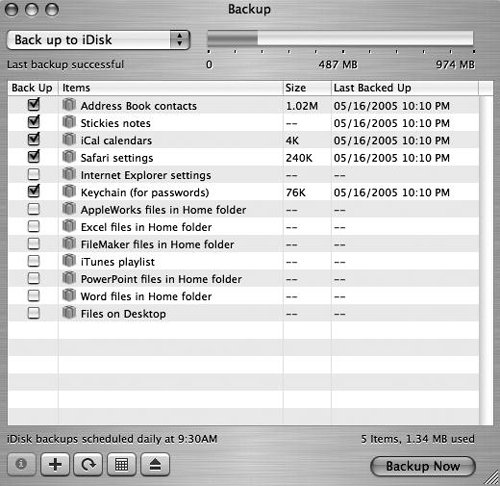
| | | 6. | At the top of the window, check the available-space gauge to ensure that you have enough space in which to copy the selected items. This gauge appears when you select Back up to iDisk in step 4 (Figure 12.43).
Figure 12.43. When backing up files to your iDisk, check the gauge at the top to ensure that you have enough space available for the files you've selected in the Back Up column. 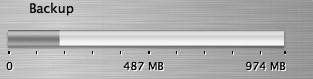
| 7. | In the lower right corner of the window, click the Backup Now button (Figure 12.44).
Figure 12.44. Click the Backup Now button to begin your backup. 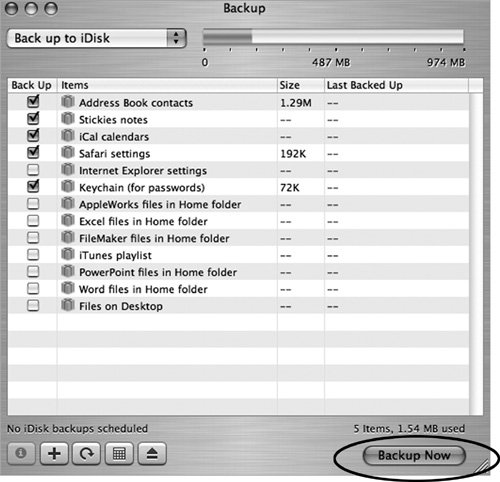
Backup scans for the files to be saved and goes straight to work creating your backup in the location you've specified. You'll see a progress bar as items are copied to the location you set in step 4.
|
 Tip Tip
When backing up files to your iDisk, you'll need to have your .Mac member name and password entered in the .Mac pane of System Preferences, and you'll have to have Internet access (which makes sense when you think about it). A backup can potentially take up gigabytes of space, so when backing up to your iDisk, remember that you'll need to make the backup small enough to fit on your iDisk.
To Back Up to a CD or DVD with Backup 2 1. | Open Backup.
If this is the first time you've launched Backup, you may receive a message saying that BackupHelper wants permission to access your keychain (see Figure 12.38). This is OK. If you've already launched Backup, go to step 3.
| 2. | Click Always Allow.
If this is the first time you've launched Backup, a dialog appears, thanking you for joining .Mac (see Figure 12.39).
| 3. | Click OK.
Backup displays its main window.
| 4. | From the pop-up menu in the upper left corner, choose Back up to CD/DVD (Figure 12.45).
Figure 12.45. Choose Back up to CD/DVD from the Backup popup menu to back up items to optical discs. 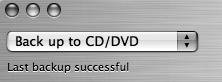
| 5. | In the Back Up column of the main window, check the boxes to the left of the items that you want to back up (Figure 12.46).
Figure 12.46. When you check the boxes to the left of the items you want to have backed up, Backup will scan your hard drive for those items and automatically include them. 
| 6. | In the lower right corner of the window, click the Backup Now button. A dialog pops up, asking you to name your backup.
| 7. | In the "Name your backup" field, type a name for your backup, and then click Begin Backup (Figure 12.47).
Figure 12.47. Before you back up to CD/DVD media, Backup requires that you give a name to your backup. It provides a good one, thoughthe current date and time. If you like this name, or after you've typed in a name of your own, click Begin Backup. 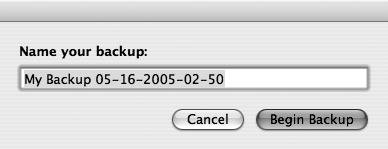
Backup asks you to insert a disc (Figure 12.48).
Figure 12.48. To continue the backup process, insert a CD and click Burn in the dialog when the button becomes activated. 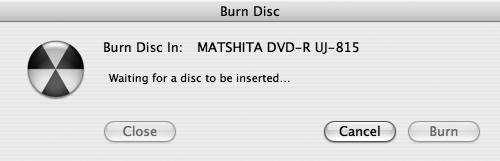
| | | 8. | Insert a disc.
The Burn button is activated.
| 9. | Click Burn (Figure 12.49).
Figure 12.49. Click the Burn button to burn the backup to CD or DVD. 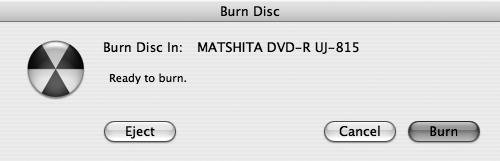
Backup burns the files to the disc that you inserted (Figure 12.50). Depending on the size of the backup, you may need to insert more than one disc when asked. When finished with the process, Backup provides a short summary dialog, giving you the name that you should use to label the CD or DVD, and noting how many discs the backup used (Figure 12.51).
Figure 12.50. After you click the Burn button, Backup goes to work gathering files and burning them to CD or DVD. 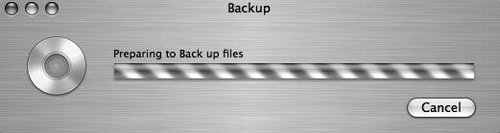
Figure 12.51. When finished, Backup tells you whether the backup process was successful, what to label the disc, and how many discs the process used. 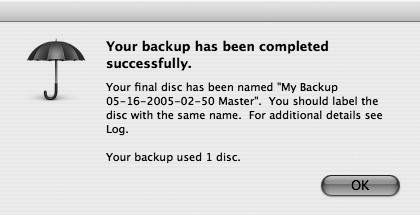
| 10. | Click OK to finish.
|
Tips When you back up your data to CDs or DVDs, Backup tells you in advance how many blank disks you'll need. Backup allows backing up to CDs and DVDs only if your Mac has a Mac OS X supported optical drivethere's a complete list at Mac OS X Storage Device Support (www.apple.com/macosx/upgrade/storage.html).
To Back Up to a Drive 1. | Open Backup.
If this is the first time you've launched Backup, you may receive a message saying that BackupHelper wants permission to access your keychain (see Figure 12.38). This is OK. If you've already launched Backup, go to step 3.
| 2. | Click Always Allow.
If this is the first time you've launched Backup, a dialog appears, thanking you for joining .Mac (see Figure 12.39).
| 3. | Click OK.
Backup displays its main window.
| 4. | From the pop-up menu in the upper left corner, choose Back up to Drive (Figure 12.52).
Figure 12.52. Select Back up to Drive from the pop-up menu in the Backup window to back up items to hard drives or network volumes. 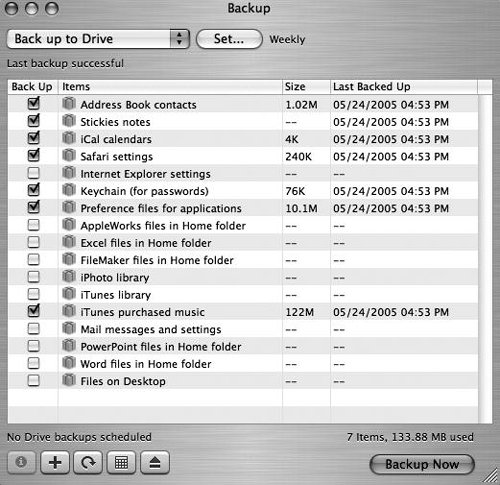
| 5. | At the top of the window, click the Set button (Figure 12.53).
Figure 12.53. Click the Set button to choose a location on a drive for your backup. 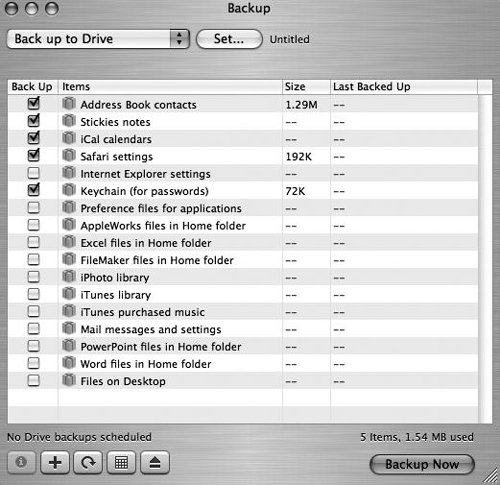
| | | 6. | In the "Set a backup location" dialog that drops down, click Create (Figure 12.54).
Figure 12.54. Click Create to create a new backup file and set a location in which backups will take place. 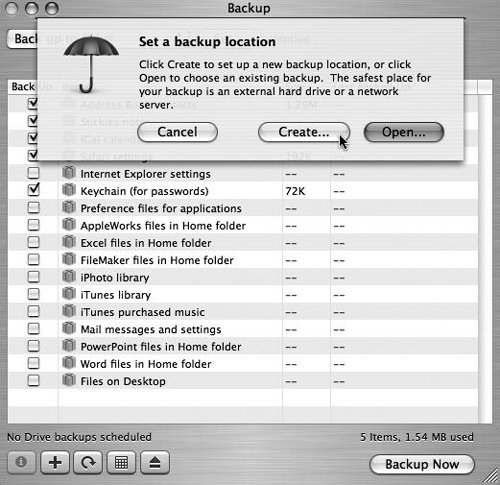
| 7. | In the file browser window that rolls down, navigate to the location you want to use for the backup, type a name for your backup in the Save As field, and click Create (Figure 12.55).
Figure 12.55. In the file browser, navigate to the location you want to use for your backup, give it a name in the Save As field, and click Create. We're calling this backup "Weekly" to indicate how often we'll use it for a backup, but you can name it anything (as long as you use standard alphanumeric characters). 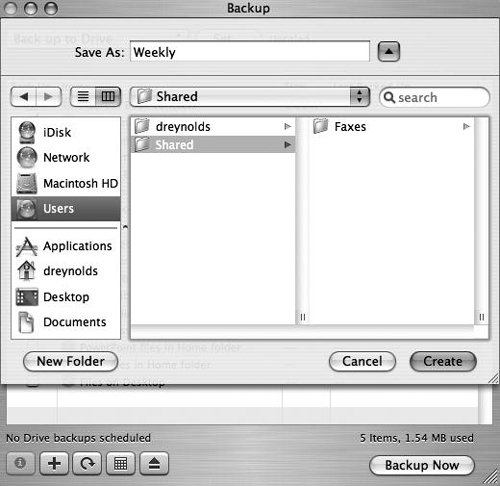
Backup displays its main window with the new backup name reflected in the top portion of the window, just to the right of the Set button (Figure 12.56).
Figure 12.56. The main Backup window has your new backup listed at the top. Here, it's named Weekly, but it could be named anythingeven "Spike MacRashton." 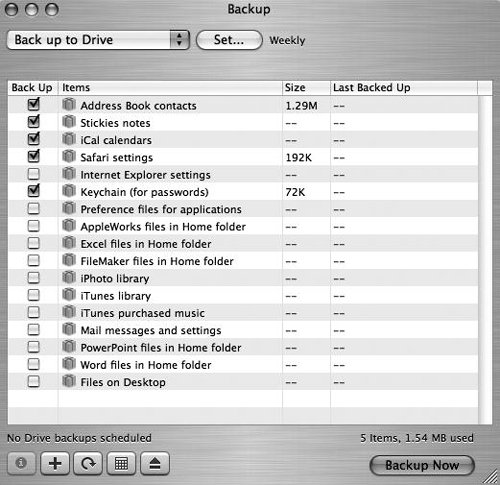
| | | 8. | In the Back Up column, check the boxes of the items that you want to back up (Figure 12.57).
Figure 12.57. When you check the boxes to the left of the items you want to have backed up, Backup will scan your hard drive for those items and automatically include them. 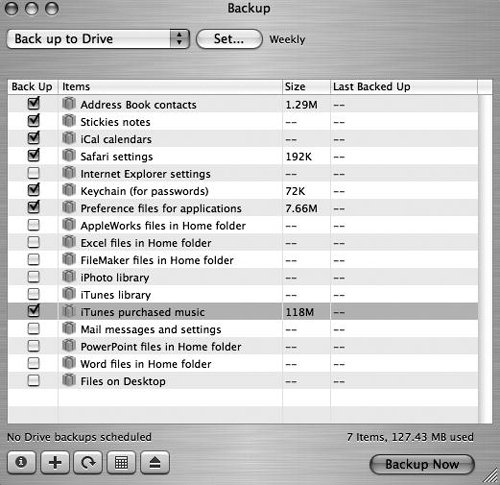
| 9. | In the lower right corner of the window, click the Backup Now button (Figure 12.58).
Figure 12.58. Click the Backup Now button to begin your backup. 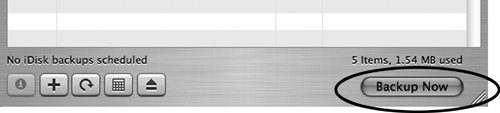
Backup scans for the files to be saved and goes straight to work creating your backup in the location you've specified. You'll see a progress bar as items are copied to the location you set in step 4.
|
Tip
|