| iSync allows you to remove a device you previously added, so that it's no longer synchronizedsay, you give your iPod to your kid or you upgrade your cell phone and need to remove the old one. To Remove a Device from iSync 1. | In the Applications folder, double-click iSync to launch it.
The iSync window opens (Figure 8.26).
Figure 8.26. When iSync is launched after a device is added, the device's icon appears in the main iSync window. 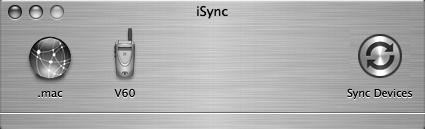
| 2. | Click the icon of the device you want to remove.
The window expands to show the device's preferences (Figure 8.27).
Figure 8.27. Before a device can be removed from iSync, you must select its icon, which expands the window to reveal the iSync preferences for the device. 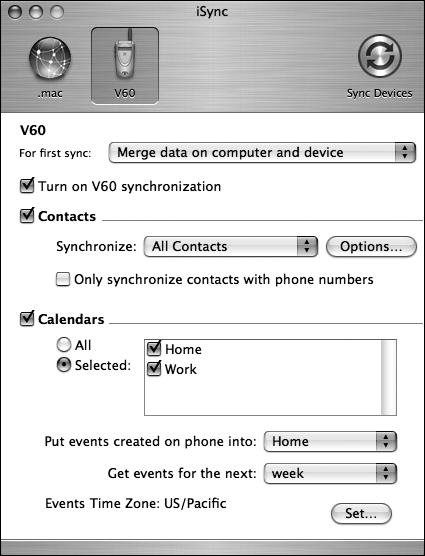
| | | 3. | From the Devices menu, choose Remove Device (Figure 8.28).
Figure 8.28. To remove a device, choose Remove Device from the Devices menu. 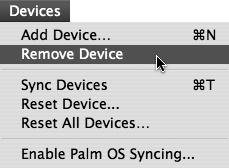
A dialog opens asking if you want to remove the device from iSync (Figure 8.29).
Figure 8.29. Before you're allowed to remove a device from iSync, you're asked to confirm the action. Click OK. 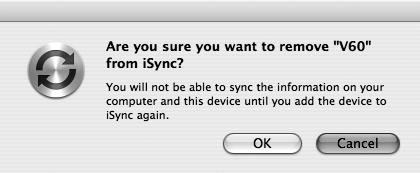
| 4. | Click OK.
The device is removed from iSync (Figure 8.30).
Figure 8.30. After the device is removed, the iSync window returns to its previous sizeminus the removed device's icon. 
|
Setting .Mac iSync Preferences iSync has a number of preferences you can tweak to control how your computer, your .Mac account, and any devices that you've set up share information (Figure 8.31). To access the iSync Preferences, choose Preferences from the iSync menu. Figure 8.31. iSync's preferences allow you some control over how iSync behaves. 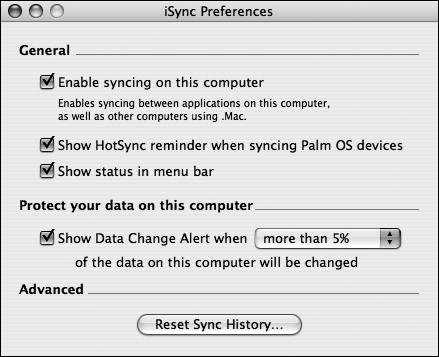
Here's what each preference does: "Enable syncing on this computer." With this check box you turn synchronization on and off for this computer, as well as for your .Mac account. "Show HotSync reminder when syncing Palm OS devices." If you're using a Palm OSbased device, with this check box you tell iSync to show the HotSync reminder when you use iSync with it. "Show status in menu bar." This check box allows you to have the Sync menu appear in the menu bar. "Show Data Change Alert when." This pop-up menu lets you set how much of your personal information can be changed before an alert pops up. By default, an alert appears if more than 5 percent of the data on your computer changes during a synchronization (Figure 8.32). Figure 8.32. If more than a certain amount of information will be changed by a synchronization, an alert dialog provides some details on what's happeningincluding what's being changed; how many items are being added, deleted, or modified; and whether the synchronization should be allowed or canceled. 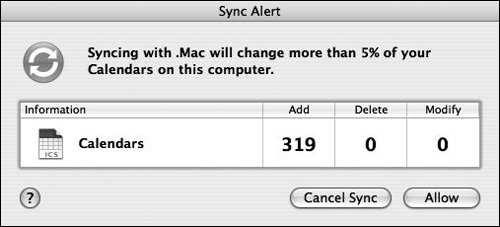 Reset Sync History. You click this button to reset the Mac's synchronization history, which effectively wipes the slate clean. After you reset your sync history, the computer behaves as if it were the first time a synchronization had taken place. See the section "Performing Your First Sync" for more on what happens during a first synchronization.
|
|