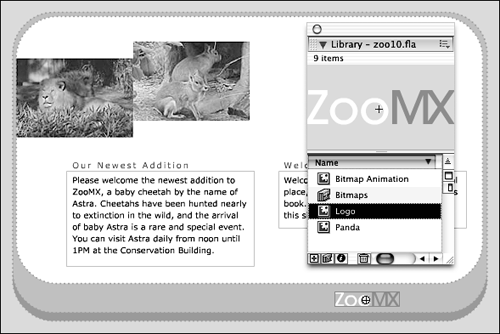
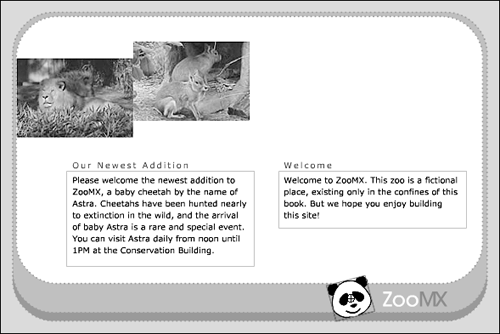
Locate the Logo symbol in the zoo10.fla library. Make sure you have the new Logo layer selected, and add an instance of the symbol to the stage by selecting its name and dragging it onto the stage.
You added the Logo symbol in the last exerciseif you don't see it in the zoo10.fla library, all is not lost! Just open assets.fla as a library again, and drag the instance onto the stage from that library.

When you are ready to add an asset from the library to the movie, you can drag it by its name, or by the graphic at the top of the Library panel. Make sure you have selected the layer you want before you start dragging the asset. Remember, you will see a pencil icon to the right of the layer's name indicating that it's selected. If there's a line through the pencil icon, the selected layer is either locked or hidden. You can't add assets from the library to locked or hidden layersyou have to unlock or unhide the layer first.
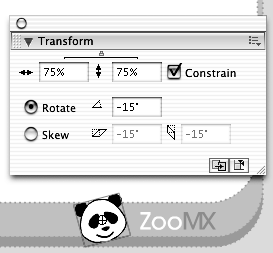
Each copy of the symbol you add to the stage is called an instance. Every instance of a symbol has its own properties, such as Width, Height, and Alpha. You can use the Property inspector and several panels to modify the properties of each instance. Although each instance has its own properties, it is linked to the original symbol in the library. Any changes you make in the original symbol affect all instances on the stage and instances inside other symbols.
Select the instance of the Logo symbol on the stage. Use the Property inspector to set the X and Y to 460 and 350, respectively.

When you select the instance of the Logo symbol, the Property inspector indicates that you currently have a movie clip selected. Use the Symbol Behavior pull-down menu if you need to set an instance to a different behavior (for example, graphic or button).
Below the Symbol Behavior is the Instance Name setting. The instance name for a movie clip is very important when you're working with ActionScriptyou'll use this setting later in the book.
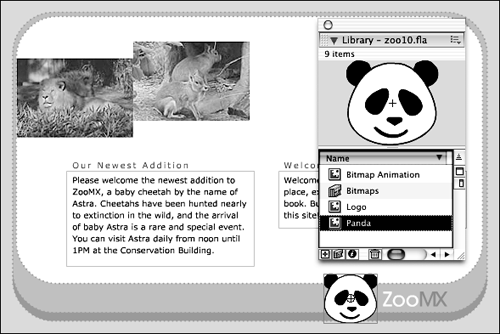
The Swap button in the Property inspector lets you swap this instance of the Logo symbol with any other symbol in the library. You can only swap with another movie clip, graphic, or button symbolnot with a font symbol, bitmap, sound, or video. If you do swap the symbol, it will keep all the properties of the original symbol except the dimensions (if the swapped symbol has different dimensions).
The Color Styles property settings are located at the right side of the Property inspector. You can choose None, Brightness, Tint, Alpha, or Advanced from this menu. None removes all color styles from an instance. Brightness modifies the relative lightness or darkness of the image, measured on a scale from black (-100%) to white (100%). Tint colors the instance a percentage of the tint color on a scale from 0% to 100% saturation. Alpha adjusts the transparency of the instance, from completely transparent (0%) to completely opaque (100%). Advanced adjusts the red, green, blue, and transparency values of an instance separately.


As you choose most of the Color Styles options, additional properties are available in the Property inspector. When you select the Brightness and Alpha options, a slider and text box appear on the right side of the panel. You can drag the slider up and down to modify the Brightness and Alpha settings, or you can type a value from 100 to 100 in the text box to modify the Brightness or 0 to 100 to modify the Alpha.

When you select Tint, color options appear where you can set a hue's saturation. When you choose the Tint option, a slider appears. The R (Red), G (Green), and B (Blue) settings determine the hue. You can set the R, G, and B in several ways: by clicking the R, G, and B arrows and dragging the sliders up and down; by typing a number between 0 and 255 in each of the text boxes; or by clicking the Color box in the Property inspector and choosing a color from the color palette.


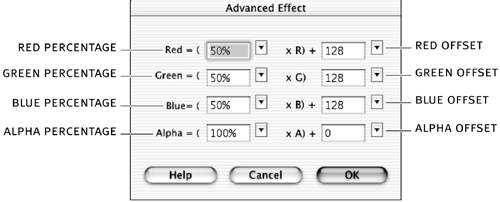
The Advanced option is, to put it mildly, much more advanced. You can use this option to modify the color and the transparency of the instance in relation to the original symbol. When you choose the Advanced option, a Settings button appears. Click that button to open the Advanced Effect dialog box. Typing numbers in the percentage boxes, or dragging the sliders next to them, multiplies the color or transparency value by a percentage of the original. If the instance is pure red, for example, changing the Blue percentage value will not cause a change, but changing the Red percentage will reduce the intensity of the red. Typing a number in the Red offset box (or dragging the slider) adds or subtracts the relevant saturation or transparency from the entire instance. Using the same pure-red instance and typing a positive number in the Blue offset box results in a shade of purple, for example. The equation used to determine the new color is (a * y + b) = x where a is the percentage specified in the percentage boxes, y is the color of the original instance, and b is the value in the offset boxes. Take some time to play with the Advanced optionit's a lot of fun and more obvious in action than in explanation.

