| Once the disk has been partitioned (if necessary) and properly formatted, you can turn to the installation of software. The Mac OS X Server software ships on one DVD. The install can be performed a few ways: You can install the software using the Installer GUI while sitting at the machine or remotely, or you can install it remotely via the command line. Unless the machine has been supplied with a public IP address, automatic discovery of servers is done via Bonjour (Apple's term for its implementation of ZeroConf), as you'll see later. Since most installs are on cleanly formatted disks, let's begin there.  Tip Tip
After you boot the machine off the DVD, you're presented with Server Assistant's initial setup screen. However, much more is going on behind the scenes. First, if there is a DHCP server on the network, your Macintosh has probably picked up an address from it. If the server is doling out public IP addresses, the installation and configuration can start from halfway around the world. If the address is private, installation and configuration can take place from your network. If a DHCP server is absent, the Macintosh assigns itself an IP address in the 169.254.x.x range; this self-assigned address is a function of Bonjour. If this is the case, remote installation can take place from any Macintosh on the local subnet. Second, the ssh daemon is running, meaning you can access the machine remotely via the command line. This only works via the built-in Ethernet (and serial on Xserve) interface on the Macintosh that is to become the server. If you wish to install the server software while sitting in front of the Macintosh that's booted from the DVD, you're all set to install and configure your serveryou won't need the information required next (except the server software serial number for configuration), although you should be aware of the remote install procedures. IP Address Review The Internet is made up of millions of devices communicating with each other in a flurry of activity, all so you can send and receive email, chat with others, visit the Peachpit Web site, and so on. In order for this communication to take place, computers must all be talking the same basic language: Internet Protocol (IP). The protocol most associated with this is Transmission Control Protocol (TCP). The combination is often expressed as TCP/IP. Let's review the addresses, because a good understanding of IP addressing will help you understand how to implement Mac OS X Server in your environment. IP addresses come in three main rangesA, B, and C (there are more, but this book will stick to the first three)and two typesroutable and nonroutable. The three primary IP address ranges are A: 0127 B: 128191 C: 192253
Each range includes a set of IP addresses that the Internet doesn't care about. (There is much more to the story here. This discussion is only concerned with the basics.) These are often referred to as nonroutable or private address ranges. They are as follows: If a computer or device has any address in these ranges, it can't (without the help of another device) communicate directly with another computer or device on the Internet. You should know whether your Mac OS X Server will have an IP address the rest of the world can see (a public IP address) or if it will only be used inside your organization, possibly with a nonroutable address (a private IP address). This will make a difference when you attempt to communicate with other devices on the Internet. |
Before you run away from your soon-to-be-server to do the remote installation, you need three things: Server software serial number The 29-digit array that allows you to configure and use Mac OS X Server software. Note that unlike Mac OS X Server 10.3, Mac OS X Server 10.4 checks across the network for other servers running under the same serial number. Ethernet address A unique, 12-digit address that is used, in this case, to identify the server when installing remotely. It can be found in several places, depending on the model of Macintosh involved. You may want to write down both Media Access Control (MAC) addresses when installing on a G5 Xserve (G5 Xserves have two Ethernet cards, hence two MAC addresses). Hardware serial number The first eight digits of the hardware serial number are the root password used to authenticate your access to remotely install and configure that server. On older Macintosh computers, root's password is 12345678 (yes, it's typed correctly). This serial number can also be found in several locations, depending on the Macintosh model.
Prior to booting the server from the DVD, you should install the Server Administration Tools on the client machine from which the remote installation will take place; remote installation and administration can't take place without this package being installed. Tip
Let's examine three installation methods: local, remote GUI, and remote command line. To install Mac OS X Server locally on an erased disk 1. | Boot the Macintosh from the Mac OS X Server DVD.
| 2. | Choose the language appropriate for your installation and click the arrow button in the lower-right corner of the screen.
| 3. | Click the Continue button  on the Welcome window (Figure 1.5). on the Welcome window (Figure 1.5).
Figure 1.5. Once Mac OS X Server has finished preparing the installation, you'll see a Welcome window. 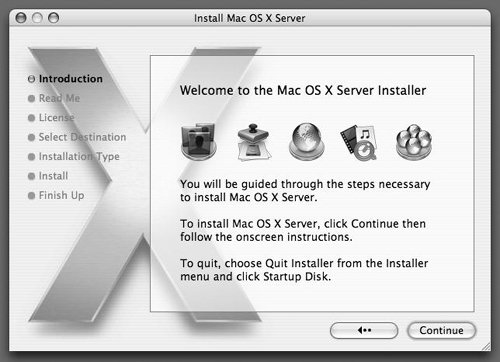
| 4. | Scroll through and read the Important Information window for any additional information.
| 5. | Scroll through the license agreement and click Agree to accept it (Figure 1.6).
Figure 1.6. Scan through the License Agreement and click Agree in the acceptance dialog. 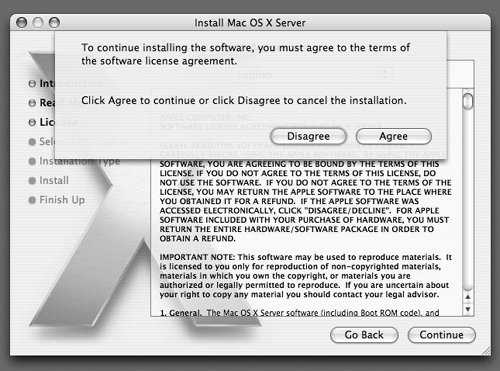
Bonjour Apple wisely added ZeroConf (Zero Configuration) support to Mac OS X and Mac OS X Server back in version 10.2. It called the implementation Rendezvous. In Mac OS X and Mac OS X Server 10.4, the ZeroConf implementation is now called Bonjour. Bonjour does three main things: Assigns an IP address automatically if no DHCP server is present to provide an address. The IP address assigned is in the 169.254.x.x range. Shows the name you gave your computer instead of the IP address when others browse the local network for your computer. Provides the discovery of other Bonjour services on the local network.
Although Bonjour isn't configurable (remember, it's nothing more than ZeroConf), it will be important in later chapters, especially those dealing with file sharing. |
| | | 6. | Choose the destination disk or volume, and click the Continue button (Figure 1.7).
Figure 1.7. The destination window shows a disk or volume in the list. 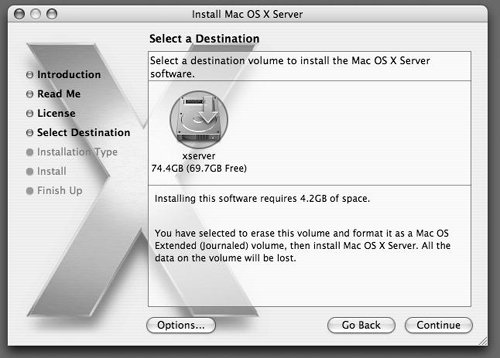
or
By clicking the Options button, you can choose to Upgrade or Erase and Install (Figure 1.8).
Figure 1.8. Choose the Erase and Install option. 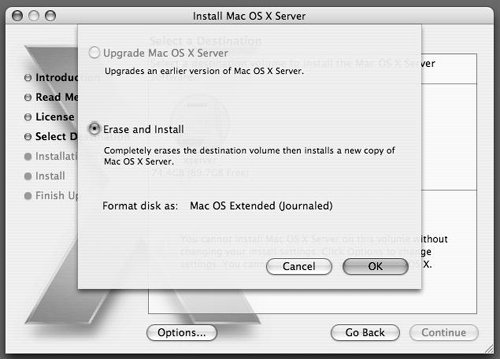
Note that unlike on Mac OS X, you don't have the option to archive the current installation and install a fresh copy of Mac OS X Server.
| 7. | Click the Customize button to remove or change components to be installed (Figure 1.9).
Figure 1.9. Click the Customize button. 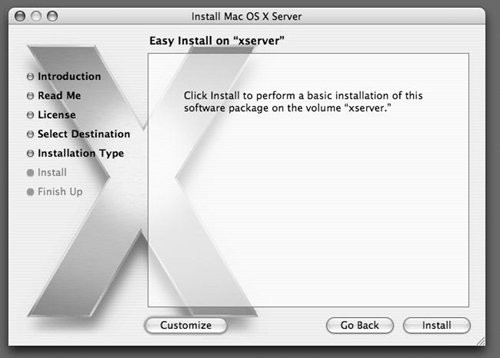
You may wish to remove print drivers and additional languages here (Figure 1.10).
Figure 1.10. Customize your installation package. 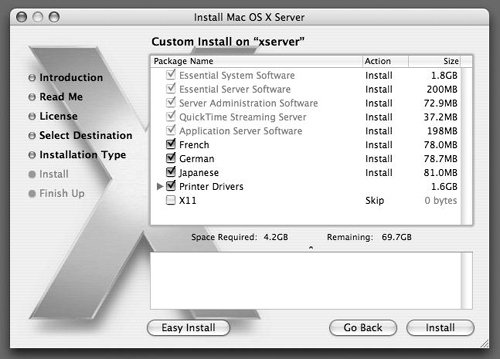
| 8. | Click the Install button to begin the installation.
After installation is finished, Mac OS X Server is ready for the setup stage.
|
To install Mac OS X Server on an erased disk from a remote Macintosh using Server Assistant 1. | Boot the Macintosh from the Mac OS X Server DVD.
| 2. | On your remote machine, navigate to and launch /Applications/Server/Server Assistant  . .
The Welcome screen appears, with three options (Figure 1.11):
- Install software on a remote server
- Set up a remote server
- Save setup information in a file or directory record
Figure 1.11. The Welcome screen appears when you launch Server Assistant remotely. 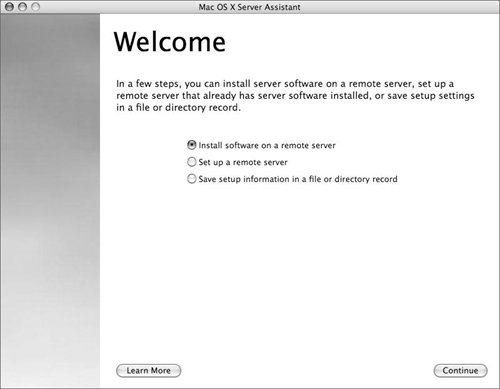
| 3. | Choose "Install software on a remote server."
The Destination window opens (Figure 1.12).
Figure 1.12. The remote destination screen shows a computer in the list. 
Provided you're on the same subnet, you'll see your Mac OS X Server(s) listed with an IP address, hostname, Ethernet hardware address (commonly known as the MAC address), and status. If your network includes more servers, you may need to locate your server by identifying and matching its MAC or Ethernet address. The Status column indicates whether server software can be set up on that machine.
Finding Your Server The IP address in the Destination window can be the 169.254.x.x Bonjour style with a hostname of localhost; or, if a DHCP server is present, it may have an IP address and subsequent hostname designated by the DHCP and DNS servers on your network. If you're in New York and you're setting up a server in Los Angeles, you can choose the Server at IP Address option in the Destination window and type in the real-world IP address of the machine booted off the CD in Los Angeles. |
| | | 4. | Click the Continue button.
An authentication window opens, asking for the server's password (Figure 1.13). Enter the password, click the OK button, and wait for authentication to take place  . .
Figure 1.13. Enter the server's password in the authentication dialog. 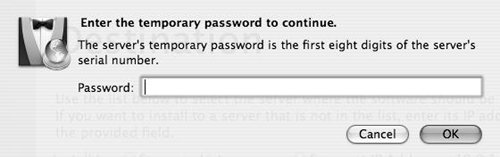
| 5. | Click through the following screens:
- The Language preference window.
- The Important Information window. It's a good idea to read all the information here before proceeding.
- The License Agreement and Agree windows.
| 6. | In the Volumes window, decide which volume to install the server software on (Figure 1.14).
Figure 1.14. Choose a volume on which to remotely install Mac OS X Server. 
This window shows the name of the volume, the format of the volume (including space available), and the current system, if any. A system check is initiated automatically. Should incompatible software already exist on the disk or partition, a window appears (Figure 1.15). In most cases, the "Erase and format" option is already chosen for you.
Figure 1.15. Click OK to erase and format any incompatible software. 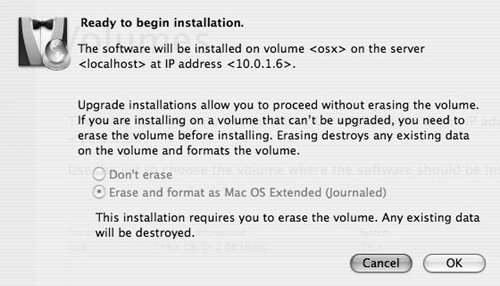
| | | 7. | Click OK to continue.
An Installing window indicates the software is being installed (Figure 1.16).
Figure 1.16. Wait while installation is in progress. 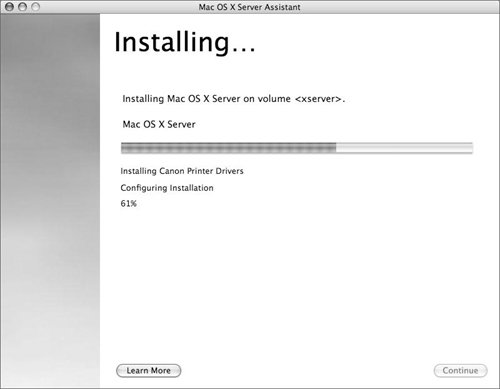
After installation is complete, a dialog signals a restart of the remote server off the disk or partition.
An Installation Status window indicates that the software has been successfully installed (if installed from DVDif not, further installation from CD #2 must take place) and the administrator can proceed to setting up the server (Figure 1.17).
Figure 1.17. The Installation Status window shows the IP address and hostname of the volume on which the server software was installed. 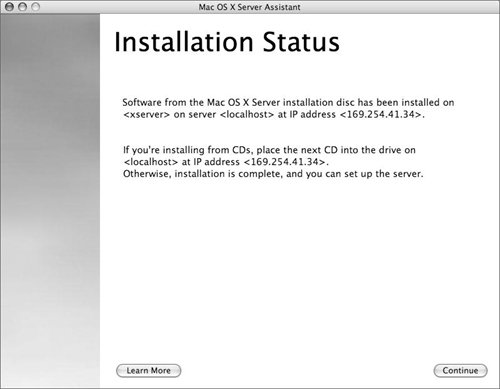
|
Tips Keep the server DVD in a safe place. If you're managing a server remotely, it may be a good idea to keep the DVD in the tray and/or affix the server serial number stickers to the DVD cover. Apple has provided almost every GUI tool with a command-line equivalent. If you wish to install via the command line, you can do so. Booting from the DVD runs the ssh daemon, so you can discover and connect to the Macintosh with a command-line interface. To do such an installation, you should install the Server Admin Tools on the Macintosh from which you wish to discover and install the server software.
Packages and the Installer Command Packages are collections of files that are placed on a disk. A package can contain all the files necessary for a certain application to run. Packages can also contain other packages. For example, the OSInstall package is a metapackage, which means it has instructions to install other packages. The installer command is used to install packages via the command line. Some of the Unix flags include: Setting the language. Listing all packages inside a metapackage. Allowing older versions of packages to be installed over newer ones. This option is useful when you need to install an older update because the latest update caused issues with your computer. Showing installation progress via verbose output.
When you're using tab completion in the Terminal, take care to remove the trailing slash from an installer package or metapackage (.pkg or .mpkg), or the install command won't function. |
To install Mac OS X Server on an erased disk from a remote Macintosh using the command line 1. | Boot the Macintosh from the Mac OS X Server DVD.
| 2. | Open the Terminal application on your remote Macintosh.
| 3. | Run the command-line tool sa_srchr by typing in
/System/Library/ServerSetup/ sa_srchr 224.0.0.1.
This command searches out your local subnet and returns information about any Macintosh booted from a Mac OS X Server DVD.
| 4. | Locate the IP address in the returned information.
| 5. | Type in ssh root@the-IP-address-you-saw-in-step-four, and authenticate using the Mac OS X Server's hardware serial number or 12345678 as the password.
| 6. | Run the installer command by typing in installer pkg /System/Installation/Packages/OSInstall.mpkg target /Volumes/name-of-your-volume
The computer on which you're installing Mac OS X Server will reboot after a successful installation.
|
Tip Always write down the Ethernet address(es), hardware serial number, and server software serial number, and keep them handy in case you need to reinstall Mac OS X Server.
|