| The background layer consists of four solids that are masked, blended, and animated. You have a lot of freedom in this section to create a unique background by defining your own color, shapes, keyframes, and layer blending, but we provide some of our property values in case you want to create something similar to our final results: 1. | Create a new solid (Layer > New > Solid), and click the Make Comp Size button. You can use our color (RGB: 252, 208, 0) or any color you'd like.
| 2. | Use the Elliptical Mask, Rectangular Mask, or Pen tool to draw a large shape out of the solid. We used the Elliptical Mask tool and created a mask that surrounds most of the solid but doesn't cover its corners. (Again, it's not important that your mask be exactly like ours. However, if you prefer it to be, draw an oval with the Elliptical Mask tool, and then click the Shape value next to the Mask Shape property in the Timeline and enter -169.72977 for Left, -12.252265 for Top, 889.72913 for Right, and 495.8559 for Bottom. Surely that's not as fun as creating your own maskbut each to their own, eh?)
Tip If you need to resize and reposition the mask after initially drawing it, be careful that you only change the mask and don't reposition or resize the solid layer. It's a little awkward, but all you need to do is make sure the mask is selected under the solid layer in the Timeline before you drag any of the mask's handles. Masking the solid layer 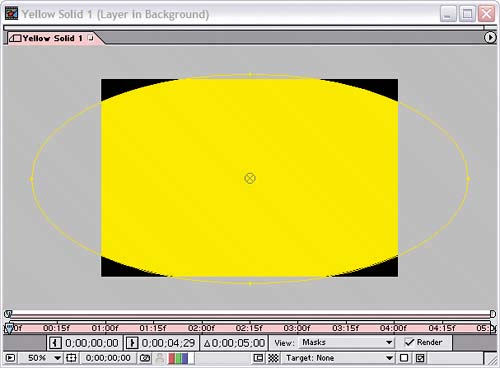 | 3. | Make sure you're at time 0;00. Select the solid layer, press M to display its Mask Shape, and click the stopwatch next to it to create a keyframe for it.
| 4. | Go to time 1;00, and reposition one or more of the mask handles to create the next state of the solid's animation. We dragged the top mask handle to the bottom and vice versa to create a wave effect.
Animating the mask's shape 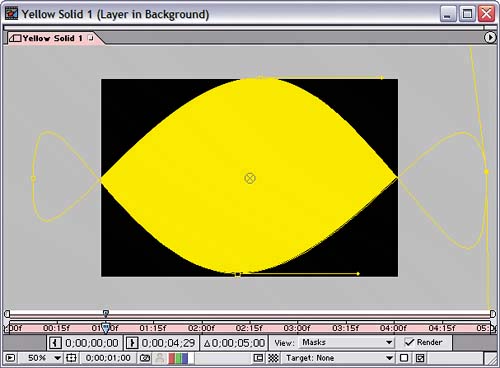 | 5. | Go to each remaining second in the Timeline, and modify the mask's shape again in the Composition window. When you've completed this step, you should have six Mask Shape keyframes. (Again, you don't have to match our results. Believe us when we tell you it would be too tedious to write out how to get our precise mask shape changes and way too tedious for you to replicate the steps. Just drag the handles around to create random shapes.)
All the Mask Shape keyframes in place 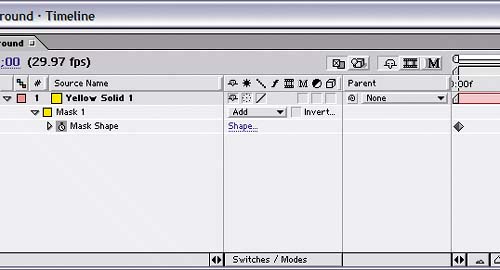 | 6. | To complete the background, duplicate the solid layer three times so that you have four solid layers.
| 7. | Assign each new solid a different color. (We chose RGB: 155, 155, 5 for solid layer 2; RGB: 2, 119, 85 for layer 3; RGB: 195, 152, 21 for layer 4…. Just choose your own colors, and stop making us transcribe this stuff!) Then, modify the mask shape and keyframes so that they don't repeat the same pattern at any time.
Adding additional masked solid layers 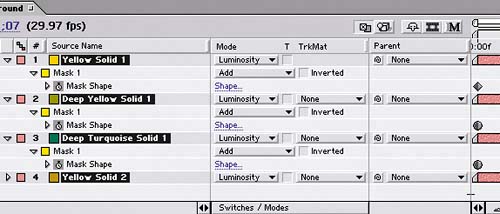 The Background composition at time 1;19 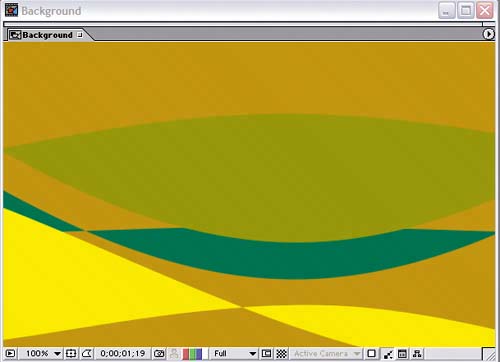 To add some complexity to the shapes, you'll make the layers blend with one another so that their colors change wherever they overlap. To add some complexity to the shapes, you'll make the layers blend with one another so that their colors change wherever they overlap.
| 8. | Display the Modes column in the Timeline, and then select all the layers. To quickly browse through the blending modes, hold down the Shift key as you press the plus (+) or minus () key at the top of your keyboard. We chose the Luminosity blending mode, which uses each layer's level of brightness to determine the results.
|
Setting the blending mode for all layers 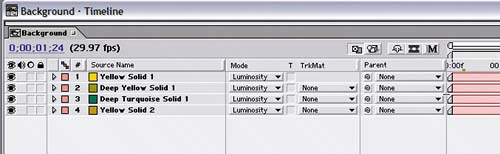 Press the Home and Spacebar keys to preview your background. The background's look is totally up to you, so tweak it until you're satisfied, save it, and then close it. |