Configuring Simple IPSec Between Servers in a Windows Server 2003 Domain
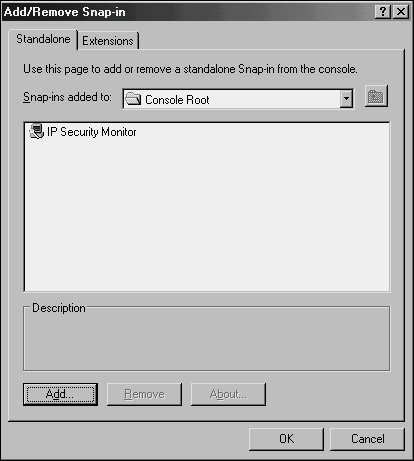
| IPSec is built into Windows Server 2003 machines and is also available for clients. In fact, basic IPSec functionality can easily be set up in an environment that is running Windows Server 2003's Active Directory because IPSec can utilize the Kerberos authentication functionality in lieu of certificates. Subsequently, it is a fairly straightforward process to install and configure IPSec between servers and workstations, and should be considered as a way to further implement additional security in an environment. The procedure outlined in the following sections illustrates the setup of a simple IPSec policy between a Web server and a client on a network. In this example, the Web server is SERVER7 and the client is CLIENT2. Viewing the IPSec Security MonitorTo view the current status of any IPSec policies, including the ones that will be created in this procedure, the IPSec Security Monitor MMC snap-in on SERVER7 must be opened. The MMC snap-in can be installed and configured by following these steps:
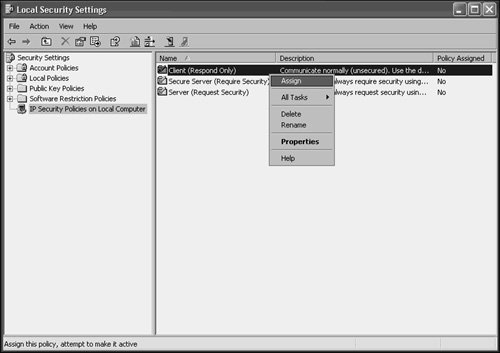
Establishing an IPSec Policy on the ServerDefault IPSec policies are enabled on Windows Server 2003 and newer clients. To access these settings, follow this procedure on SERVER7:
The following three default IPSec policies available allow for different degrees of IPSec enforcement:
Establishing an IPSec Policy on the ClientCLIENT2 will likewise need to be configured with a default IPSec policy, in a similar fashion to the server policy defined in the preceding section. To configure the client on Windows XP, follow these steps:
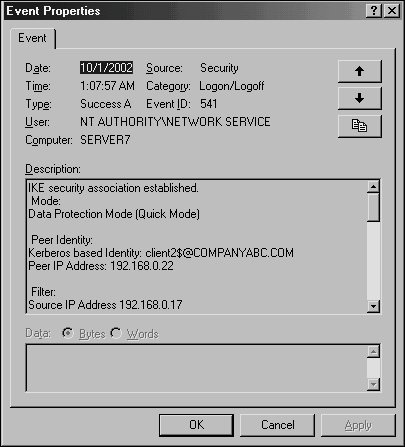
Verifying IPSec Functionality in Event ViewerAfter the local IPSec policies are enabled on both CLIENT2 and SERVER7, IPSec communications can take place. To test this, either ping the server from the client desktop, or perform other network tests, such as accessing SERVER7's Web page or file shares. A quick look at the IP Security Monitor that was established in MMC on SERVER7 shows that IPSec traffic has been initialized and is logging itself, as you can see in Figure 13.9. Figure 13.9. Viewing IP Security Monitor logging.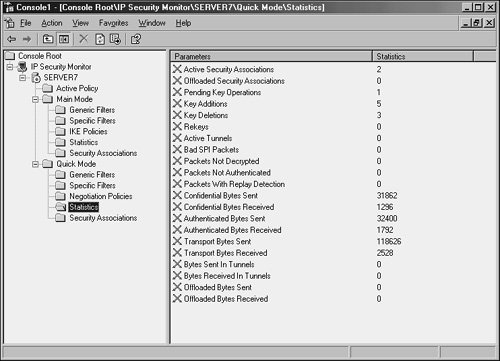 In addition to using the IP Security Monitor to log IPSec traffic, the Security log in the Event Viewer on SERVER7 can be used to check for IPSec events. Filter specifically for Event ID 541, which indicates successful IPSec communications, as shown in Figure 13.10. Figure 13.10. Viewing an IPSec Event log success entry. These default IPSec policies are useful in establishing ad hoc IPSec between clients on a network, but are limited in their scope. Proper planning of an enterprise IPSec implementation is necessary to effectively secure an entire environment using custom IPSec policies. |
EAN: 2147483647
Pages: 499