Authoring Components and Controls
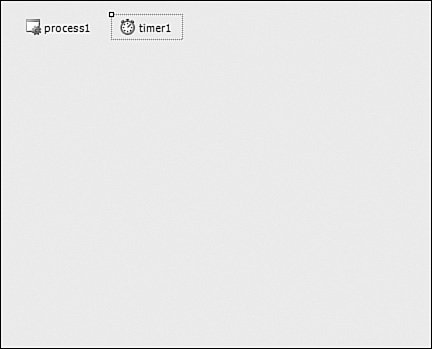
| Referring to our earlier discussion of Windows forms, components are nonvisual controls or classes. This is a good generic definition, but a more specific one is this: A component is any class that inherits from System.ComponentModel.IComponent. This particular interface provides support for designability and resource handling. If you need a designable control that does not have a user interface of its own, you will work with a component. And in Visual Studio, the component designer is the tool used to develop components. Controls are similar in function but not form: A control is a reusable chunk of code that does have a visual element to it. Creating a New Component or ControlYou kick off the process of authoring a component by using the Add New Item dialog box (from the Project menu). Selecting Component Class in this dialog box will add the stub code file to your current project and will launch the component designer. To start control development, you use the Add New User Control dialog box. Note Essentially two different "types" of controls can be authored within Visual Studio: custom controls and user controls. Custom controls inherit directly from the System.Windows.Forms.Control class; they are typically code intensive because you, the developer, are responsible for writing all of the code necessary to render the control's visual portion. User controls (sometimes called composite controls) inherit from the System.Windows.forms.UserControl class. User controls are advantageous because they can be built quickly by compositing other controls together that are already available in the Toolbox. These controls already have their user interface portion coded for you. Both the control and the component designer work on the same principles as the Windows Forms designer: the designers allow you to drag an object from the Toolbox onto the design surface. Assume that you need a component that will send a signal across a serial port every x minutes. Because Visual Studio already provides a timer and a serial port component, which are accessible from the Toolbox, you can use the component designer to add these objects to your own custom component and then leverage and access their intrinsic properties and methods (essentially, using them as building blocks to get your desired functionality). Figure 6.39 shows the component designer for this fictional custom component; two objects have been added: a timer and a process component. Figure 6.39. The component designer. A similar scenario can be envisioned with a user control. You can take the example of a login "form," consisting of two text boxes, two labels, and two buttons, and actually make that a controlone that can be easily included in the Toolbox and dropped onto a Windows form or web form. Further Notes on Writing Component CodeBecause the component has no visual aspect to it, you don't have the layout and formatting features that you see with the Windows Forms designer. However, the concept of drag-and-drop programming is alive and well. Visual Studio, behind the scenes, injects the code to programmatically add the given class to the component's container. From there, you can edit the various objects' properties, double-click an object to get to its code, and so on. When you simply drag the timer and process objects over from the Toolbox, Visual Studio aggregates these objects into the component by automatically writing the code shown in Listing 6.2. Listing 6.2. Component DesignerGenerated Code
Writing code "behind" one of the objects placed on the component designer canvas is easy: Double-click the object's icon, and the code editor will be launched. For instance, double-clicking on the timer icon on the designer surface will cause the timer1_Tick routine to be created and then launched in the code editor. |
EAN: 2147483647
Pages: 195