Section 12.3. Setting Up the Logon Process
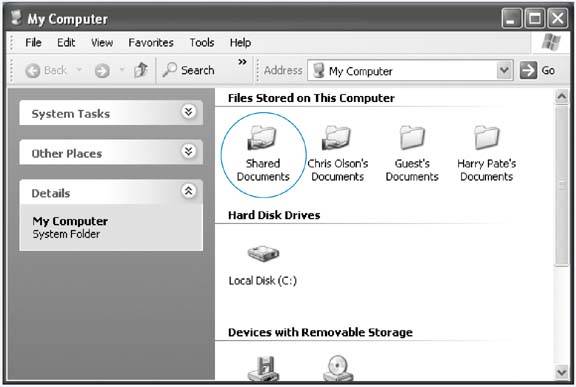
12.3. Setting Up the Logon Process Once you've set up more than one account, the dialog box that greets you when you turn on the PC (or when you relinquish your turn at the PC by choosing Start Open the User Accounts program in the Control Panel, and then click "Change the way users log on or off." As shown in Figure 12-6, Windows XP now offers you two extremely important logon options. 12.3.1. "Use the Welcome Screen"Under normal circumstances, the logon screen presents a list of account holders when the PC is first turned on. If you're especially worried about security, however, you might not even want that list to appear. If you turn off "Use the Welcome screen," each person who signs in must type both his name and password into blank boxesa very inconvenient, but secure, arrangement (Figure 12-7). (You can't turn off "Use the Welcome screen" if Fast User Switching is turned on. Fast User Switching is described in the next section.) Tip: Strangely enough, even when you're looking at the standard Welcome screen, you can switch to the Classic logon screen: just press Ctrl+Alt+Delete. (If you're having trouble making it work, try pressing down the Alt key before the other ones.) Figure 12-6. The "Select logon and logoff " options have enormous ramifications . The first governs the appearance of the Welcome screen shown in Figure 12-8. The second lets one person duck into his own account without forcing you to log off, as described on Section 12.3.2.1. These options are relatedyou can't turn off the first without first turning off the second. Figure 12-7. If you turn off the new Welcome screen, you sign into Windows XP just as Windows 2000 fans have for years . You're expected to type in your name and password and then click OK.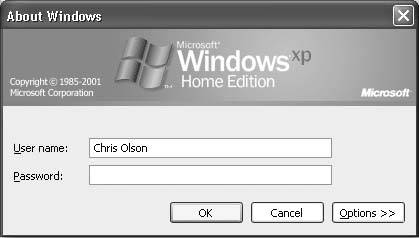 12.3.2. "Use Fast User Switching"If you've used any version of Windows before, the business about separate user accounts for everybody who uses a certain PC is old hat. One aspect of this feature, however, is dramatically new in Windows XPand extremely welcome: Fast User Switching. 12.3.2.1. How Fast User Switching worksSuppose you're signed in, and you've got things just the way you like them: you have eleven programs open in carefully arranged windows, your Web browser is downloading some gigantic file, and you're composing an important speech in Microsoft Word. Now Chris, a co-worker/family member/fellow student, wants to duck in to do a quick email check. In the old days, you might have rewarded Chris with eye-rolling and heavy sighsor a reaction even less suitable for a family book. If you chose to accommodate the request, you would have had to shut down your whole ecosystem, interrupting the download, closing your windows, saving your work and exiting your programs. You would have had to log off completely. If Fast User Switching is turned on, however, none of that is necessary. All you have to do is press the magic keystroke, Windows logo key+L. (Or, if you've misplaced your keyboard, you can choose Start Now the Welcome screen appears, ready for the next person to sign in. Looking at the screen now, you may think you've just logged off in the usual way. But look at it closely (Figure 12-8): You haven't actually logged off at all. Instead, Windows has memorized the state of affairs in your accountcomplete with all open windows, documents, and programsand shoved it into the background. Chris (or whoever) can now sign in normally, do a little work, or look something up. When Chris logs out again, the Welcome screen comes back once again, at which point you can log on again. Without having to wait more than a couple of seconds, you find yourself exactly where you began , with all programs and documents still open and running. Figure 12-8. When Fast User Switching is turned on, you can call up the Welcome screen shown here without even quitting your programs and closing your windows. If Outlook Express or Windows Messenger is running, the Welcome screen even shows you how many unread email messages are waiting for you. (Point without clicking to produce a screen tip that breaks down which email accounts they came in on.)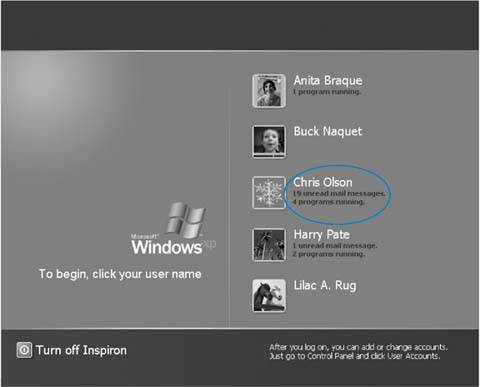 Tip: When you're logged in under Fast User Switching, you're not allowed to open a file that's open in somebody else's account universe. An "Access is denied " message will tell you so.
This feature requires a good deal of memory, of course (don't even think about it on a machine with less than 96 MB of RAM). Otherwise, however, it's an enormous time-saver. 12.3.2.2. How to turn on Fast User SwitchingTo turn on this optional feature, open the User Accounts program in the Control Panel. Click "Change the way users log on or off"; the dialog box shown in Figure 12-6 appears. Make sure "Use the Welcome screen" is turned on (it's a requirement for Fast User Switching), and then turn on "Use Fast User Switching." Finally, click the Apply Options button. From now on, you have two options each time you decide that you're finished working for the moment. You can log off normally, closing all of your programs and windowsor you can fast switch , logging off temporarily, leaving your work open on the screen behind the scenes. Figure 12-9 shows you the difference. Figure 12-9. Top: If you choose Start |
 Log Off) looks something like Figure 12-7. But a few extra controls let you, an administrator, set up the logon screen for either more or less securityor, put another way, less or more convenience.
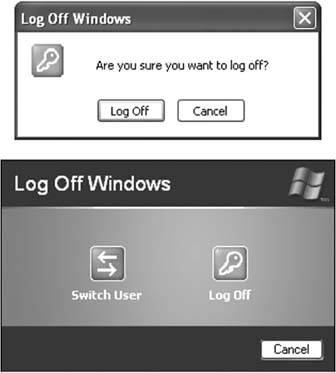
EAN: 2147483647
Pages: 162