Chapter 1. Working with the Interface
GarageBand is powerful enough to record and mix a professional-sounding music demo, podcast, or video score, yet simple enough that anyone can use it right out of the box. Over the years, I've worked with many frustrated musicians who bought their first computers and software specifically to try recording their own music. Unfortunately, instead of finding inspiration and a new creative tool, they got more frustrated because the software was way too complicated. That was before GarageBand. This software is different. You don't have to be a computer major or audio engineer to record music. You don't even have to be a musician. If you can click a mouse, you can turn your Mac into a basic recording studio for music, scoring video, or producing podcastsit's really that simple. In this lesson, you'll take a guided tour of the GarageBand basic interface and learn how to use the transport controls and navigate in the Timeline. Along the way, you'll learn some of the new GarageBand features, as well as some useful keyboard shortcuts as you get to know the program. If you've been working with GarageBand for a while and are already comfortable with the basic interface, editor, and navigation, feel free to jump ahead to Lesson 2. Before You Start Before you start, you need to load the GarageBand 3 program onto your hard drive. You also need to copy the GarageBand 3 Lessons folder from the CD in the back of the book to your computer's Desktop. The instructions for loading the software and files are in "Getting Started," the introduction to this book. After you complete those two steps, you can move forward with this lesson. Now that you have the GarageBand program and lesson files loaded onto your hard drive, you're ready to begin this lesson. Note Make sure your screen resolution is set to 1027 x 768 or higher in the display preferences for your computer. If your resolution is below 1027 x 768, you won't be able to see the entire GarageBand window on your screen. Launching GarageBand There are three ways to launch GarageBand:
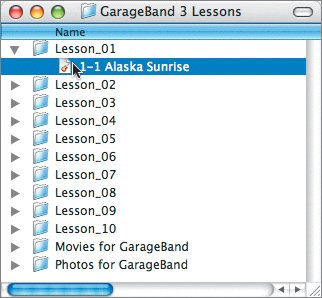
For this exercise, you'll launch GarageBand by opening a project file.
|
EAN: 2147483647
Pages: 134
