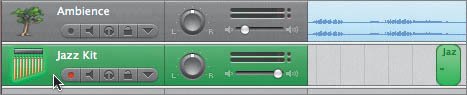
| There's one last thing to do to this song before we move on to another lesson. Let's change the icon for the Jazz Kit track to reflect the instrument you actually recorded in that track. The track icon is the picture of an instrument on the left side of the track header. To change a track's icon, you first need to open the Track Info pane. An easy way to open the Track Info pane is to double-click a track's header. 1. | Double-click the track header for the Jazz Kit track that contains your chime recording.
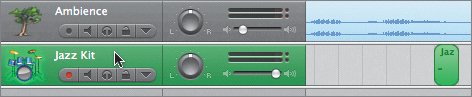 The Track Info pane for the Jazz Kit track opens.
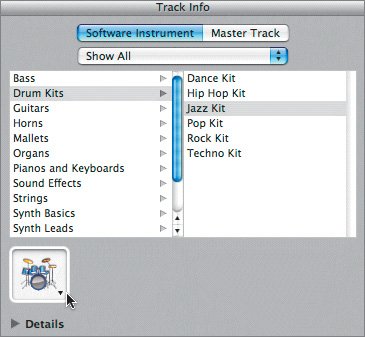 | | | 2. | In the Track Info pane, click the track icon to reveal the Track Icon menu.
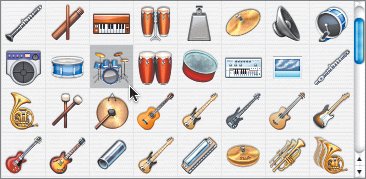 | 3. | Drag the vertical scroller to locate the Wind Chime icon.
 The Wind Chime icon is located in the upper-right corner of the Track Icon menu.
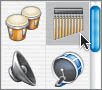
| 4. | Click the Wind Chime icon to select it for the track. Close the Track Info pane.
 Now let's change the name of the track itself from Jazz Kit to Wind Chime.
| 5. | Click the Jazz Kit track header to select the entire track, if it is not already selected.
| | | 6. | On the Jazz Kit track header, click the track name to select it. Hold the pointer over the name momentarily.
 When the name appears highlighted, you can type a new name in the name field.
| 7. | Type Wind Chime in the track's name field, then press Return.
The track has now been renamed.
| 8. | Press Cmd-I to hide the Track Info pane.
|
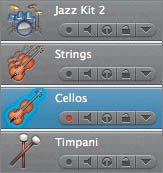
Project Tasks Now it's your turn to change another track name and several track icons. In this exercise, you'll change the name of the Chime and Timpani track to Timpani. Then change the track icons for the Timpani, Jazz Kit 2, Strings, and Cellos tracks. Feel free to try these changes on your own. If you need assistance, refer to the following steps. Keep in mind a track's icon doesn't have to exactly match the instrument in the track, it's just something to help you visually recognize the instrument type in a track. 1. | Click and pause over the Chime and Timpani track name. Then change the track's name to Timpani.
| 2. | Double-click the Timpani track header to see it in the Track Info pane, then open the Track Icon menu and select the icon that looks like two padded mallets (drum sticks) used to play timpani drums.
| 3. | In the Timeline, select the Jazz Kit 2 track header and select a new icon from the Track Icon menu.
| 4. | Repeat step 3 for the Strings and Cellos tracks.
 |
|