Adding a Still Image at the End of the Movie


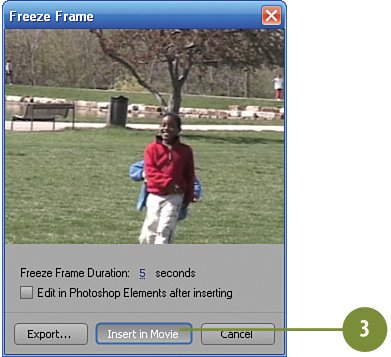
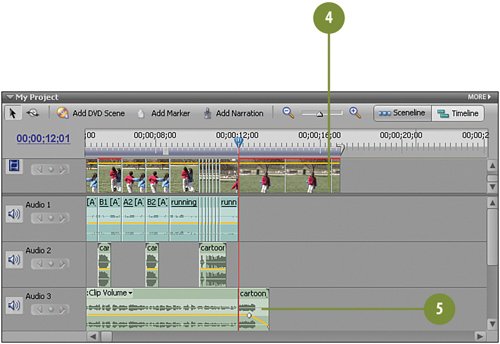
Rather than just end the movie suddenly when the action ends, think about ending some of your movies with a "freeze frame." This effect is very easy to achieve. You just take a snapshot using the freeze frame function of Premiere Elements. You can then lengthen or shorten the snapshot as need to change the duration of the clip to have it stay on screen.

Add a Still Frame for Effect

With the CTI, navigate to position 00;00;12;01 on the Timeline.

In the Monitor panel, click the Freeze Frame button to save the frame as a still picture.

Click Insert in Movie.

The freeze frame will be inserted in place, on the Video 1 track on the Timeline. Unfortunately, the music track will be split there, and moved over.

Adjust the orphaned cartoon_music.wav clip by dragging it and returning it to its proper place at the end of the music track, as shown in the illustration.

Did You Know?

You should always deinterlace when exporting. The Freeze Frame dialog box has an Export button enabling you to export any still you capture in a variety of formats (GIF, BMP, JPEG, and so on). Whenever you export a still image from a video file, it's always a good idea to deinterlace the imagein other words, remove the lines. A video image is made up of alternating scan lines. When you save a snapshot from a video clip, you are basically saving only one half of the information available, or one set of the alternating lines. Select the Settings button on the Export Frame dialog box before you save your picture. The Export Frame Settings dialog box displays. Select the Keyframe and Rendering option. You'll find a check box there for Deinterlace Video Footage. Click it and then continue saving your snapshot.


Hollywood Special Effects with Adobe Premiere Elements 3
ISBN: 0789736128
EAN: 2147483647
Year: 2006
Pages: 274
Authors: Carl Plumer

flylib.com © 2008-2017.
If you may any questions please contact us: flylib@qtcs.net