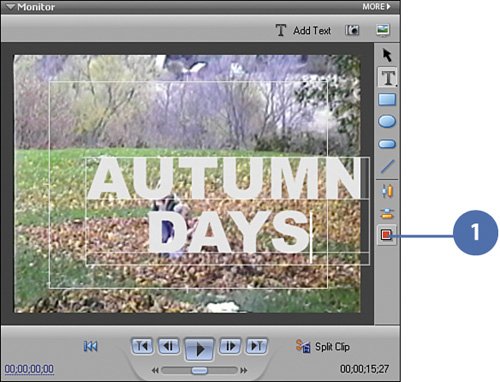
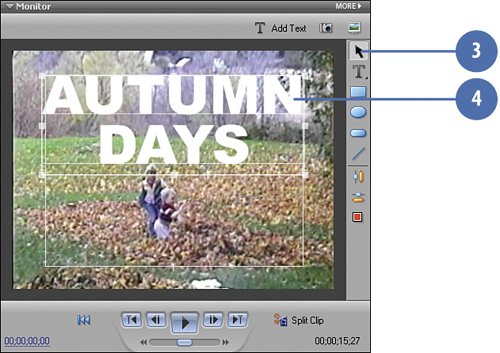
| For our title, we'll be using sturdy, block-style lettering (Arial Black) which will enable the viewer to better to see the video clip inside the title. We'll be making the title as large as we can while leaving plenty of the background clip showing. We also don't want to go outside the safe text boundary. For the purposes of our See-Through Title Effect, we are keeping it short and sweet with "AUTUMN DAYS." Type, Color, and Position Your Title  Click the Add Text button on the Monitor panel. Click the Add Text button on the Monitor panel.
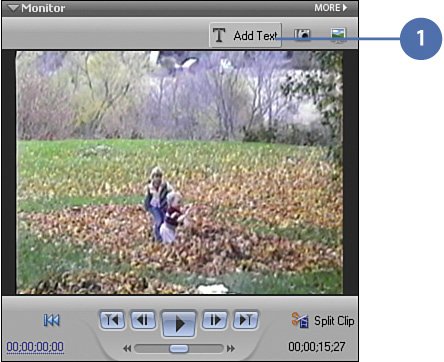
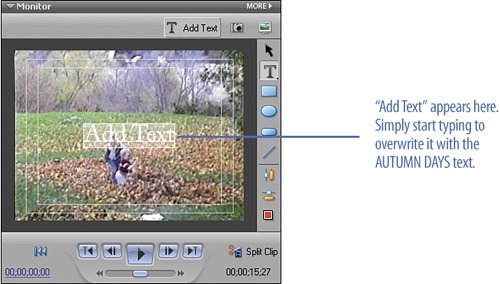  In the text box on the Monitor panel that currently reads, Add Text, type "AUTUMNDAYS" in all capital letters. In the text box on the Monitor panel that currently reads, Add Text, type "AUTUMNDAYS" in all capital letters.
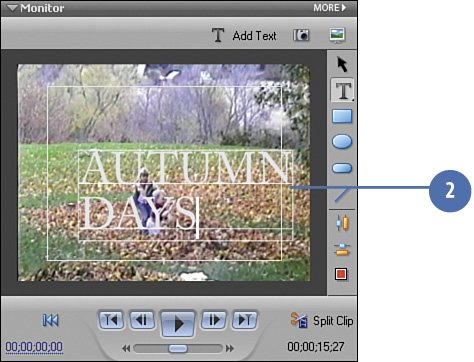
 Using the arrow keys on your keyboard, move the cursor so that it's between AUTUMN and DAYS and press the ENTER key on your keyboard. This places the two words on separate lines, like this: Using the arrow keys on your keyboard, move the cursor so that it's between AUTUMN and DAYS and press the ENTER key on your keyboard. This places the two words on separate lines, like this:
AUTUMN DAYS
Important If you click on or off the Add Text text box, Add Text will no longer be highlighted. Be sure to highlight all of the Add Text text again before you start typing the new text. Did You Know? The See-Through Title Effect works best with short titles. Long words, and titles containing too many words, don't work as well as short ones. You want to be pithy, concise; brevity's the thing. Titles like "The Klondike Family's Incredible Summer Adventure" must be jettisoned in favor of "THE KLONDIKES!" or "SUMMER '07!" Think of your basic blockbuster title. You don't often see full, literary-style titles in blockbusters. You see, instead, titles like "The Ring," "Scream," "Titanic." The Adventures of Huckelberry Finn would today simply be, "FINN!" All Quiet on the Western Front, simply, "QUIET!"
|
Make Adjustments to the Text - Click the Center Text button on the Properties panel to center the text.
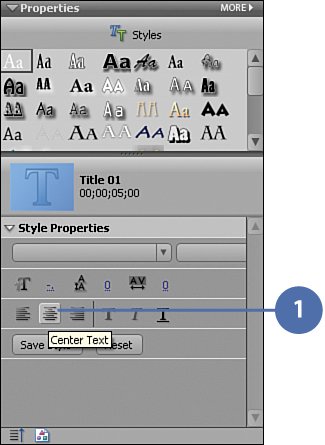
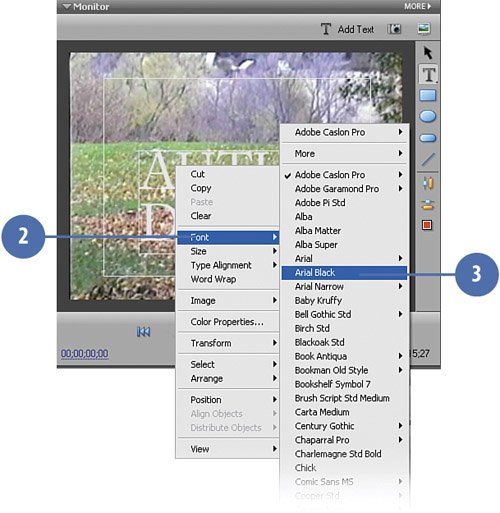
- Right-click the AUTUMN DAYS text and select Font.
- From the list of fonts, choose Arial Black.
 Did You Know? You can customize titles with your favorite fonts. Any font that you install in Windows XP will also show up in Premiere Elements. If you install a new font while Premiere Elements is running, you may need to restart it before the font you installed shows up in the font list. This feature enables you to use any font you want, including free fonts, in your video productions. The right font can set the tone of movie and can make for a truly personal statement that identifies your films as yours.
|
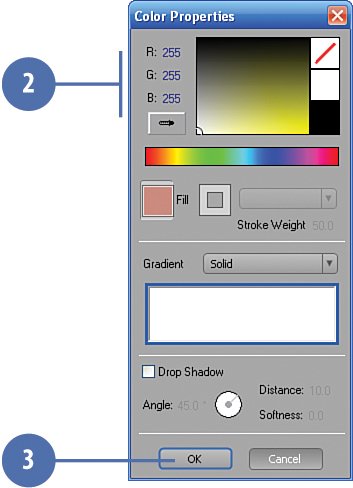
Set the Font Color - Click the Color Properties button
 - In the Color Properties window, color the text pure white by entering the following settings:
- Click OK.
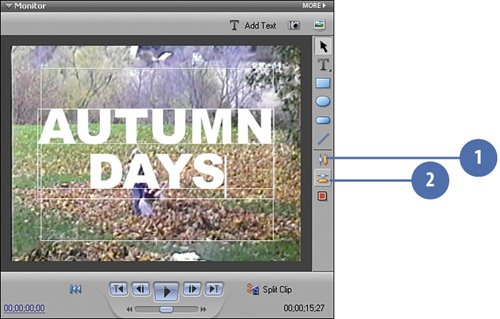
Reposition the Title Text - Center the title vertically by clicking the Vertical Center button.
- Center the title horizontally by clicking the Horizontal Center button.
 - Click the Selection Tool.
 Drag the title up so that it aligns with the top of the Safe Title Margin. Drag the title up so that it aligns with the top of the Safe Title Margin.
Move and Resize the Title Clip - Click on the Timeline to exit the Titler.
- Drag the Title 01 clip you just created from the Video 2 track to the Video 4 track.
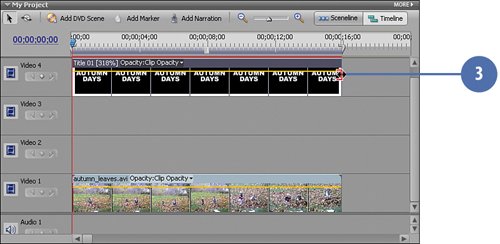
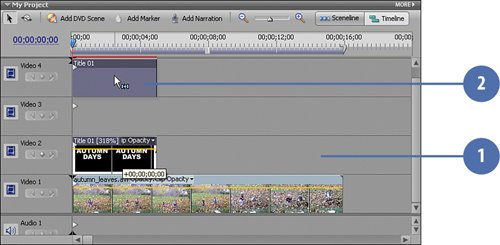 Important Be sure to line up the head of the Title 01 clip with the beginning of the Video 4 track. - Grab the tail (end) of the Title 01 clip and stretch it across the Video 4 track until it is the same length as the autumn_leaves.avi clip in the Video 1 track.
|