| Placing an image into a document is one of the most common tasks you'll be performing in your Web development. Luckily, the task is also one of the easiest to perform inside the application. Inserting an Image into a Document Follow these steps to see how you can insert an image into your Web page. You can use any image you'd like for this exercise, or you can download the file from this book's companion Web site at http://www.dreamweavermxunleashed.com. Use the logo for the file called logo_gato.gif in the Chapter 4 section of the site. -
After downloading the file, save it to the desktop of your computer. -
Create a new basic HTML document. Choose File, Save As and save it as first_image.html in your local root folder. -
Click the Insert Image button in the Common Tab of the Insert Panel. You can also choose Insert, Image. This launches the Select Image Source dialog box. It defaults to your Default Images folder for your Web site, but you can select files from other locations. -
In the Select Image Source dialog box, navigate to the desktop and highlight the logo_gato.gif file. Click Choose (Mac) or Select (Windows) to select the file. Notice the image now appears in the document, as shown in Figure 4.35. Figure 4.35. After you select an image from the Select Image Source dialog box, the image appears in the document.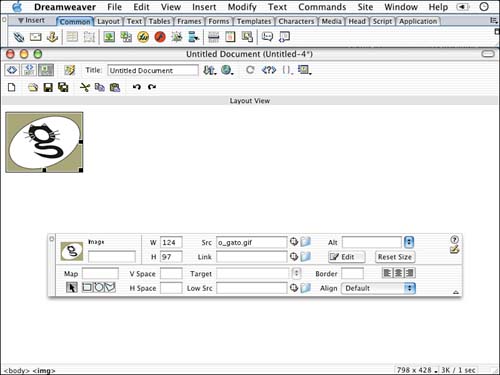
-
When an image is placed within an HTML document, an <img src> tag is used, and it will source the location of the image you want to have appear in the document. Notice that Dreamweaver made a copy of the image we sourced from the desktop and placed it inside the default images folder. This way, if we ever move our file onto a server, the HTML won't be sourcing an image that's outside the root folder. If you do not have a default images folder defined in your site, you will get a dialog box indicating that the file is outside the local root folder and asking you to make a copy there. Make a copy into your local root folder. |
Figure 4.36 shows several options within the Properties Inspector for modifying and altering the image. Name In this text field, you can name the image. This can be important when applying certain behaviors or working with DHTML. Width and Height These text fields represent the width and height of the image in pixels. You can resize the image by typing in a new value; however, it is recommended that you import your image already sized properly. SRC This text field offers path information as to where the image is located. Link You can enter in a relative or absolute path to link the image to another document or Web site. A 1-pixel blue border will appear around hyperlinked images. ALT Type in information in the alt text field that you may want to appear in a ToolTip. The alt information will also appear in browsers that do not display images, and it provides information to screen readers. You can find more information on the alt tag in Appendix A, "Accessibility." Edit This button launches an external bitmap editor for you to modify the image without having to reimport it. For more information on editing and application integration, refer to Chapter 13, "Adding Video and Audio." Reset Size If you resize an image in the HTML document, which is not recommended, you can restore the original dimensions of the image by clicking this button. You also can click the W and H where the numbers appear bold to restore the image's original size. V and H space With this option you can enter in a pixel value to create an invisible cushion around the image, horizontally and vertically. Target If you create a hyperlink for an image, you can target the link to open in a specific frame in a frameset or in a new browser window. Low SRC This text field gives the option of targeting an image that, in an ideal situation, would be the same as the image link above it, but in a more compressed, lower-quality format. The low src image will load first, letting the end user know something is happening. This is a good idea if you have a chunky Web site or if you anticipate an audience with slower Internet connections. Border When you create a hyperlink on an image, a 1-pixel blue border appears around the image. You can increase the border size by typing in a pixel value greater than 1, or you can remove it by typing in 0. Alignment buttons These buttons work the same as they do for text. You can align the image to the left of the document, center it, or align it to the right side of the page. Align Drop-Down Menu The options in this drop-down menu are not for the alignment of the image within the document, but around text. In Figure 4.37 I have aligned the text to appear toward the top of the image. Figure 4.37. This picture illustrates how text can be aligned next to an image when using the Align drop-down menu in the Properties Inspector when an image is selected. 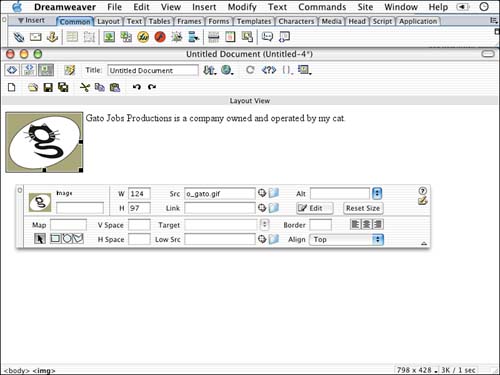
Figure 4.36. The Properties Inspector offers several options for altering the appearance of the image.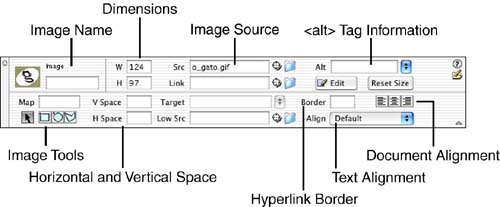
|

