Flylib.com

Books Software


Moving Items on a List


Moving Items on a List

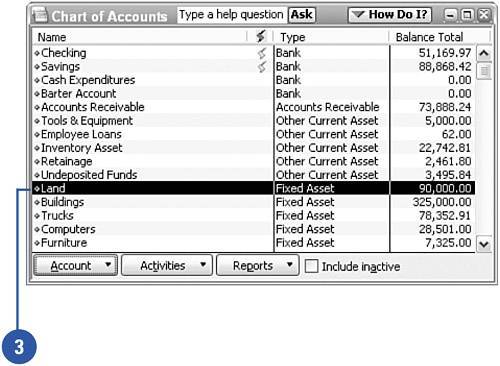
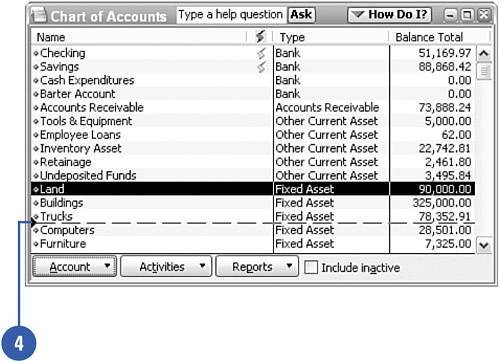
By default, QuickBooks sorts lists in a particular order. The Customer and Vendor lists are alphabetized; the Item list is sorted first by type of item and then alphabetized within each type. The list order is carried over to reports and statements. You can change the order of items on your lists. When you change the order on a list, the change remains permanent and carries through to your reports .

Open a list by selecting the list from the Lists menu. For purposes of this example, the Chart of Accounts list has been selected.

Scroll to the area of the list you want to reorder.

Place your mouse pointer on the small diamond to the left of the account you want to move. The mouse pointer becomes a four-sided arrow.

Drag the account diamond to the new location on the list.

Release the mouse. The account has been moved. The next time you open the list, the account will still be in its new location.


Creating Subitems

You might have noticed that when you set up a new item, customer, vendor, or account, you can designate that the item is a subitem , a lower-level item under a parent, or leader item. If you didn't designate the sub-status when you first entered the information, you can do so at any time. Open the appropriate list and simply drag the item to its new parent, and then drag to indent.

Open a list. This example uses the Chart of Accounts list. You can open this list quickly by pressing Ctrl+A.

Place your mouse pointer over the diamond to the left of the item that is to become the subitem. The mouse pointer turns into a black four-sided arrow.

Drag the mouse pointer so that the item is located directly beneath the item that will be its parent. A dashed horizontal black line appears where the item is to move. In this example, subitems can only be placed with other Accounts of the same type.

Release the mouse pointer.

Again, place your mouse pointer over the diamond to the left of the item that is to become the subitem.

Drag the mouse pointer slightly to the right. A dashed vertical black line appears where the item is to move.

Release the mouse pointer. The item is now indented beneath its parent.


Editing Information on a List

From time to time, you will need to edit information on your lists. You might notice a spelling error, need to change an address, add notes, or add other information that you want to save.

Open a list. For this example, the Item List is used. You can open this list by selecting Item List from the Lists menu.

Scroll to the item you want to edit. Some of the item information is displayed to the right of the item name .

Double-click the name of the item. The Edit Item window appears.

Make your changes or enter new information about this item. In this example, the rate for repair work has been changed from $35.00 to $40.00.

Click OK to save the information.


Using Notes to Enter Customer and Job Information

QuickBooks provides a Notes feature on the Customer:Job list. To use this feature, follow these instructions:

1.

Click the Customer Center button on the toolbar to the open the Customer Center.

2.

Click on the name of a customer for whom you want to use the notes feature.

3.

Click the Edit Notes button.

4.

In the window that appears, click the Date Stamp button to enter today's date in the Notepad.

5.

Enter the notes you want to save in the white text area.

6.

Click New To Do to enter information for reminders.

7.

Click OK to close the Notepad.