Section 8.13. JUnit Testing
8.13. JUnit TestingWhat if you want to test your application? The GWT includes a way to test aspects of your Ajax application, including the GUI, using the well-known JUnit framework. This shortcut introduces these concepts by showing you how to set up a basic JUnit test for your dynamic Ajax graphical interface. Here are the steps you can take to set up a JUnit test in GWT.
Here is what the XXX-hosted script looks like on my system. #!/bin/sh APPDIR='dirname $0'; java -XstartOnFirstThread -Dgwt.args="-out www-test" -cp "$APPDIR/src:$APPDIR/test:$APPDIR/bin:/Users/bruceperry/1ebooks/gwt/WEB- INF/lib/junit.jar:/Users/bruceperry/1gwt/gwt-mac-1.2.11/gwt- user.jar:/Users/bruceperry/1gwt/gwt-mac-1.2.11/gwt-dev-mac.jar" junit.textui.TestRunner com.parkerriver.gwt.intro.client.GwtTest "$@"; The following code shows the GwtTest test-case class. These classes must extend com.google.gwt.junit.client.GWTTestCase from the GWT API. package com.parkerriver.gwt.intro.client; import com.google.gwt.junit.client.GWTTestCase; import com.google.gwt.user.client.ui.*; /** * GWT JUnit tests must extend GWTTestCase. */ public class GwtTest extends GWTTestCase { /** * Must refer to a valid module that sources this class. */ public String getModuleName() { return "com.parkerriver.gwt.intro.GwtAjax"; } public void testCreateTextBox(){ GwtAjax gwtaj = new GwtAjax(); assertNotNull(gwtaj); gwtaj.onModuleLoad(); TextBox tb = gwtaj.createTextBox(40,40, "tb",null); assertNotNull(tb); } public void testGui(){ GwtAjax gwtaj = new GwtAjax(); assertNotNull(gwtaj); gwtaj.onModuleLoad(); Grid grid = gwtaj.getFormGrid(); assertNotNull("Grid is not null.",grid); Widget wid = grid.getWidget(3,0); assertNotNull("Widget is not null.",wid); Button button = (Button) wid; assertTrue("Button label = request info.", (button.getText().equalsIgnoreCase( "request info"))); //Click the button, etc. button.click(); } } The test classes have a getModuleName() method that must return the fully qualified class name of your module. Compile this class and run the XXX-hosted script that junitCreator generated. If the test methods pass, you should see the output in your terminal window similar to Figure 11. Figure 8-6. The output from running a JUnit test with GWT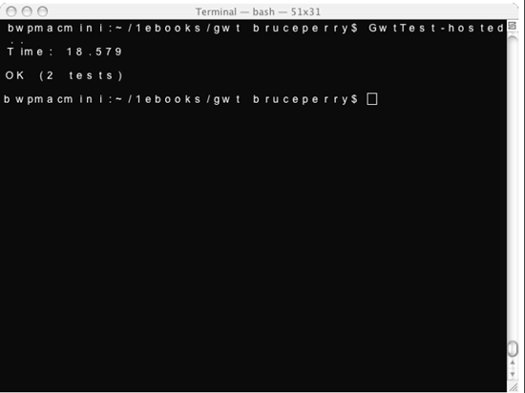 |
EAN: 2147483647
Pages: 29