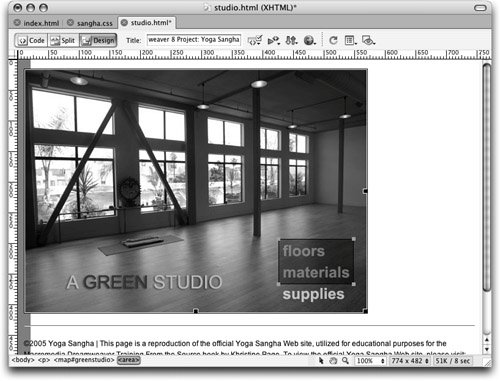
| In the previous exercise, you experienced how easy it is to apply a link to an image. The user can click any part of the image to go to the linked page. You also have the option of dividing the image into several linked areas called hotspots by using an image map to place individual hotspots on the image. These hotspots are not limited to rectangles; they can have other shapes. In the following exercise, you will add a rectangular hotspot and a circular hotspot. Conceptually, image maps work quite well when applied to geographical maps; however, you can apply an image map to any image regardless of what that image represents. 1. | Open studio.html from the Lesson_05_Graphics/about folder. Select the graphic green-studio.jpg.
The graphic needs to be divided into three hotspotsone for each item.
| 2. | In the Property inspector, enter greenstudio in the Map text field.
Don't use spaces or special characters in the name. You can have several image maps on one page, but each map on that page must be uniquely named. If you fail to name your maps, Dreamweaver creates automatic sequential names for each (Map1, Map2, Map3, and so on). Such generic names do not provide any identifying information about the image map or the graphic that it is applied to. The name you are using in this exercise, greenstudio, suggests that the image map has to do with an environmentally conscious studio. By creating your own names in the Map text field, you can use names with distinct meanings. Short, concise, and specific names serve you best.
 Tip If you don't see the Map text field, click the expander arrow in the lower-right corner of the Property inspector. | | | 3. | Select the Rectangular Hotspot tool below the map name text field in the Property inspector. Click and drag a square around the words floors and materials.
You might see a warning message informing you of the necessity to provide alternative text for the image.
A translucent blue-green area with handles appears around the names on that portion of the image, and the Property inspector displays the hotspot properties. Dreamweaver automatically places a null link (#) in the Property inspector's Link text field. Do not delete this character unless you immediately replace it with a linkit serves as a placeholder link to indicate that the area is clickable.
 Note The client-side image map icons are turned off by default. If you want them on, you can enable the client-side image maps option in the Invisible Elements category of the Preference dialog box. With this option, when you create one or more image maps, a map icon appears, usually at the bottom of the document. The map icon looks similar to the Named Anchor icon, and it is visible only in Dreamweaverit does not appear in the browser. You can also toggle the visibility of the hotspot regions on and off by choosing View > Visual Aids > Image Maps. | | | 4. | Select the Pointer Hotspot tool below the Map text field in the Property inspector. Resize the hotspot you created in Step 3 by dragging a handle until the hotspot encompasses only the word floors.
The hotspots you create are easy to edityou can resize, move, or delete them at any time.
To move the hotspot, position the pointer inside the hotspot and drag. After the hotspot is selected with the Pointer Hotspot tool, you can also adjust the position of hotspots using the arrow keys.
Holding the Shift key down at the same time causes the arrow keys to affect the size of the hotspot.
To delete the hotspot, select it and press Delete (Macintosh) or Backspace (Windows).
You can create circular hotspots using the Oval Hotspot tool. You can also use the Polygon Hotspot tool to click multiple points around any area with a more complicated shape for which you want to create a hotspot. When you use the Polygon tool, each click creates a point. A line connects each subsequent point to the preceding point. As you click, you'll see the translucent hotspot area begin to form. You can continue clicking until you have the shape you want. You do not need to "close" the shape by clicking back on the original point. The more points that a polygon shape uses to define the hotspots, the more code is necessary in the document to describe those areas.
Note If two or more hotspots overlap each other, the first one you create takes precedence over any subsequent hotspots that overlap it. | 5. | With the hotspot selected, enter floors in the Alt text field in the Property inspector.
The hotspot alt text serves a similar purpose as alt text for an image; it gives an indication to where this hotspot will link.
| | | 6. | Enter green.html#floors in the Property inspector's Hotspot Link text field, and choose _blank from the Target pop-up menu to have the link open in a new browser window.
Be sure to replace the original number sign (#) in the Link Text field with the link you entered.
 In this case, the link would take the visitor to a named anchor called floors on an HTML page called green.html. The use of anchors to link to specific portions of other pages helps your site to be more functional, directing your viewers to what they are looking for immediately and reducing the amount of time they have to spend scrolling through long documents. The more functional and easy to use your site is, the more likely it is that you will have new and repeat visitors. In this case, the link would take the visitor to a named anchor called floors on an HTML page called green.html. The use of anchors to link to specific portions of other pages helps your site to be more functional, directing your viewers to what they are looking for immediately and reducing the amount of time they have to spend scrolling through long documents. The more functional and easy to use your site is, the more likely it is that you will have new and repeat visitors.
The hotspot must be selected to modify the link, target, or alt text.
Note You can also create links that include named anchors to other pages using the Point To File tool, which you used in Lesson 3 to create links within the same document. To do so, you can select a hotspot, click the Point To File icon to the right of the Link text field, and point to the desired named anchor in an open HTML document. | | | 7. | Use the Rectangular Hotspot tool to create one hotspot each for both the words materials and supplies. Repeat Steps 5 through 6 to create alternative text and links for both words. Use materials and supplies, respectively, for the alternative text; use green.html#materials and green.html#supplies for the links, respectively.
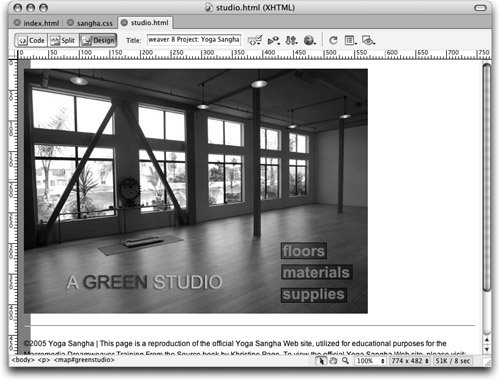 When you finish working with the image map, you can use the Pointer Hotspot tool to click outside the hotspot to another area of the image. Clicking outside the image map on to a different portion of the image resets the Property inspector to display image properties. When you finish working with the image map, you can use the Pointer Hotspot tool to click outside the hotspot to another area of the image. Clicking outside the image map on to a different portion of the image resets the Property inspector to display image properties.
Tip You can hold down the Shift key while using the Rectangular Hotspot tool to constrain the proportions to a square. | 8. | Save the file and preview it in the browser.
|
Test the links in the image map you created. You can close the studio.html, index.html, and sangha.css documents. Note If you copy an image map and paste it into another document, Dreamweaver retains the links and hotspots.
|