10 Storyboarding in Premiere Pro
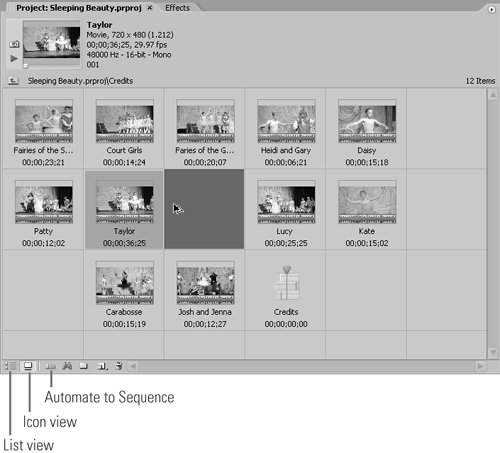
#10 Storyboarding in Premiere ProUnlike many editing tools, Premiere Pro doesn't have a formal storyboard feature. But you can still gain the benefits of storyboard editing for getting an overview of your project by using the Project panel as a storyboard and then automatically inserting your clips into the timeline. It's perfect for producing the credits video I started in the last technique (#9) and still-image slide shows, which we'll talk about later in the book. Here's how it works:
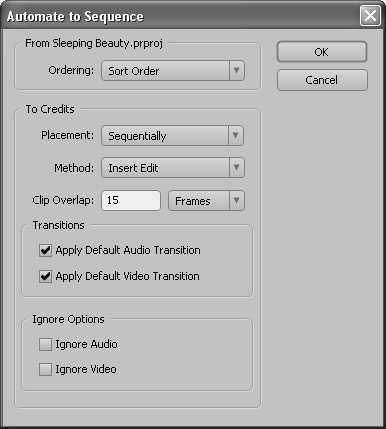
Note that I describe how to set the default audio and video transitions in #56. |
EAN: 2147483647
Pages: 148
- A View on Knowledge Management: Utilizing a Balanced Scorecard Methodology for Analyzing Knowledge Metrics
- Technical Issues Related to IT Governance Tactics: Product Metrics, Measurements and Process Control
- Managing IT Functions
- Governing Information Technology Through COBIT
- The Evolution of IT Governance at NB Power