Installing and Configuring a Wireless Network Adapter


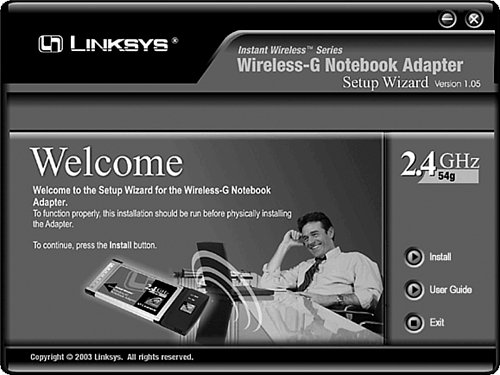
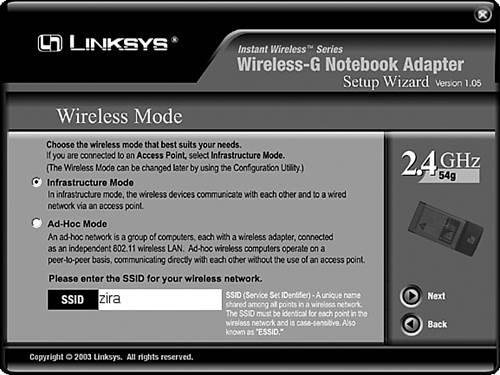
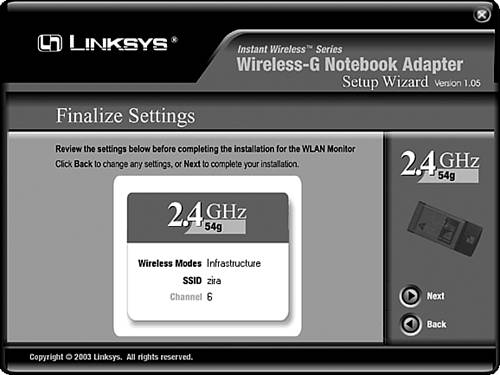
The next step you will have to complete is to install wireless network adapters for the computer(s) you want to enable to use this wireless LAN. A wireless network is perfect for a small office where all the clients are in close proximity to each other. Perhaps the best use you will put wireless networking to is for laptop computers. If this is the case, you can go out into your back yard and relax in the sun and establish and maintain a connection to the network.

The network card installation described in this section is based on the Linksys Wireless-G Notebook Adapter, model WPC54G, and should be considered only an example. As always, use the documentation for the particular network adapter that you purchase. Additionally, the example details the steps to install and configure the adapter card on a computer using Windows 98SE through Windows Server 2003.

When configuring the AP in the previous section, a browser was used to configure settings stored on the AP . When configuring a network adapter, you need to install a driver on the computer, and then configure the card so that it can interact with the AP. Because of this, most manufacturers provide a CD that contains the driver, documentation, and other software. The following configuration example is not going to make any changes to the AP . Instead, these steps will configure your computer so that it can make use of the network adapter.

Do not insert the wireless adapter into the PCMCIA/CardBus slot on your laptop computer.

  1. Place the setup CD in the computer's CD-ROM drive. After a few seconds, a wizard dialog box (see Figure 22.6) will pop up. You can choose to read the user 's guide, begin the installation, or exit the wizard. Click on the Install button.

    Figure 22.6. Click the Install button to begin the network adapter setup.

    graphics/22fig06.gif

  2. Click the Next button when the License Agreement dialog box appears. Of course, as always, be sure to read the license agreement text first. If you do not agree with the terms of the license, click the Back button and then exit the wizard. You can then return the adapter to the place of purchase.

  3. The Wireless Mode dialog box, shown in Figure 22.7, will allow you to decide whether you want to use the adapter in an infrastructure mode or in ad-hoc mode. In either case you will need to enter text into the SSID (Service Set Identifier) field. Each computer in the network will use the same value. If an AP is used, it also must use the same SSID. Click Next to continue.

    Figure 22.7. Use the Infrastructure Mode radio button if the adapter will coordinate data transfers via an Access Point.

    graphics/22fig07.jpg

    Tip

    Ad-hoc mode is used when no AP is available. Instead, each computer that is part of the wireless network will communicate directly with the others, similar to the legacy Windows workgroup network. Infrastructure mode means that the adapter will exchange data with other computers via an AP. The AP can be standalone if it will be used only to provide connectivity between a selection of associated wireless clients, or the AP can be connected to a wired network if you will be providing access to services available on the wired network. Depending on the brand of your network card, the term SSID could possibly be Network Name , Preferred Network, or other terms. Whatever term is used, be sure to change it from the default value! For the adapter used in this example installation, the default SSID is Linksys. Using the default value makes it easier for others to tap into your network.

  4. If you are going to operate in ad-hoc mode, a dialog box will pop up enabling you to select a channel to be used for the particular network. The default is channel 6. This is to prevent different ad-hoc networks in close proximity from communicating with each other. Use different channel numbers for each separate ad-hoc network if you set up more than one. Also, you must select what mode the ad-hoc network will operate in: Mixed Mode (both IEEE 802.11g and 802.11b) or G-Only Mode (802.11g).

  5. As shown in Figure 22.8, a dialog box lets you view the choices you have made. Click Next to continue, if you are satisfied with the configuration. Otherwise, use the Back button to back up through the wizard screens to make any changes you want.

    Figure 22.8. Review the configuration you have created.

    graphics/22fig08.jpg

  6. The setup program will copy the files necessary for your configuration to the computer's hard drive. When it's finished, another dialog box will tell you whether you were successful in setting up the card's configuration. Click Exit to finish the installation.

After you have finished with the setup wizard, you can physically install the network adapter. First, power off the computer. If you do not, it is possible that the card could be damaged, or the setup configuration may not work. Insert the adapter into a PCMCIA or CardBus slot on the computer and restart the computer. When Windows has finished booting, it will start to copy the adapter card's driver software. After the driver files have been copied , you are finished with the network card installation.

If you are using Windows XP (or Windows Server 2003), use the following steps:

  1. Power off the computer.

  2. Insert the network adapter.

  3. Power up the computer.

  4. The Windows XP Found New Hardware Wizard will pop up after the computer has finished the boot process. When the wizard appears, place the setup CD into the computer's CD-ROM drive.

  5. Click the Install the Software Automatically radio button, and then click Next. The Windows XP Wireless Zero Configuration icon will be placed in the system tray. Double-click on that icon.

Windows XP will then prompt you for the same information used in the previous example, with one exception. Windows XP doesn't use a Passphrase, so you will have to enter an encryption key (which you can get from your AP). This will be necessary only if you select to use WEP. In any case, after the required files are copied to your computer, click the OK button. If your configuration was successful, a balloon will pop up from the system tray telling you that you are connected to the network.


Upgrading and Repairing Networks
Upgrading and Repairing Networks (5th Edition)
ISBN: 078973530X
EAN: 2147483647
Year: 2003
Pages: 434

flylib.com © 2008-2017.
If you may any questions please contact us: flylib@qtcs.net