ASP.NET Developer's JumpStart By Paul D. Sheriff, Ken Getz
Table of Contents
Chapter 19. Using the DataList Control
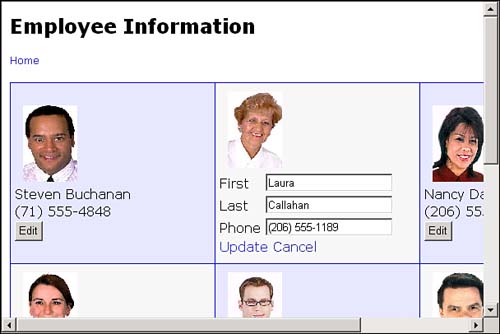
In this chapter, you'll create the page shown in Figure 19.1. This page includes a DataList control that retrieves its data from the Employees table in the SQL Server Northwind sample database.
Figure 19.1. The DataList control allows you to lay out the items to be displayed, as well as the edited item, using HTML templates.
In this chapter, you'll tackle the following tasks using the DataList control:
Bind the DataList control to a data source.
Set up the item template, displaying each row of data.
Implement data editing within the DataList control.
Use the DataList control's Property Builder dialog box to set the control's properties.
Handle events that occur while editing items within the DataList control.
In order to work through this chapter, you'll need to create the EmployeeInfo.aspx page. Follow these steps to get started:
Select the Project, Add Web Form menu item.
Set the name of the page to EmployeeInfo.aspx.
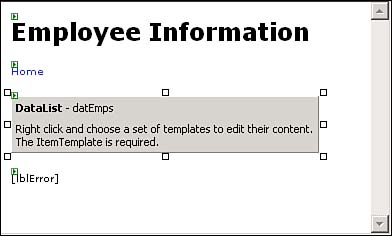
Add the controls to the new page using Table 19.1 as your guide. Once you're done, the page should look like Figure 19.2.
Figure 19.2. Your page should look like this in the page designer.
Table 19.1. Set the Properties of the Controls on Your Page Using This Table as Your Guide
Control
Property
Value
Label
Font.Bold
True
Font.Size
Large
Text
Employee Information
HyperLink
ID
hypHome
NavigateURL
Main.aspx
Text
Home
DataList
ID
datEmps
Label
ID
lblError
Text
(Delete the text from this property.)
You will also need to add a hyperlink to the main page in order to call the new page you will build in this chapter:
Open Main.aspx in the page designer.
Add a new HyperLink control just below the Employees hyperlink.
Set the properties for this new HyperLink control as shown in Table 19.2.
Table 19.2. Set the New Hyperlink's Properties Using These Values