Session State and More Complex Data
Session State and More Complex Data
ASP.NET's Session object will store any object running within the CLR. That goes for larger data—not just small strings or other scalar types. One of the most common uses for the object is for implementing features like shopping carts (or any other data that has to go with a particular client). For example, if you're developing a commerce-oriented site for customers to purchase products, you'd probably implement a central database representing your inventory. Then as each user signs on, they will have the opportunity to select items from your inventory and place them in a temporary holding area associated with the session they're running. In ASP.NET that holding area is the Session object.
A number of different collections are useful for managing shopping cart-like scenarios. Probably the easiest to use is the good ol' ArrayList—an automatically sizing array that supports both random access and the IList interface. However, for other scenarios you might use a DataTable, a DataSet, or some other more complex type.
We took a quick look at ADO and data access in Chapter 11—all about databinding. The next example revisits databound controls (the DataList and the GridView. We'll also see the Data[[<img src="/books/3/89/1/html/2/images/shy.gif"/>]]Table in depth.
Session State, ADO.NET Objects, and Databound Controls
This example illustrates using ADO.NET objects, databound controls, and session state to transfer items from an inventory (represented as a DataList) to a collection of selected items (represented using a GridView).
Create a new page on the SessionState site named UseDataList.aspx.
Drag a DataList onto the page and place it on the right side of the page.
When setting up the DataList, select AutoFormat to give the DataList a sleeker appearance. The style used in the application accompanying this chapter is the slate style.
Give this DataList a caption of Items in Inventory.
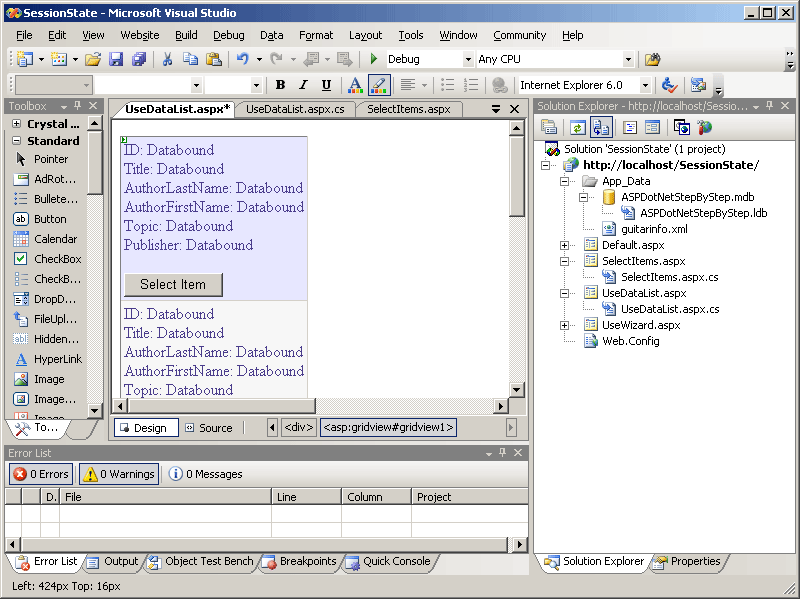
Switch to the Source view in the designer. In the declaration template, add a button as shown in the code highlighted below. The button Text property should be Select Item. The button ID should be ButtonSelectItem.
<asp:DataList runat="server" BackColor="White" BorderColor="#E7E7FF" BorderStyle="None" BorderWidth="1px" CellPadding="3" GridLines="Horizontal" Style="z-index: 100; left: 8px; position: absolute; top: 16px" OnItemCommand="DataList1_ItemCommand" Caption="Items in Inventory" > <FooterStyle BackColor="#B5C7DE" ForeColor="#4A3C8C" /> <SelectedItemStyle BackColor="#738A9C" Font-Bold="True" ForeColor="#F7F7F7" /> <AlternatingItemStyle BackColor="#F7F7F7" /> <ItemStyle BackColor="#E7E7FF" ForeColor="#4A3C8C" /> <ItemTemplate> ID: <asp:Label runat="server" Text='<%# Eval("ID") %>'></asp:Label><br /> Title: <asp:Label runat="server" Text='<%# Eval("Title") %>'></asp:Label><br /> AuthorLastName: <asp:Label runat="server" Text='<%# Eval("AuthorLastName") %>'></asp:Label><br /> AuthorFirstName: <asp:Label runat="server" Text='<%# Eval("AuthorFirstName") %>'></asp:Label><br /> Topic: <asp:Label runat="server" Text='<%# Eval("Topic") %>'></asp:Label><br /> Publisher: <asp:Label runat="server" Text='<%# Eval("Publisher") %>'></asp:Label><br /> <br /> <asp:Button CommandName="DataList1_ItemCommand" runat=server Text="Select Item" /> </ItemTemplate> <HeaderStyle BackColor="#4A3C8C" Font- Bold="True" ForeColor="#F7F7F7" /> </asp:DataList>Stub out a shell for the SelectItem button on handler. The button handler should be named DataList1_ItemCommand to match the identifier in the DataList1.We'll use it shortly to move items from the inventory to the selected items table.
public partial class UseDataList : System.Web.UI.Page { protected void DataList1_ItemCommand(object source, DataListCommandEventArgs e) { } }Go back to the code for the page and add some code to open a database and populate the DataList. Name the function GetInventory. The examples that come with this book include a database named ASPDotNetStepByStep.mdb that will work. You can use the connection string listed below to connect to the database. Make sure the database path points to the file correctly using your directory structure.
public partial class UseDataList : System.Web.UI.Page { protected DataTable GetInventory() { String strConnection = @"Provider=Microsoft.Jet.OLEDB.4.0; DataSource= c:\\inetpub\\wwwroot\\SessionState\\App_Data\\ASPDotNetStepByStep.mdb"; DbProviderFactory f = DbProviderFactories.GetFactory("System.Data.OleDb"); DbConnection connection = f.CreateConnection(); connection.ConnectionString = strConnection; connection.Open(); DbCommand command = f.CreateCommand(); command.CommandText = "Select * from DotNetReferences"; command.Connection = connection; IDataReader reader = command.ExecuteReader(); DataTable dt = new DataTable(); dt.Load(reader); reader.Close(); connection.Close(); connection.Dispose(); return dt; } protected DataTable BindToinventory() { DataTable dt; dt = this.GetInventory(); this.DataList1.DataSource = dt; this.DataBind(); return dt; } // more goes here… }Now add a method named CreateSelectedItemsData. This will be a table into which selected items will be placed. The method will take a DataTable object that will describe the schema of the data in the live database (we'll see how to get that in a minute). You can create an empty DataTable by constructing it and then adding Columns to the column collection. The schema coming from the database will have the column name and the data type.
public partial class UseDataList : System.Web.UI.Page { protected DataTable CreateSelectedItemsTable(DataTable tableSchema) { DataTable tableSelectedItemsData = new DataTable(); foreach(DataColumn dc in tableSchema.Columns) { tableSelectedItemsData.Columns.Add(dc.ColumnName, dc.DataType); } return tableSelectedItemsData; } }Update the page code to handle Page_Load. When the initial request to a page is made (that is, if the request is not a post back), Page_Load should call BindToInventory (which returns the DataTable snapshot of the DotNetReferences table). Use the DataTable as the schema upon which to base the selected items table. That is, declare an instance of a DataTable and assign it the result of CreateSelectedItemsTable. Then store the (now empty) table in the Session object using the key tableSelectedItems.
public partial class UseDataList : System.Web.UI.Page { protected void Page_Load(object sender, EventArgs e) { if (!IsPostBack) { DataTable dt = BindToinventory(); DataTable tableSelectedItems = this.CreateSelectedItemsTable(dt); Session["tableSelectedItems"] = tableSelectedItems; }} }
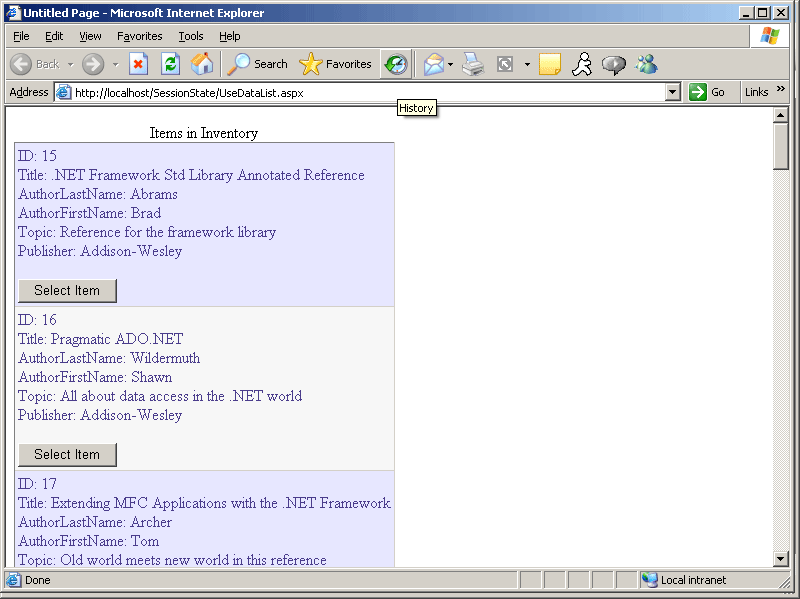
Browse to the Web site to make sure that the database connects. It should look something like this:
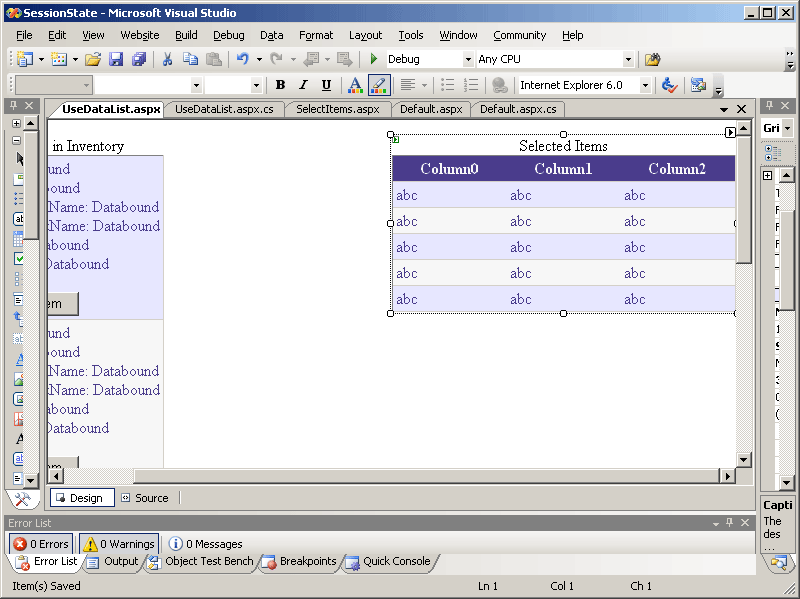
Now add a GridView to the page. Don't bother to give it a data source. It represents the table of selected items held in session state. We'll add that shortly. Make sure the AutoGenerateColumns property is set to true.
Finally, add a handler for the SelectItem button. This method should move items from the inventory to the selected items table. You can get the selected item index from the DataListCommandEventArgs coming into the handler. Calling BindToInventory will set up the DataList data source so you can fetch the selected item. You may access the columns within the selected row using ordinal indices. From the values in each column, construct a new DataRow and add it to the selected items table. Store the modified table back in session state. Finally, apply the new selected items table to the DataSource in the GridView1 and bind the GridView1.
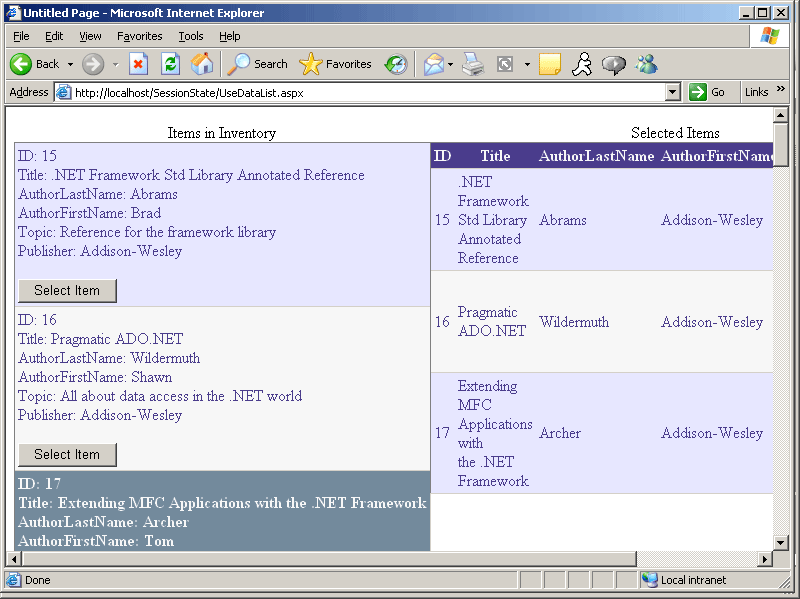
public partial class UseDataList : System.Web.UI.Page { protected void DataList1_ItemCommand(object source, DataListCommandEventArgs e) { int nItemIndex = e.Item.ItemIndex; this.DataList1.SelectedIndex = nItemIndex; BindToinventory(); // Order of the columns is: // ID, Title, FirstName, LastName, Topic, Publisher DataTable dt = (DataTable)DataList1.DataSource; String strID = (dt.Rows[nItemIndex][0]).ToString(); String strTitle = (dt.Rows[nItemIndex][1]).ToString(); String strAuthorLastName = (dt.Rows[nItemIndex][2]).ToString(); String strAuthorFirstName = (dt.Rows[nItemIndex][3]).ToString(); String strTopic = (dt.Rows[nItemIndex][4]).ToString(); String strPublisher = (dt.Rows[nItemIndex][5]).ToString(); DataTable tableSelectedItems; tableSelectedItems = (DataTable)Session["tableSelectedItems"]; DataRow dr = tableSelectedItems.NewRow(); dr[0] = strID; dr[1] = strTitle; dr[2] = strAuthorLastName; dr[3] = strAuthorFirstName; dr[4] = strTopic; dr[3] = strPublisher; tableSelectedItems.Rows.Add(dr); Session["tableSelectedItems"] = tableSelectedItems; this.GridView1.DataSource = tableSelectedItems; this.GridView1.DataBind(); } }Run the site. When the page first comes up, you should see only the inventory list on the left side of the page. Click the Select Item button on some of the items. You should see your browser post back to the server and render the DataList and the GridView with the newly added selected item.
Now that you have a working application that uses session state, let's take a look at the different ways in which you may configure ASP.NET session state.
EAN: N/A
Pages: 177