Section 2.3. Accessing Page Elements
2.3. Accessing Page ElementsAlthough recent browsers support the W3C DOM as a means of accessing elements within the current HTML page (see the section "DOM Methods" later in this chapter for more information), there are easier ways to work with data on a page. Two of them are covered in this section. 2.3.1. Accessing Form ElementsJavaScript's document object grants access to all elements on the current page. document is a representation of the DOM that is accessible to JavaScript. To make the access as convenient as possible, there are several subproperties that allow direct access to special page elements. Here are some examples, listed alphabetically:
The most commonly used property is document.forms, which lets you access all <form> elements on the current page, such as text boxes and buttons. Admittedly, there is usually only a single form on a page. However, the document.forms[0] property (the forms property is actually an array) grants access to all elements within the first (and usually only) form. For example, imagine the following form: <form> <input type="text" name="TextBox1" /> </form> The expression document.forms[0].elements["TextBox1"] accesses the text field on the page. (A shortcut for this is document.forms[0].TextBox1; however, this does not work if special characterssuch as space characters or hyphensare used in the form element's name attribute.) Depending on the type of the form element (e.g., text fields, radio buttons, checkboxes), accessing its value (e.g., the text in the text field, or whether a radio button is selected) is a bit different, but usually the value attribute will contain this information, just as the value HTML attribute does for most form fields. Example 2-11 outputs the data entered into a text field after the user clicks on a button. The markup for the button looks like this: <input type="button" onclick="ShowText(this.form);" /> When you click the button, the ShowText() function is called. The parameter is this.form, which is a reference to the element's parent form. This makes accessing the data a bit easier, because you can avoid using document.forms[0] in the called function. Example 2-11 shows the complete example. Example 2-11. Accessing form elements
Figure 2-6 shows the result displayed when the script runs. Figure 2-6. The form data is shown in the modal window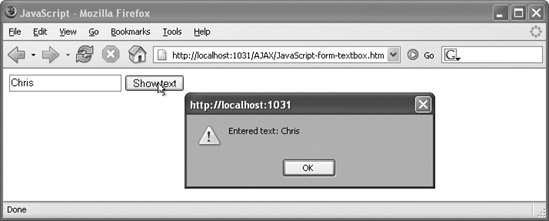 Table 2-1 shows the properties used to access the most commonly used values within the most common form field types. For instance, the value of a text box defined with the markup <input type="text" name="Name" /> can be accessed using the expression document.forms[0].elements["Name"].value (assuming that there is only one form in the document).
By accessing form elements, it's possible to add special features to a web page, such as a script to perform client-side form data validation. 2.3.2. Accessing Generic ElementsFor reading form data, document.forms is very convenient. One of the main scenarios for JavaScriptespecially when used as part of an Ajax implementationis to display data, for instance in a paragraph (<p>) or text span (<span> or <label>) element. You can do this in three steps:
Example 2-12 once again takes data from a text field, but this time writes it into a <span> element. Example 2-12. Putting HTML and text into an element
By default, the <span> element just contains three hyphens (-). When the user clicks on the button, the dashes are replaced with the HTML-encoded data from the text field. Figure 2-7 shows the result. Figure 2-7. The text is HTML-encoded and put into the span element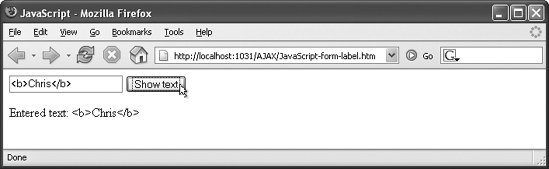 |