| When profiles are embedded in images, there is little doubt as to the source of the data. Unfortunately, not all applications and devices embed profiles automatically. Note  | Embedded profiles are supported in the Photoshop PSD, EPS, and PDF file formats as well as in TIFF, JPEG, and PICT files. |
When you save an image, Photoshop automatically embeds the working-space profile in the file. You can also tag an image with a profile other than the working-space profile so that it is embedded in the saved file. Assigning Profiles Using Photoshop In Photoshop, you can use the Assign Profile function to change the embedded profile in an image or to assign a profile to an untagged image. Assigning a profile does not actually perform conversions; rather, changing the embedded profile tells Photoshop to interpret the data differently, which can change the image's appearance. You would typically use the Assign Profile command to assign a profile to an untagged image and then use the Preview feature to view the results. 1. | Launch Adobe Photoshop CS2 and choose File > Open. Navigate to and open Leaves_untagged.jpg, located in the Chapter 6 folder of the book's project files.
The Missing Profile dialog box appears.
Figure 6.22. 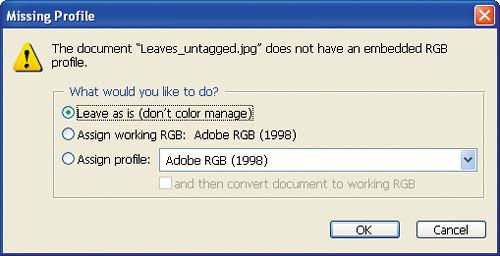
The Missing Profile dialog box that appears when you open an untagged image has the same functionality as the Assign Profile dialog box, except that the Assign Profile dialog box can preview the results. For the purpose of this exercise, we'll open the image without assigning a profile.
| 2. | Make sure the Leave As Is (Don't Color Manage) option is selected and then click OK. When Photoshop opens the image, notice that the information box at the bottom of the window says Untagged RGB.
Figure 6.23. 
| 3. | Choose Edit > Assign Profile.
Figure 6.24. 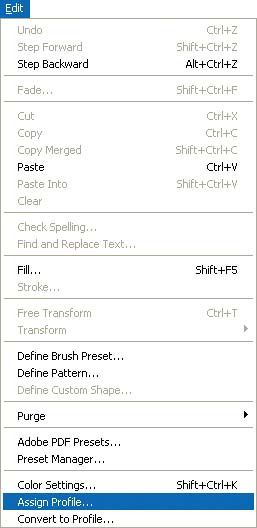
The Assign Profile function has three options for changing the embedded profile:
Figure 6.25. 
Don't Color Manage This Document removes the embedded profile from an image. When you choose this option, Photoshop uses the working-space profile as the source of the data. This option is useful if you are sending the image to someone who has requested that the image not have an embedded profile. Working RGB tags the image with the working space that was assigned in the Color Settings dialog box. In our example, the working space is Adobe RGB (1998). This option is useful if an image is untagged or is tagged incorrectly, and you want to work with it in the default working space. Profile lets you assign any profile of the same color mode to the image. This option is useful for assigning input profiles to digital images and scans, especially because you can see the results of the selection. Once you assign the profile, you will want to use Convert to Profile (described in later steps) to convert the profile to the working space.
| 4. | Choose the Nikon D100 profile from the Profile drop-down menu.
| 5. | Click OK.
Tip  | Toggle the Preview box on and off to see the difference between what the image will look like with and without the embedded profile. |
Photoshop displays the image on the screen using the camera profile as the source. The information box at the bottom of the image window now indicates that Photoshop is using the embedded Nikon D100 profile as the working space.
Figure 6.26. 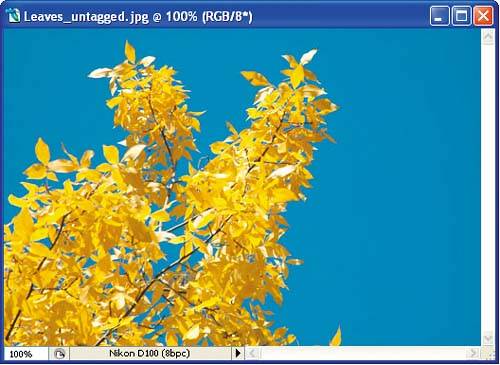
Using input profiles as working spaces is not ideal, in part because camera and scanner profiles are device dependent. You can use the Convert to Profile command to convert the image to a desirable working-space profile.
| 6. | Choose Edit > Convert to Profile.
Figure 6.27. 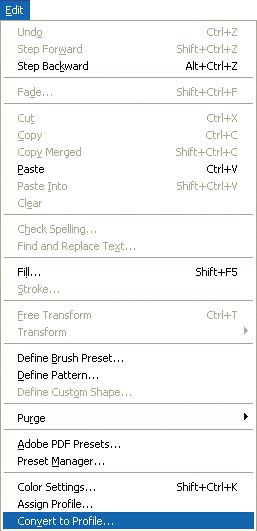
The Convert to Profile dialog box appears.
Figure 6.28. 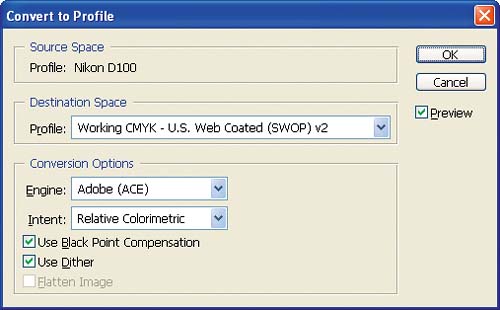
Convert to Profile enables you to convert an image from the embedded document profile space, listed in the Source Space section, to another profile space. If the image is opened without a profile, Photoshop will use the working space as the source space.
This feature is useful for converting images from one color space to another, such as when you are separating images for press.
Compared to the color mode change commands, Convert to Profile gives you greater control over the conversion process, allowing you to more easily change the destination space and the conversion options. Photoshop's mode change commands (Image > Mode > CMYK or Image > Mode > RGB, for example) use the preferences in Color Settings; if you want to change the destination space, you have to change your preferences.
The Engine, Intent, Use Black Point Compensation, and Use Dither options are the same as those in the Color Settings dialog box, which were described in detail in Chapter 5. The Flatten Image setting is used to flatten the layers of an image upon conversion, and it is active only when an image has multiple layers.
| 7. | Choose different output profiles from the Destination Space Profile drop-down menu and toggle the Preview option off and on to see the changes.
| 8. | Choose Adobe RGB (1998) from the Destination Space Profile drop-down menu.
Figure 6.29. 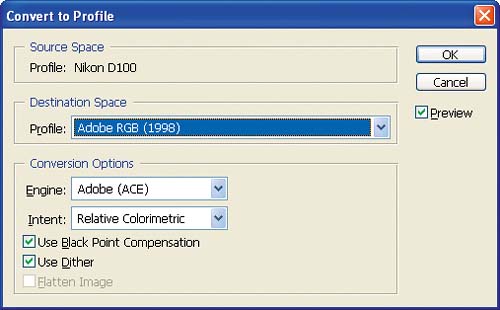
We are keeping the image in the Adobe RGB (1998) working space, converted from the Nikon D100 source profile.
| 9. | Click OK.
| 10. | Choose File > Save As.
Figure 6.30. 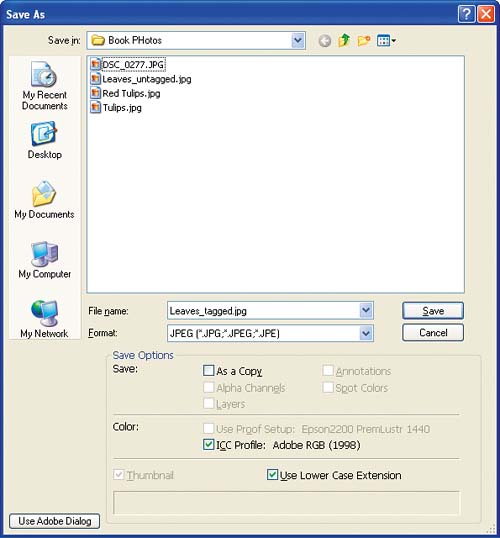
Photoshop's Save and Save As dialog boxes let you embed the working-space profile. This option is selected by default.
| 11. | Change the filename to Leaves_tagged.jpg and click Save.
This file was brought into Photoshop untagged from a Nikon D100 digital camera. Using the Assign Profile and Convert to Profile functions, we assigned the camera profile to the image, converted the image to the working-space profile, and saved it with the Adobe RGB (1998) working-space profile embedded in the image file.
| 12. | Quit Photoshop.
The Assign Profile and Convert to Profile functions operate much like the Missing Profile and Profile Mismatch dialog boxes, but provide more flexibility and control over the process.
|
|