Publish an iCal Calendar
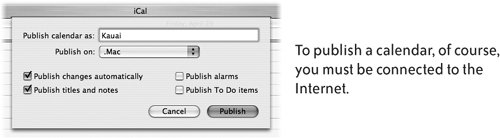
| If you want to make your calendar available to others on the Internet, you can publish it. Your family and/or coworkers can view your published calendar from any computer in the world using a web browser. To publish your calendar:
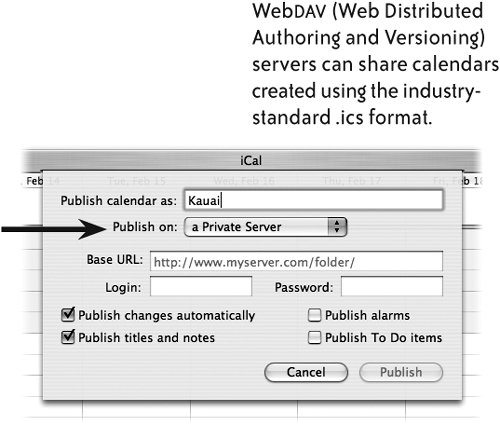
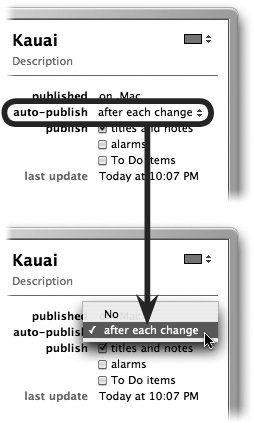
Publish to a Private ServerFor an alternative to publishing your calendars on the .Mac site, check iCal Exchange at www.iCalx.com. iCal Exchange offers free iCalendar publishing to its own Webdav server. To add password protection to a published calendar, you need to publish to a Webdav server that supports password protection. Choose "Publish on: a Private Server" in iCal's Publish Calendar sheet. This option displays text fields for entering a Webdav server address and for setting a login name and password. Checkmark the options you want to use, such as "Publish changes automatically" and "Publish titles and notes." Make Changes to a Published CalendarThere are several ways to update your published calendar.
Unpublish an iCal CalendarIf you decide to unpublish a published calendar, it's easy to do: Make sure you're connected to the Internet. Select a published calendar in the Calendars list, then from the Calendar menu choose "Unpublish." You still have the original copy of the calendar on your computer, but it's no longer available for viewing by others. |
EAN: 2147483647
Pages: 119
- The Second Wave ERP Market: An Australian Viewpoint
- The Effects of an Enterprise Resource Planning System (ERP) Implementation on Job Characteristics – A Study using the Hackman and Oldham Job Characteristics Model
- Intrinsic and Contextual Data Quality: The Effect of Media and Personal Involvement
- Relevance and Micro-Relevance for the Professional as Determinants of IT-Diffusion and IT-Use in Healthcare
- Development of Interactive Web Sites to Enhance Police/Community Relations