| In the following example, you create a query with contact info and use it in a mail-merge Word document. The finished letter is shown in Figure 13.30. 1. | In the Database window, select tblCustomersSalutation.
| 2. | Choose Insert, Query. With Design View selected in the New Query dialog box, click OK.
| 3. | In the field list, click CustSalutation. Press Shift and click CustZIP. Drag the seven fields to the design grid and drop them.
| 4. | Click in the Criteria row of the CustState field and type ca.
This limits the recipients to only those customers who live in California.
| 5. | Choose File, Save. Name the query qryCaliforniaCustomers and click OK. Click View to see the records. Close the query.
| 6. | In the Database window, click Queries.
| 7. | Select qryCaliforniaCustomers. Choose Tools, Office Links, Merge It with Microsoft Office Word.
| 8. | In the first dialog box of the Mail Merge Wizard, check Create a New Document and then link the data to it. Click OK.
| 9. | If necessary, maximize the Word window. With Letters selected in the Mail Merge pane at the right, click Next, Starting Document.
| 10. | In Select Starting Document, Use the Current Document should be selected. Click Next, Select Recipients.
| 11. | In Select Recipients, Use an Existing List should be selected.
|
As shown in the Use an Existing List section, the recipients are selected from qryCaliforniaCustomers (see Figure 13.25). Figure 13.25. The Mail Merge Wizard makes it relatively easy to create form letters. 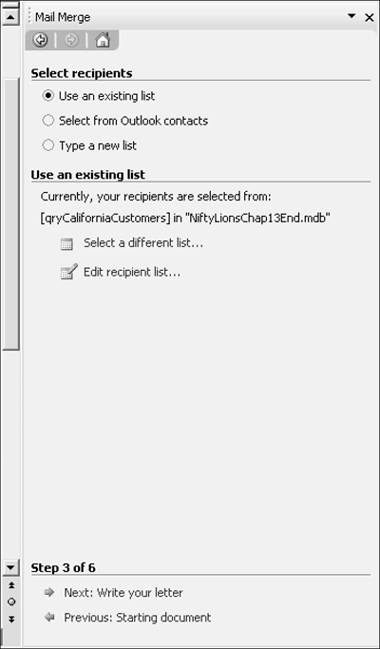
12. | Click Edit Recipient List.
You can make changes to the recipient list in this dialog box, which is self-explanatory except for the Validate button. If you want to validate addresses, you need to download address-validation software from the Microsoft Office website.
| 13. | Click OK in the Mail Merge Recipients dialog box. Click Next, Write Your Letter.
| 14. | Press Enter five or six times to leave room for the letterhead.
| 15. | Choose Insert, Date and Time. Click the date in the usual month/day/year format for a date in a letter, as in August 17, 2005. Click OK.
| 16. | Press Enter twice.
| 17. | Click Address Block in the Mail Merge pane. Insert Company Name should be deselected. Other settings should match those in Figure 13.26.
Figure 13.26. In early versions of Microsoft Office, you needed to add fields one by one for a mail merge. Later versions let you add whole sections of the letter, such as the address. 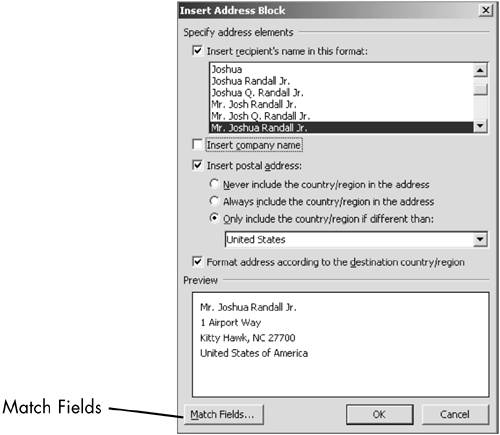
| 18. | Click the Match Fields button (refer to Figure 13.26). In the Match Fields dialog box (see Figure 13.27), open the drop-down lists for the following items in Required Information and match the fields as follows:
Figure 13.27. In the Match Fields dialog box, you match the fields in your query to the fields in the Address Block. 
|
Scroll down the list to see what other items are available in Optional Information. 19. | Click OK in the Match Fields dialog box. Click OK in the Insert Address Block dialog box. Press Enter twice.
| 20. | In the Mail Merge pane, click Greeting Line. Review the dialog box (see Figure 13.28), leave the settings as they are, and click OK.
Figure 13.28. The Greeting Line dialog box. 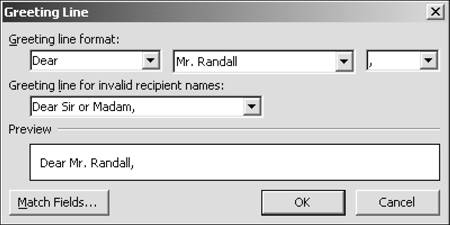
| 21. | Type the rest of your letter. A sample letter is displayed in Figure 13.29.
Figure 13.29. The sample letter includes the Address Block and Greeting Line, as well as the body of the letter. 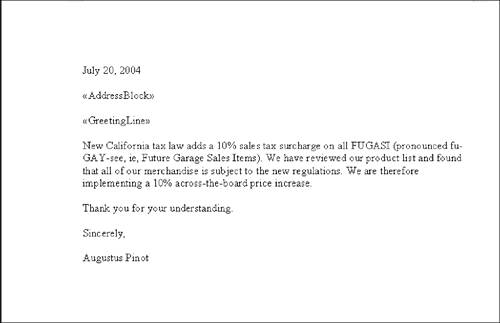
NOTE You can add fields in the body of the text. Click where you want to insert the field and then click More items in the Mail Merge pane. Select the field and click Insert. | 22. | Click Next, Preview Your Letters.
You can scroll through the letters by clicking the double-arrow keys in Preview Your Letters. Figure 13.30 shows the third letter in the merge.
| 23. | Click Next, Complete the Merge.
You can click Print to print all your letters, or Edit Individual Letters to merge the letters in one document.
| 24. | Click Edit Individual Letters. In the Merge to New Document dialog box, with All selected, click OK.
The letters are merged into one document, which you can save or discard as you choose.
|
Figure 13.30. A completed letter with address and greeting line data. 
NOTE One final note: Remember that the mail-merge document depends on data from the underlying table or query. Any changes in the underlying object could affect your mail merge.
|