13.6 Exercises
-
Open the MyHolder2.dwg file you created in lesson 11. It's in the C:\Steps\Lesson11 folder. (Alternately, you can use the Holder13.dwg in the C:\Steps\Lesson13 folder.) Create the notes shown in Figure 13.6.1a.
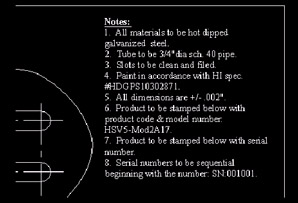
Figure 13.6.1a:1.1
Use the Times New Roman font.
1.2
Use a text height of 1/8".
1.3
The width of the text box is 3.25".
1.4
Save the drawing as MyHolder13.dwg in the C:\Steps\Lesson13 folder.
-
Open the MyDirections.dwg file you created in Lesson12. It's in the C:\Steps\Lesson13 folder. (Alternately, you can use the Directions2.dwg file in the C:\Steps\Lesson13 folder.) Create the notes shown in Figure 13.6.2a.
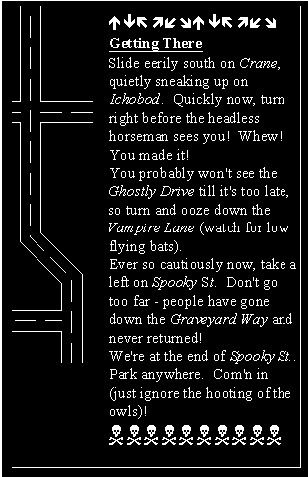
Figure 13.6.2a:2.1
Find the arrows at top in the Wingdings font. Make them 0.15" in height.
2.2
Find the skull and crossbones images at the bottom in the Wingdings font. Make them 0.25" in height.
2.3
All other text uses the Times New Roman font at a height of 0.125".
2.4
The width of the text box is 2.25".
2.5
Save the drawing as MyDirections2.dwg in the C:\Steps\Lesson13 folder.
-
Add the text shown to the MyVessel drawing you created in Lesson 12 (Figure 13.6.3a). It's in the C:\Steps\Lesson13 folder. (Alternately, you can use the Vessel.dwg file in the C:\Steps\Lesson13 folder.)
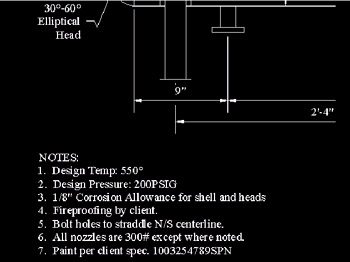
Figure 13.6.3a: -
Add the text and notes to the piping plan on which we've been working. See the completed drawing in Figure 13.6.4g. The file is My Piping Plan 13.dwg in the C:\Steps\Lesson13 folder. If that file isn't available, use the Piping Plan 13.dwg file located in the same folder.
4.1
When plotted, the text heights should be ¼", 3/16", and 1/8". The drawing will plot on a 3/8"=1'-0" scale. All text uses the Times style.
4.2
The images in Figures 13.6.4a through 13.6.4f will help you see the text better.
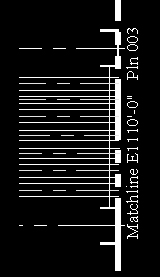
Figure 13.6.4a: Matchline Callout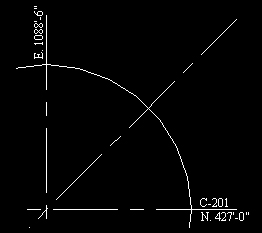
Figure 13.6.4b: Vessel Coordinates
Notes:
-
High and low point vents and drains required on all pipe.
-
See drawings SPC4001 through SPC40009 for Piping Support Standards.
-
See drawings INS2022 through INS2025 for Instrumentation Installation Details.
-
Hold drawing for Stress Analysis.
-
See coustomer spec TXCO502331-1-3% for construction specifications.
-
HPFS is 101'-0"
Figure 13.6.4c: Insert the file Piping Notes.txt found in the C: \Steps\Lesson 13 folder. Then modify it to look like this.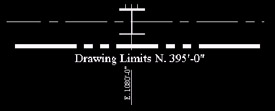
Figure 13.6.4d: Drawing Limits Callout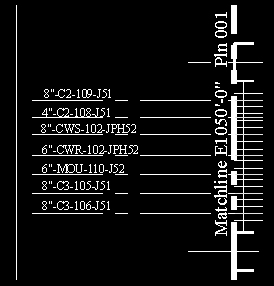
Figure 13.6.4e: Line Number Callouts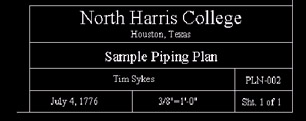
Figure 13.6.5f: Title Block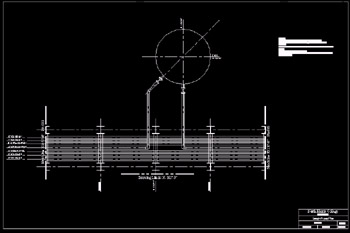
Figure 13.6.5g: Completed Drawing -