Linking to Resource Files
|
The final topic we're going to cover in this chapter is the way in which we can reference resource files from within our web pages. Such files include JavaScript files containing utility functions that are used throughout the site, and stylesheets that affect the appearance of the web pages rendered in browsers. Moving this kind of functionality into separate files provides us with two benefits:
-
The contents of the resource file aren't included on each page, reducing the amount of data that the user has to download. This makes the pages load quicker, and also means that the web server can process more requests, as each one is smaller.
-
As the contents of the resource file only exist in one location, whenever a change has to be made, it only needs to be done in that one place. If the JavaScript functions, stylesheet content, or any other such items were replicated on several pages, then every time a change was made, it would have to be done in several places.
Try It Out—Linking to JavaScript Files
In the previous Try it Out, we edited our Default.aspx file so that the pop-up window was opened via JavaScript. As there are other places in the site where we may want to do the same, we'll now move the function that we used for doing this into a separate file that all of the others reference, allowing it to be used everywhere.
-
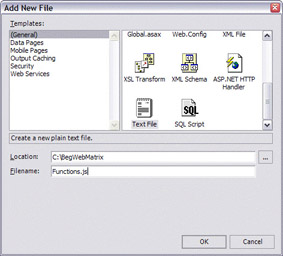
Within Web Matrix, create a Text File with the name Functions.js. This file should be in the same folder as all of the other ASPX files. When you click OK, the new file will open up with the number 1 in the top left hand corner – this is Web Matrix providing the numbering of lines for us.
-
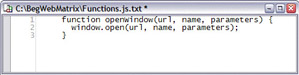
Cut the openWindow function out of the Default.aspx file, and paste it into this new file. The opening and closing <script> tags are not required within this file:
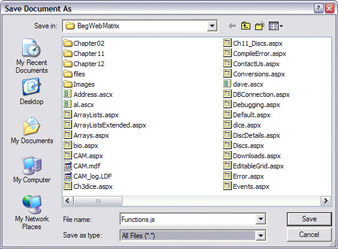
Once this text has been entered, select the File | Save As... menu option as we need to rename the file (Web Matrix has appended a .txt file extension automatically, as shown above). Select the All Files (*.*) option from the Save as type: drop-down list, and make sure that the File name is Functions.js, before clicking Save:
-
Back in the Default.aspx file, update the <script> tag at the top of the document so that it links to this new file, by editing it to match the following:
<html> <head> <script language="javaScript" src="/books/3/257/1/html/2/Functions.js"> </script> </head> <body> -
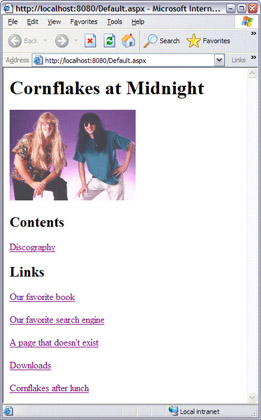
Save both of the documents, and click the Start toolbar button with the Default.aspx file active to display the page in Internet Explorer. To the end user, nothing should appear different – the Cornflakes after lunch/Cornflakes before lunch links should perform exactly the same action as before.
How It Works
Just like other HTML elements (such as the <a> tag), the <script> tag allows attributes to be specified altering its parameters. One of these is the src attribute that allows a URL to be specified that points to a text file that contains functions in the language specified by the language attribute. In our example, this was a local file, Functions.js. Any URL would work though, such as http://tempuri.org/someMoreFunctions.js.
Linking to StyleSheets
In addition to JavaScript, other resources that are used by multiple pages can be linked in to a web-page, for the same reasons as you would in the example above. Most others use a standardized linking mechanism; the <link> HTML tag, as we'll see below.
Try It Out—Linking to a Stylesheet
In the second example in this section, we'll reference a second type of document – a CSS (Cascading StyleSheet) file. CSS files allows us to alter the appearance of our pages, changing such things as the text size, paragraph spacing, colors, and so on, all without any need to update the content of the pages themselves. To implement this, we'll first embed the style definitions in our Default.aspx page until we've seen how CSS works, and we've come up with a look and feel for our site. Once this is done, we'll move it to a separate file that all of the others can reference.
-
Within Web Matrix, open the Default.aspx file, and switch to the HTML view. Beneath the </script> closing tag at the top of the document, but still within the <head> section, insert the following code:
<html> <head> <script language="javaScript" src="/books/3/257/1/html/2/Functions.js"> </script> <style> h1 { font-family: verdana; font-size: 22px; margin: 8px, 0px, 12px, 0px; padding: 0px, 8px, 0px, 0px; text-align: right; border-bottom: 1px dashed #000000; } p, td { font-family: verdana; font-size: 13px; margin: 0px, 0px, 2px, 16px; } </style> </head> <body> ...
-
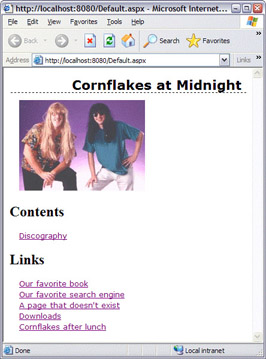
Save the file, and then click the Start button on the toolbar to view the page. When the page appears, you'll see that two things appear differently – firstly the title at the top of the page has been right-aligned, with its font changed, and a dotted line beneath it. Secondly, the hyperlinks have had the line spacing between them removed and their font changed, and they're indented from the left of the window:
-
While this has made the layout of the text a little better – removing a lot of the unnecessary vertical spacing, we can go much further, and make the page appear far more professional. Back in the Default.aspx file, insert the following CSS definitions beneath those we've already entered:
h2 { font-family: verdana; font-size: 16px; margin: 12px, 0px, 0px, 0px; background-color: #668099; color: #ffffff; padding: 2px, 2px, 2px, 4px; } body { background-color: #c9d5d5; margin: 0px, 0px, 0px, 0px; padding: 0px, 0px, 0px, 0px } a { color: #000099; font-style: italic; }
-
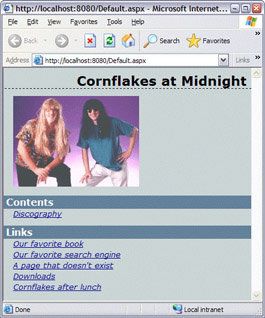
As before, save the file and view it in your browser. You'll now see that, along with the change in background colour, the Contents and Links headings have been altered to fill up the entire line, and the hyperlinks have been altered slightly:
-
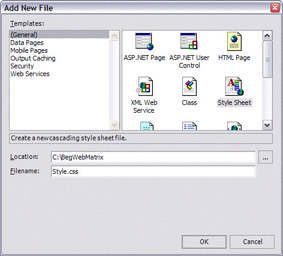
Now that we've got all of the CSS definitions that we need for our site, we can move them into a separate file. To do this, from within Web Matrix, create a new Style Sheet called Style.css:
Within this file, cut the style definitions that come between the <style> and </style> tags in Default.aspx (not including the <style> tags themselves. Next, paste this text into the Style.css document (overwriting anything that's already in the window).
-
The final thing that need's doing is updating our ASPX files to reference this stylesheet. We'll start with the Default.aspx file – within the HTML view, update the top of the file so that it matches the following:
<html> <head> <script language="javaScript" src="/books/3/257/1/html/2/Functions.js"> </script> <link rel="Stylesheet" type="text/css" href="Style.css" /> </head> <body>With this done, all of the other files we've created (such as ContactUs.aspx, Discs.aspx, and so on) should be updated so that they use this file too.
-
Once all of the files in our site have been updated, everything should be saved. Next, click the Start button on the toolbar once more to show the site. All of the pages should now make use of our stylesheet, and should look much better for it!
How It Works
CSS definitions allow us to alter the appearance of web page content, whether it's the background, text, tables, images, or whatever. CSS is a language in its own right, with its own rules for how to write definitions. The basic format of a CSS definition is:
tag/class name { item-entry: item-value; }
As shown in our example above where we set the appearance of paragraph (<p>) and table cell (<td>) tags at the same time, comma-separating items allows us to save time and space when several items need the same style applying to them.
Rather than include our CSS definitions within a <style> tag on every page, we can place them in a single external file. Then, within our individual web pages, we can reference the stylesheet using a <link> tag, which allows us to specify external resources that should be tied in to a web page. This tag must appear within the <head> of an HTML document, once for each document that should be referenced. The most important three attributes are those used in our example:
-
•href – Specifies the actual file to link to
-
•rel – Specifies the type of document (in this case, a Stylesheet)
-
•type – Specifies the MIME type of the document
There are other attributes available, such as hreflang. These are used far less often than the three above, and aren't usually necessary for including references to items such as stylesheets.
As this chapter is concentrating on the use of linking in websites, and CSS is such a large topic, we won't go into more detail about it here. We will be using stylesheets in later chapters of this book though, so if you need any more information then you can find more information at http://www.westciv.com/style_master/academy/css_tutorial.
|
EAN: 2147483647
Pages: 141