| In Hour 14, "Generating a Mail Merge," you learned that you can use an Access database as the data source in a mail merge. There might also be times when you'd just like to dump the contents of an Access table or query into a Word table. You might do this to include data from Access in a report you're preparing in Word, for example. To retrieve data from Access, follow these steps: -
Move the insertion point to the location in which you want to insert the data from your Access table or query. -
Choose View, Toolbars, Database to display the Database toolbar, and click the Insert Database button (see Figure 20.16). Figure 20.16. Click the Insert Database button on the Database toolbar. 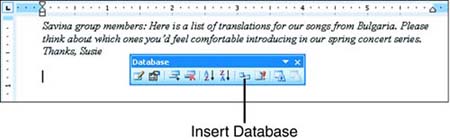 -
In the Database dialog box that appears, click the Get Data button (see Figure 20.17). Figure 20.17. Click the Get Data button to select your Access database. 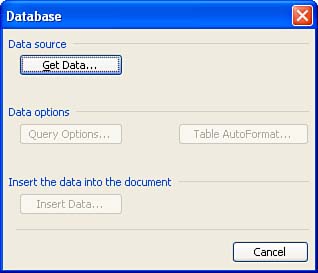 -
Word displays the Select Data Source dialog box. Navigate to and select your Access database, and click Open . -
The Select Table dialog box appears (see Figure 20.18). Tables and queries use different icons to allow you to differentiate between them. Select the table or query whose data you want to insert, and click OK to return to the Database dialog box. Figure 20.18. The Select Table dialog box lets you select the table or query that contains your data. 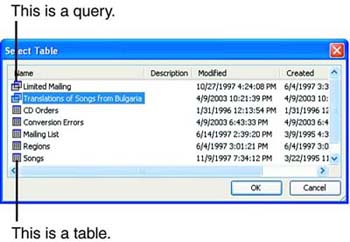 -
The remaining options in the Database dialog box have now become active (see Figure 20.19). Click the Query Options button if you want to further filter or sort your data before inserting it, or if you don't want to include some of the fields in the Access table or query. The Query Options dialog box that appears is almost exactly like the Filter and Sort dialog box you used in Hour 14 to filter or sort the records in your data source. The one difference is that the Query Options dialog box also contains a Select Fields tab (see Figure 20.20), which you can use to remove fields that you don't want to include in your Word document. (This does not remove the fields from the Access database; it just doesn't include those fields in the data that is inserted into your Word document.) To remove a field, simply click it in the Selected Fields list on the right, and click the Remove button. When you're done, click OK . Figure 20.19. All of the options in the Database dialog box are now active. 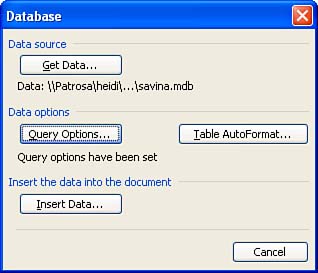 Figure 20.20. The Select Fields tab in the Query Options dialog box lets you remove fields that you don't want included in the Word table. 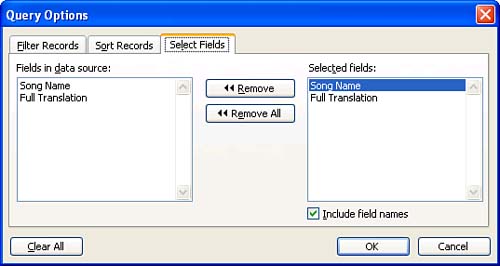  | If you don't remove a field now, you can always delete it from the Word table later by deleting the column in which it is displayed. |
-
Click the Table AutoFormat button if you want to apply a table style to your table. For more information on this, refer to the section titled "Using the Table AutoFormat Feature" in Hour 15. -
Click the Insert Data button to display the Insert Data dialog box (see Figure 20.21). Mark the From button to specify a range of records if you don't want to include all of the records in the Access table or query. Mark the Insert Data As Field check box if you want the data to be inserted as a field that you can update to reflect changes in the Access database. Figure 20.21. Use the Insert Data dialog box to specify a range of records if you don't want to include all of them, and optionally insert the data as a field. 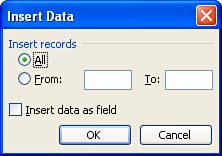 -
Click OK . Your data is inserted into a Word table (see Figure 20.22). If you inserted the data as a field, you can update it to reflect the current data in the source Access database at any time by pressing F9, or by right-clicking anywhere in it and choosing Update Field in the context menu. Figure 20.22. This table contains data from an Access query. It was formatted using a table style. 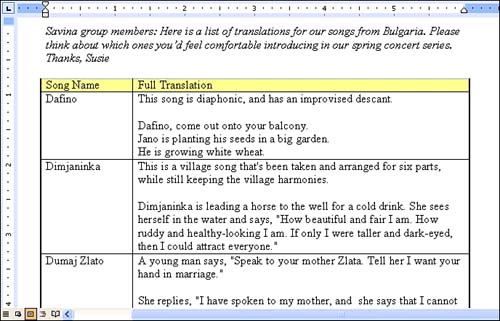  | If you insert Access data in a Word document as a field and then move or rename the Access database, or change its structure, it will break the field. (You will see an error saying that Word was unable to open the data source.) To fix the problem, you'll need to delete the current table in your Word document, and run through the preceding steps again. |
|